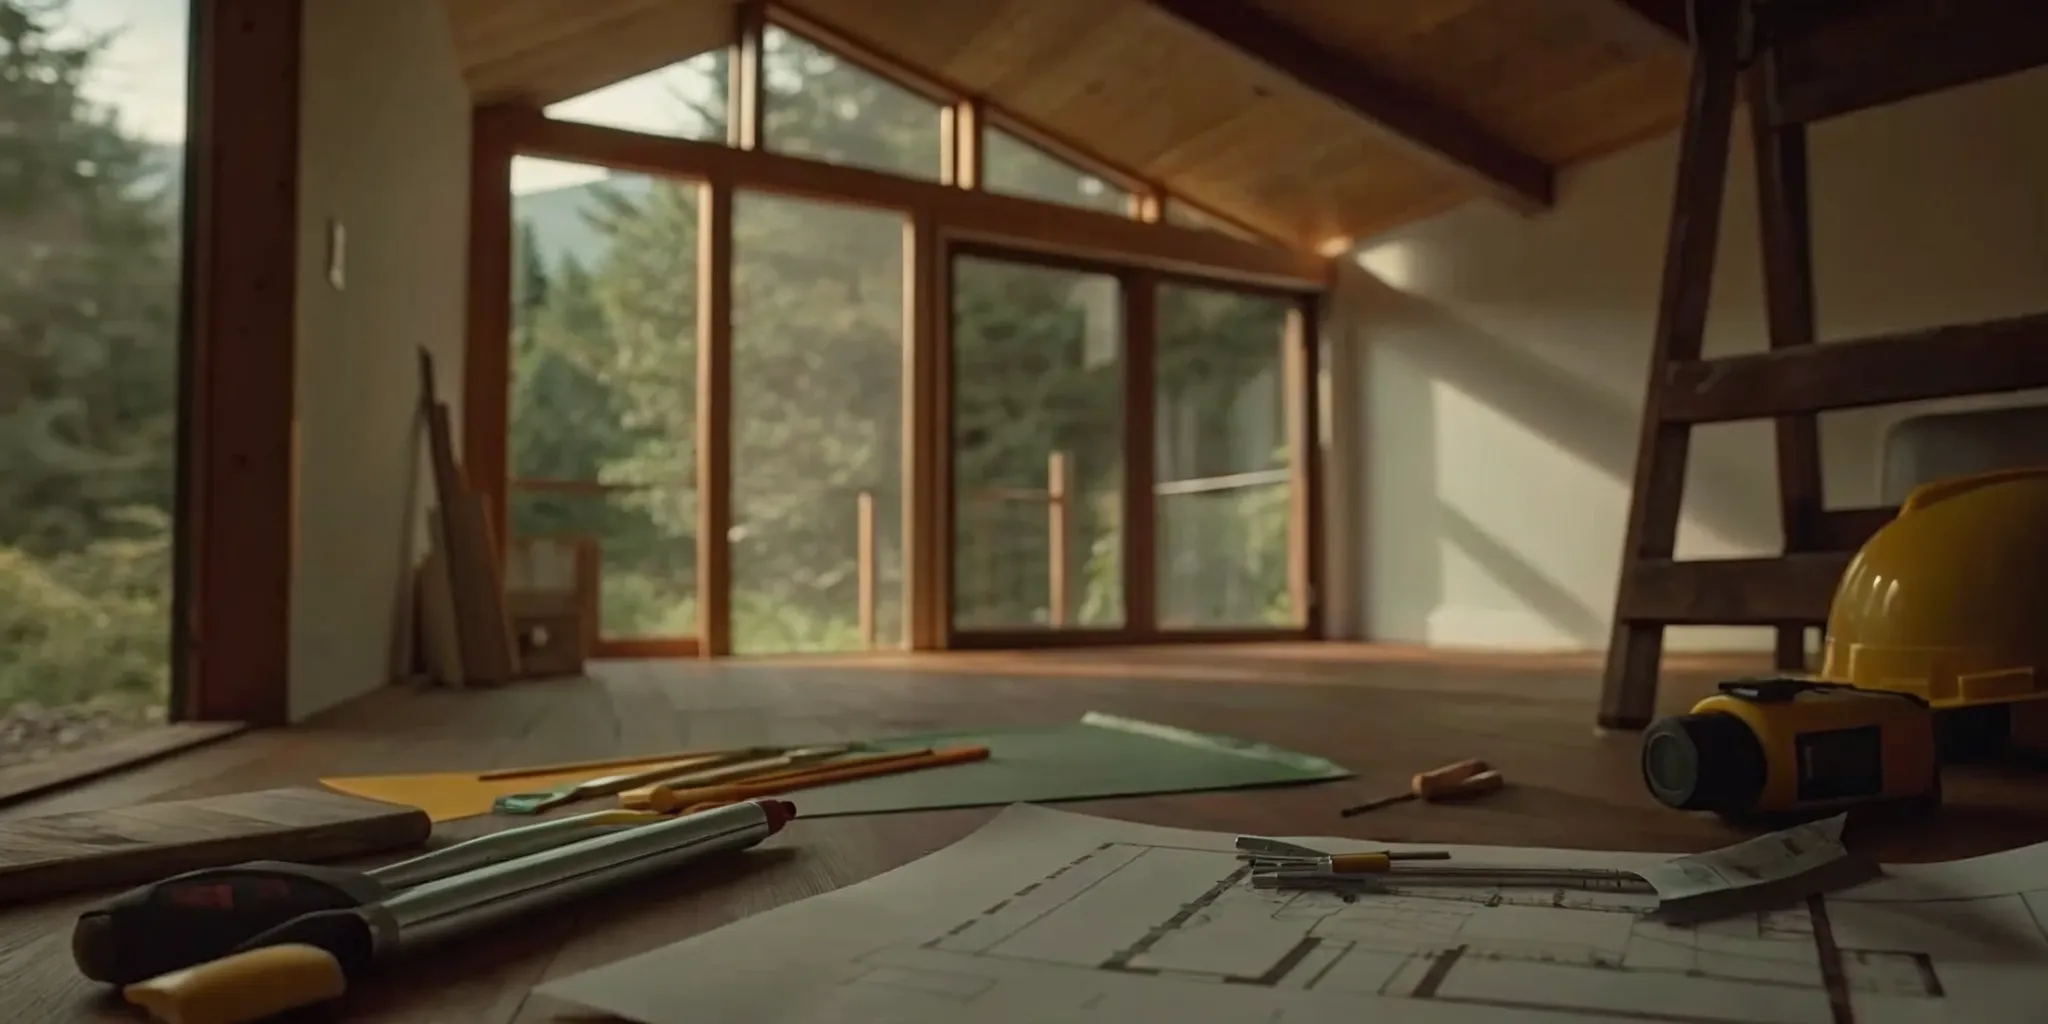
Garage Conversion Seattle: Cost and Permit Guide
Schedule a free consultation today. Plan your garage conversion Seattle project with clear guidance on permits, realistic costs, timelines, utility...
|
June 29, 2026
In this article:
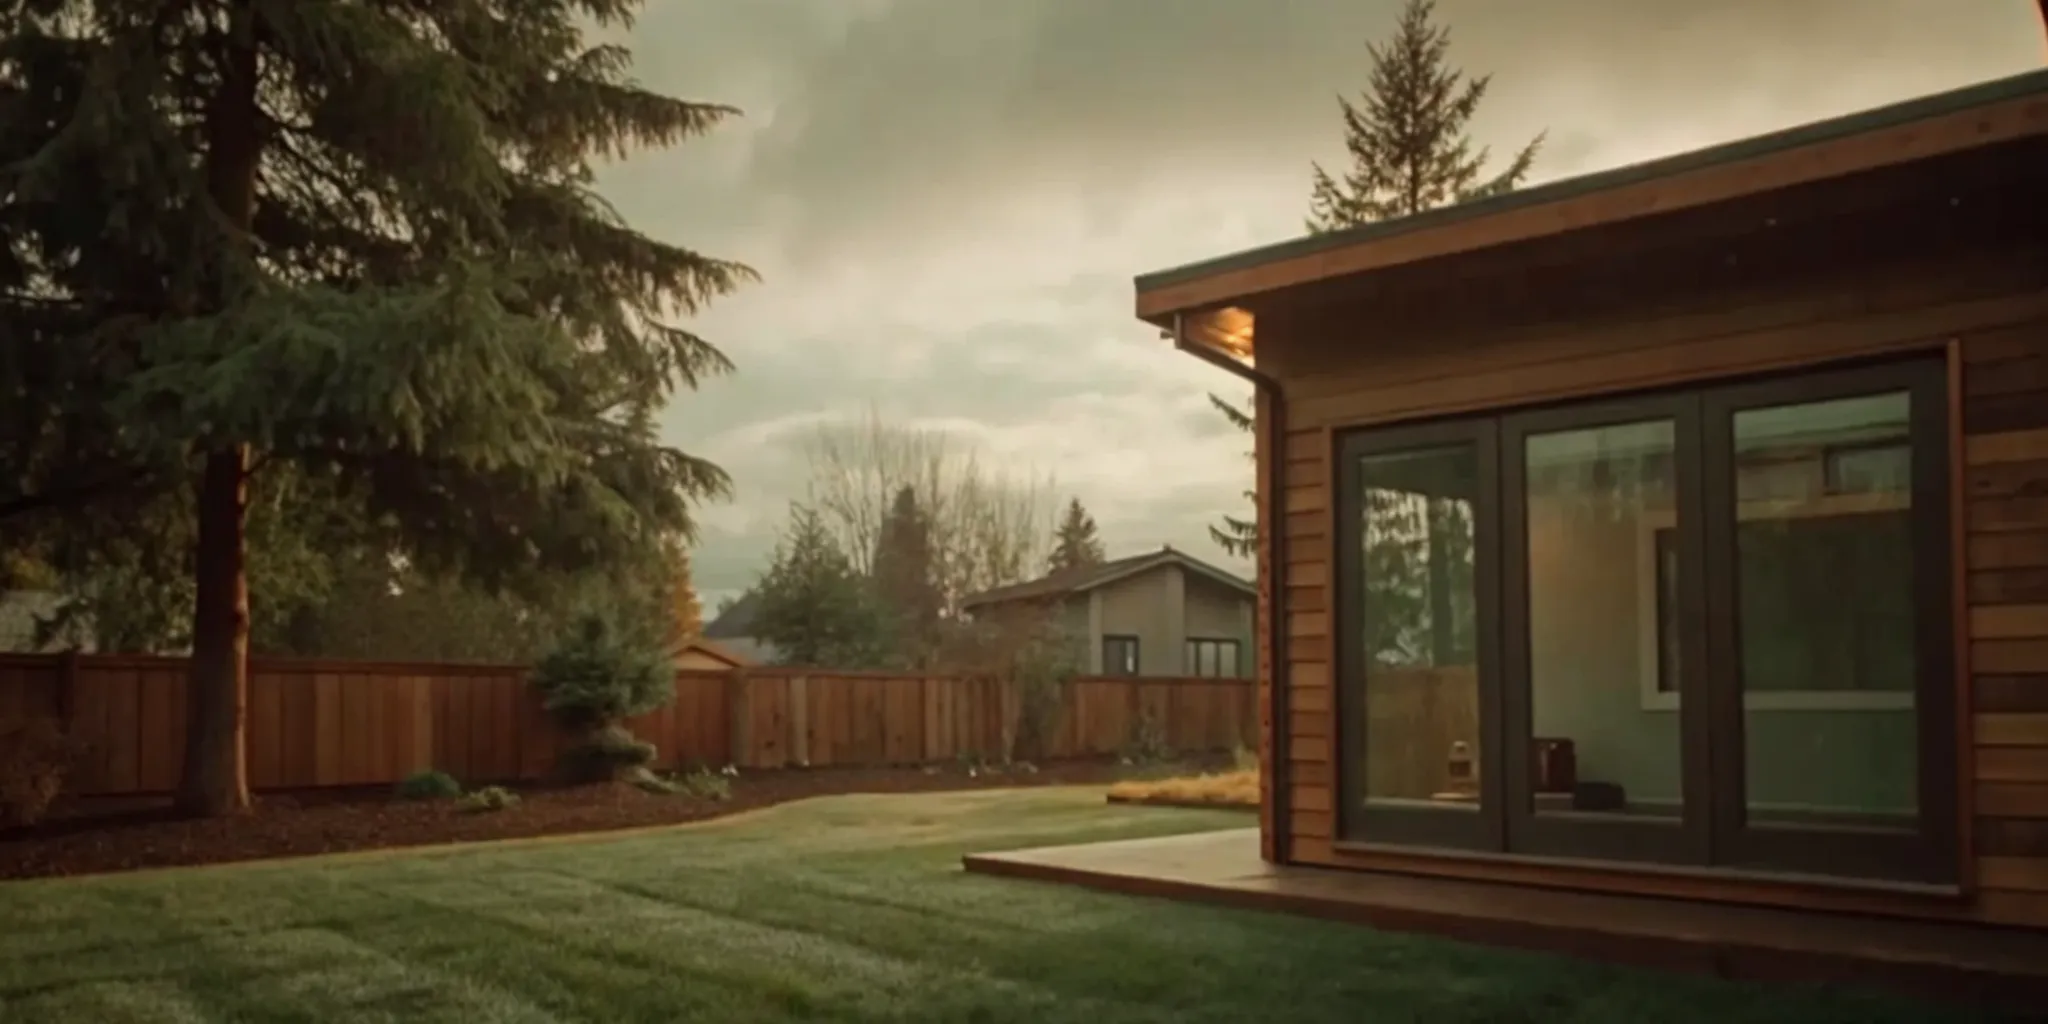
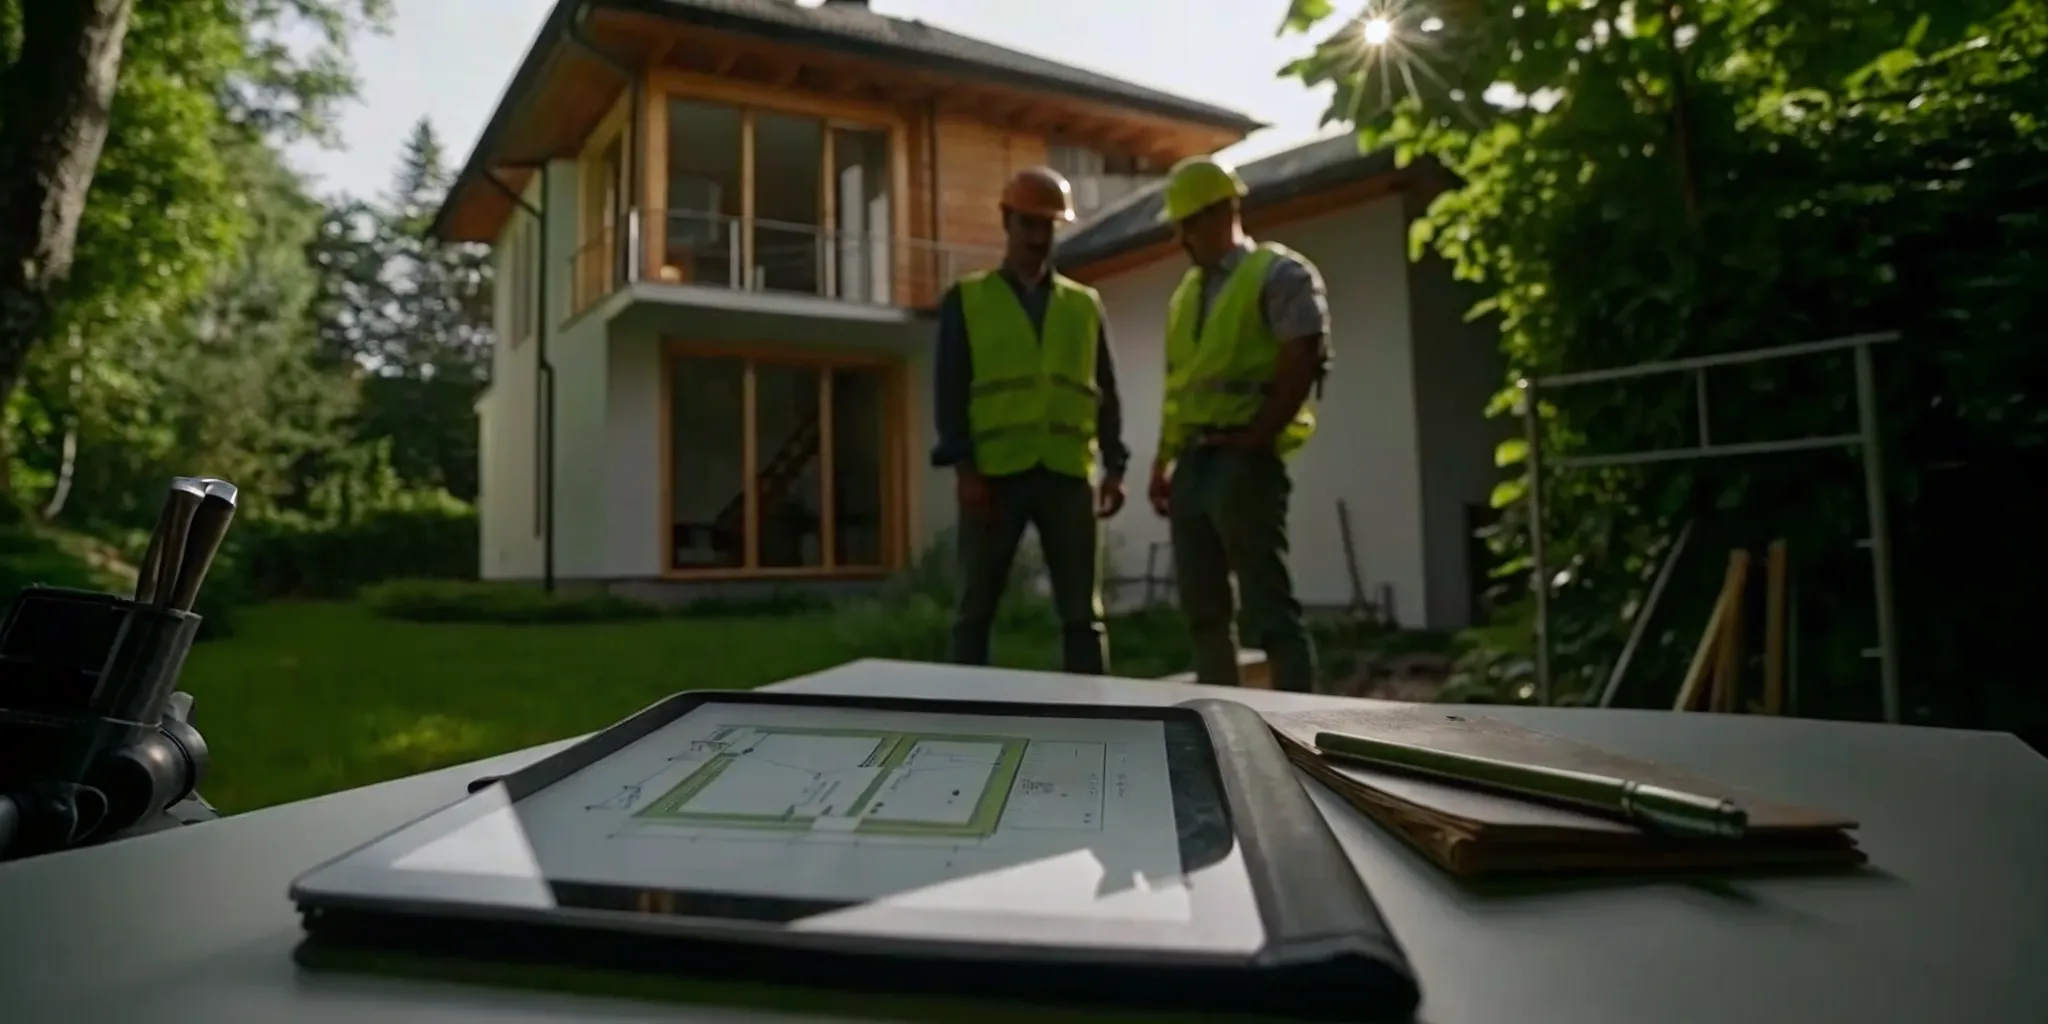
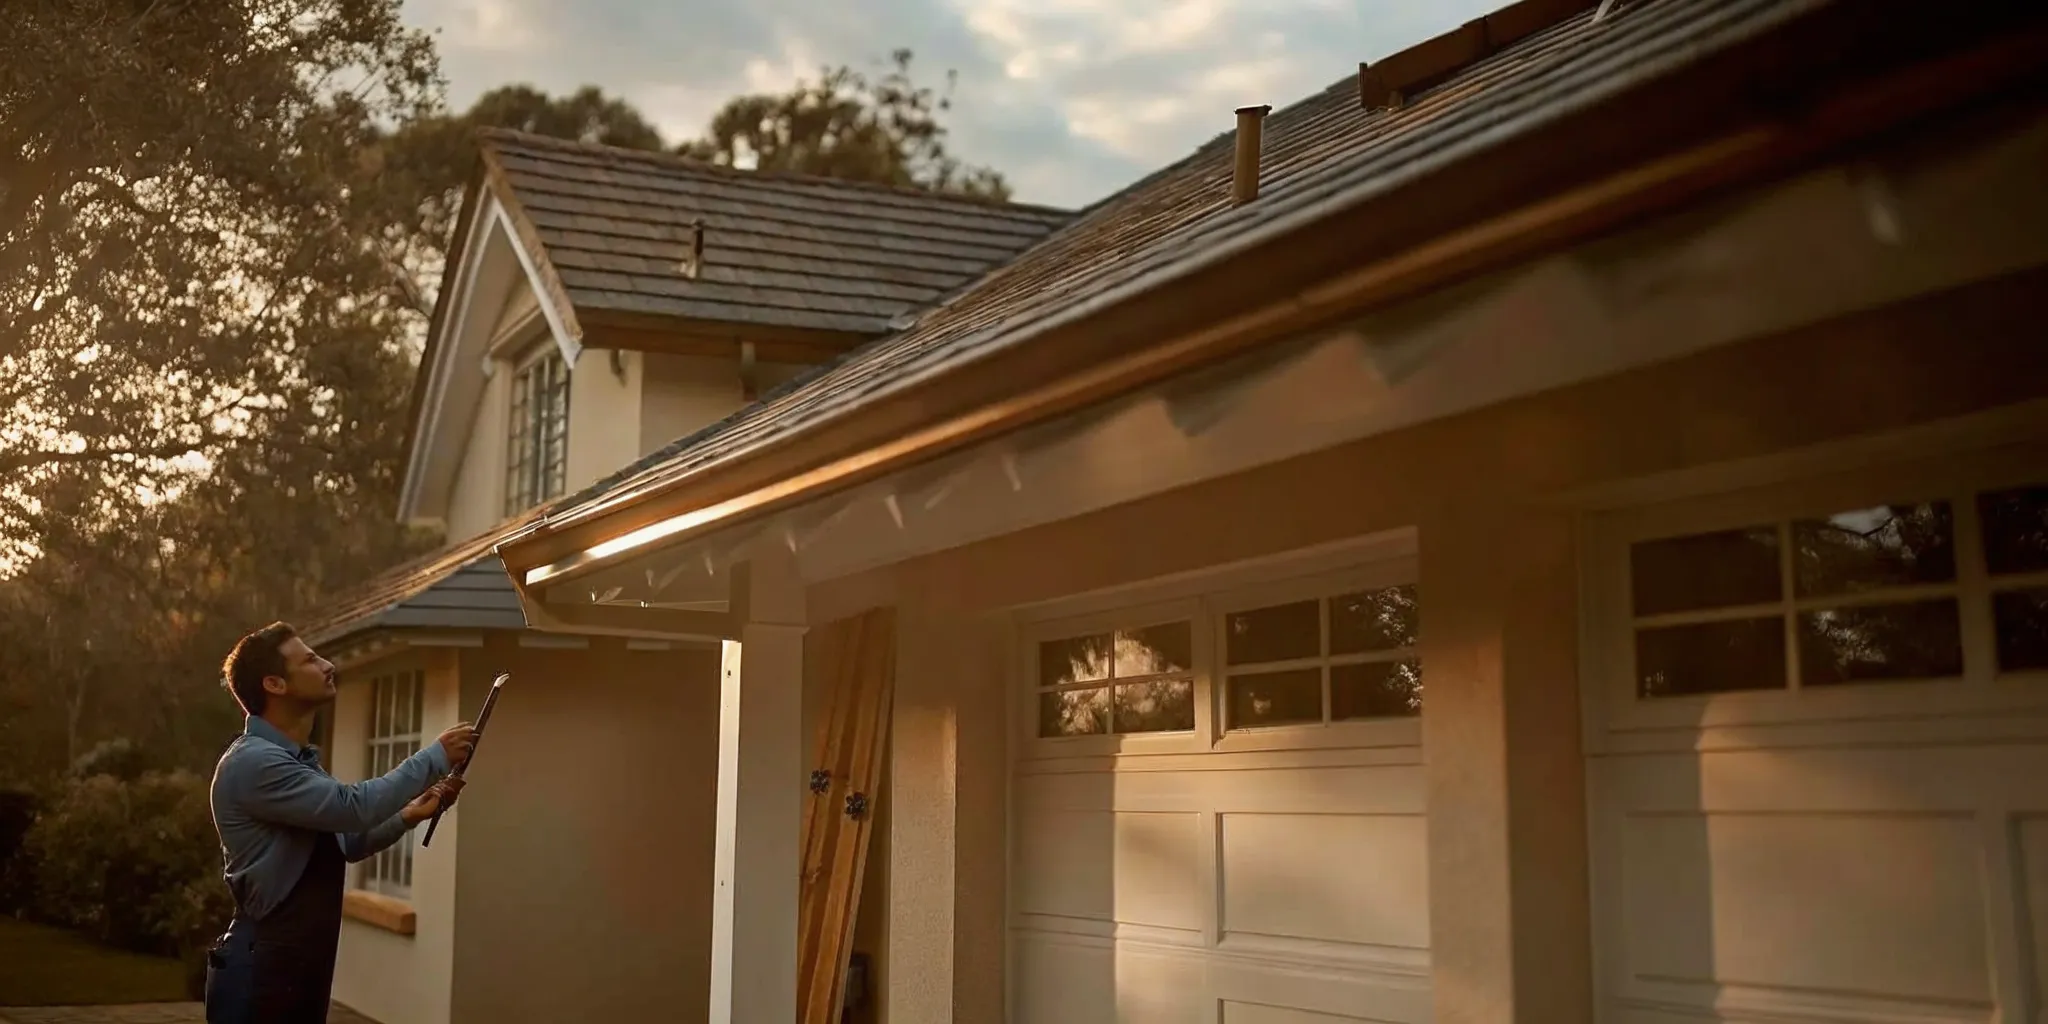
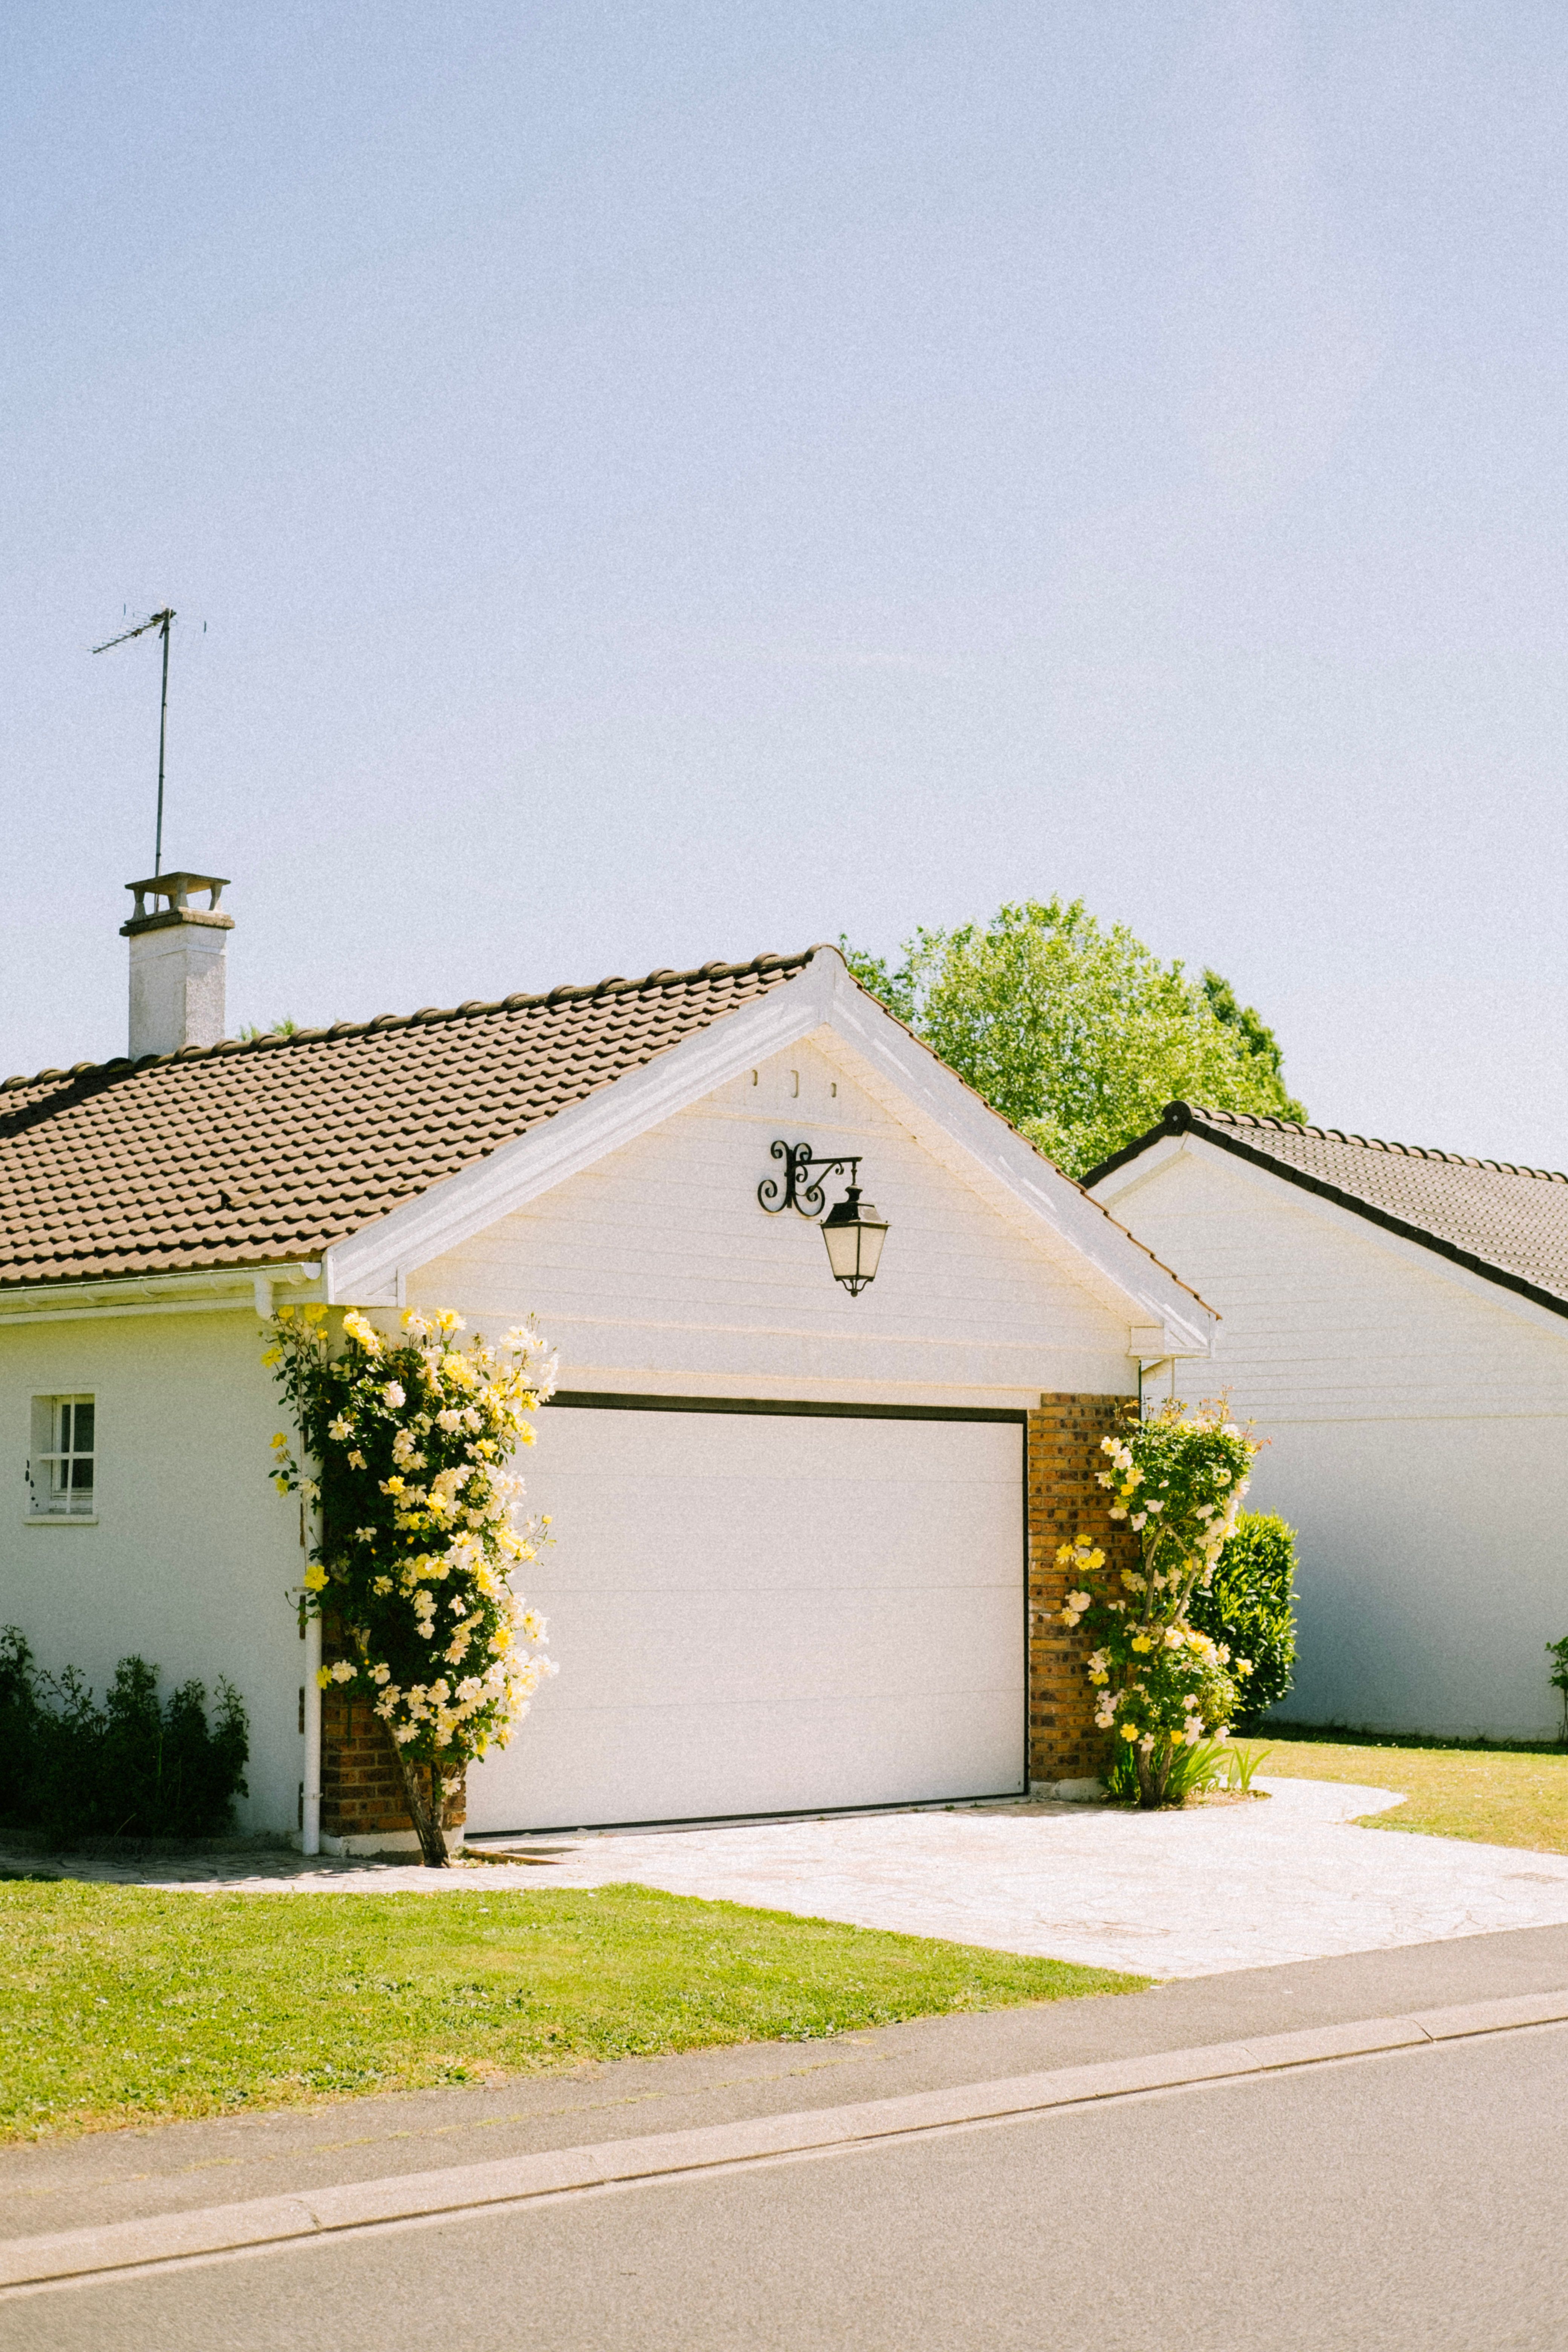
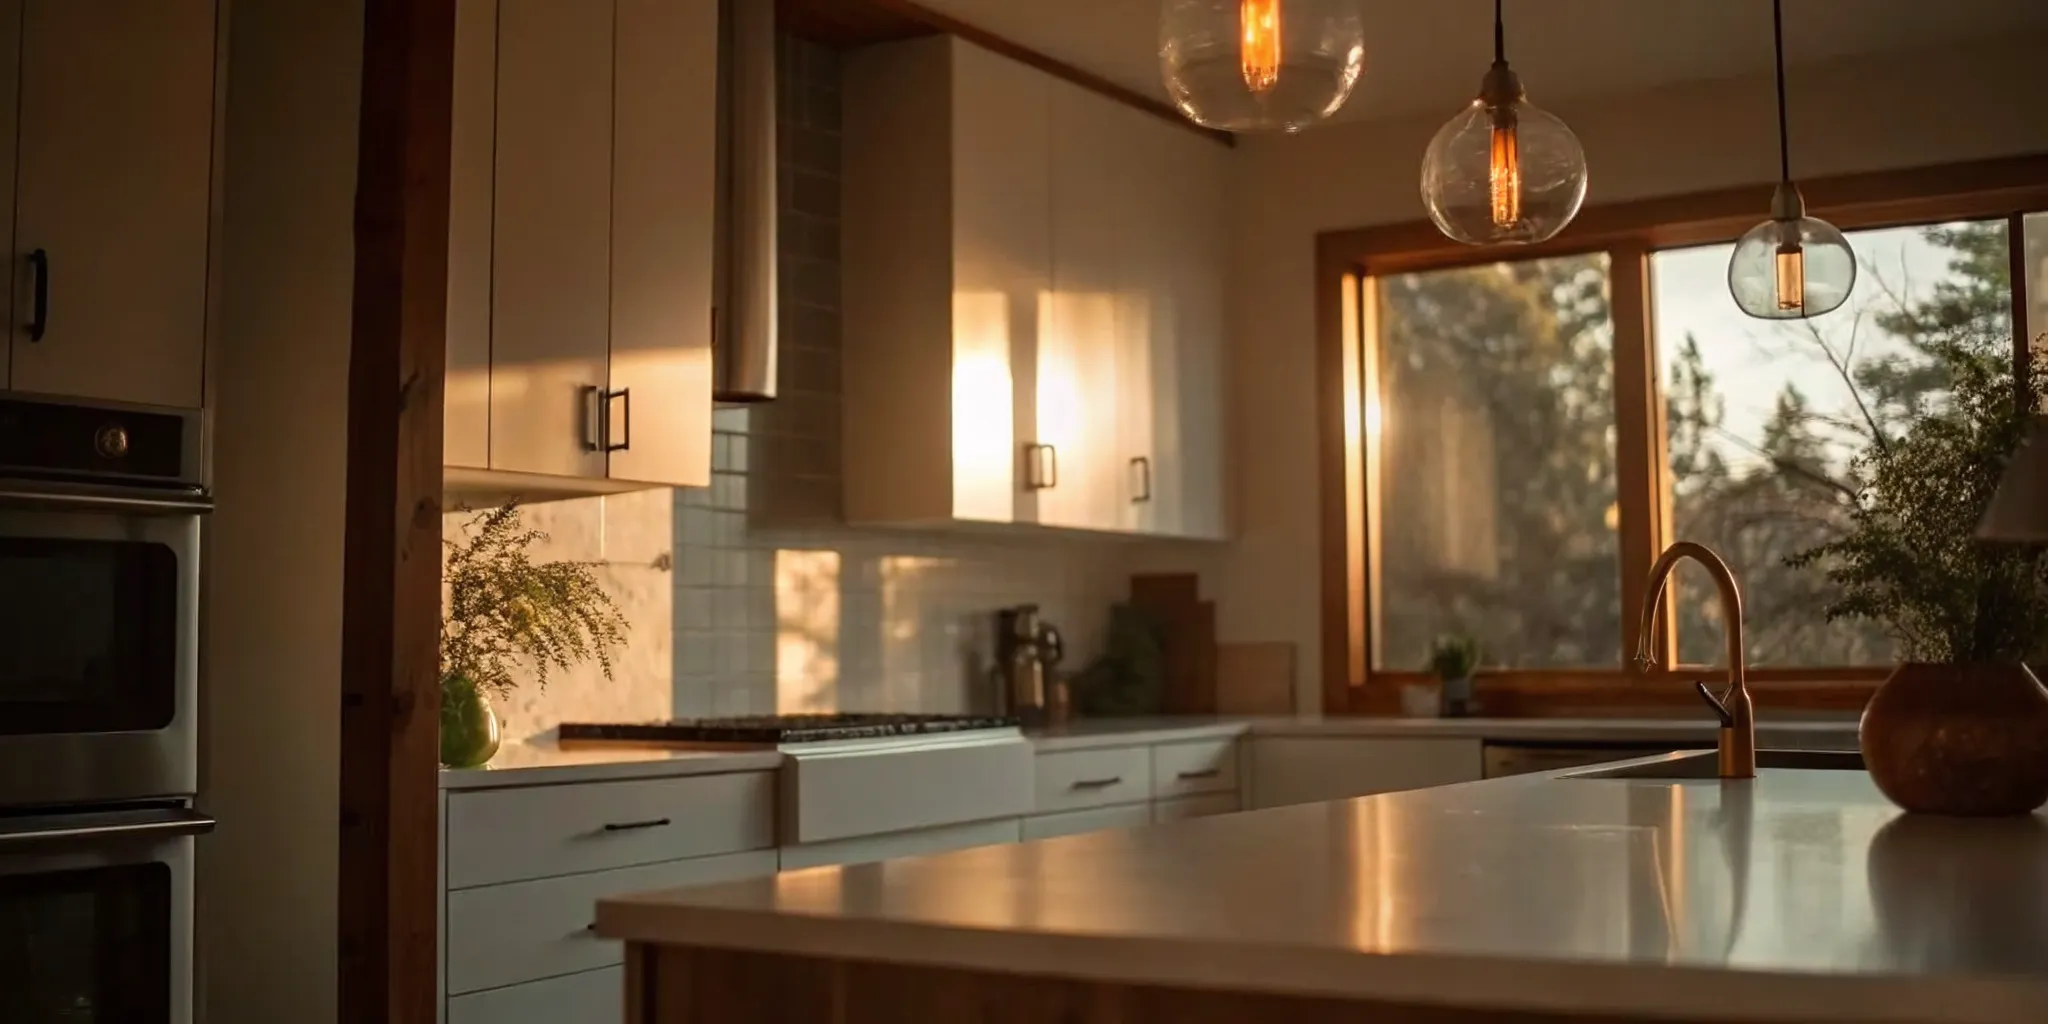
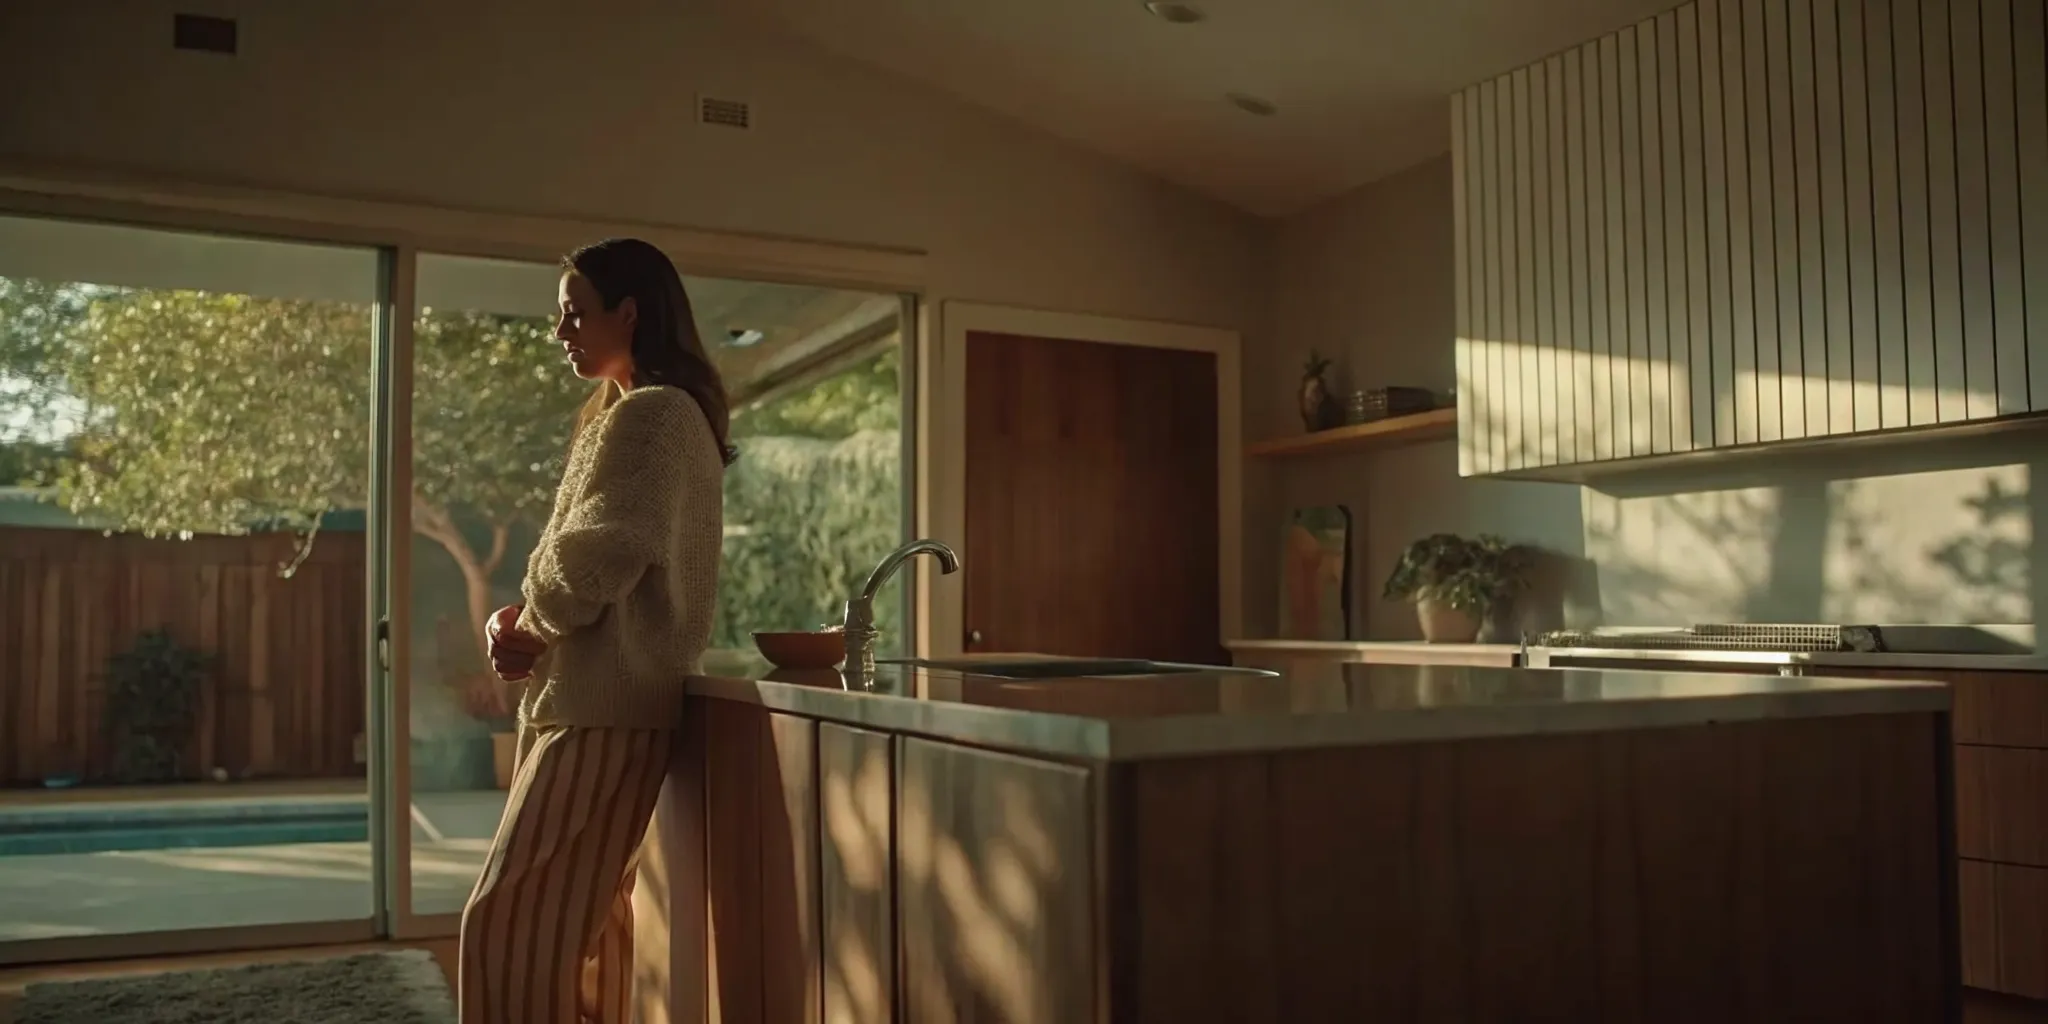
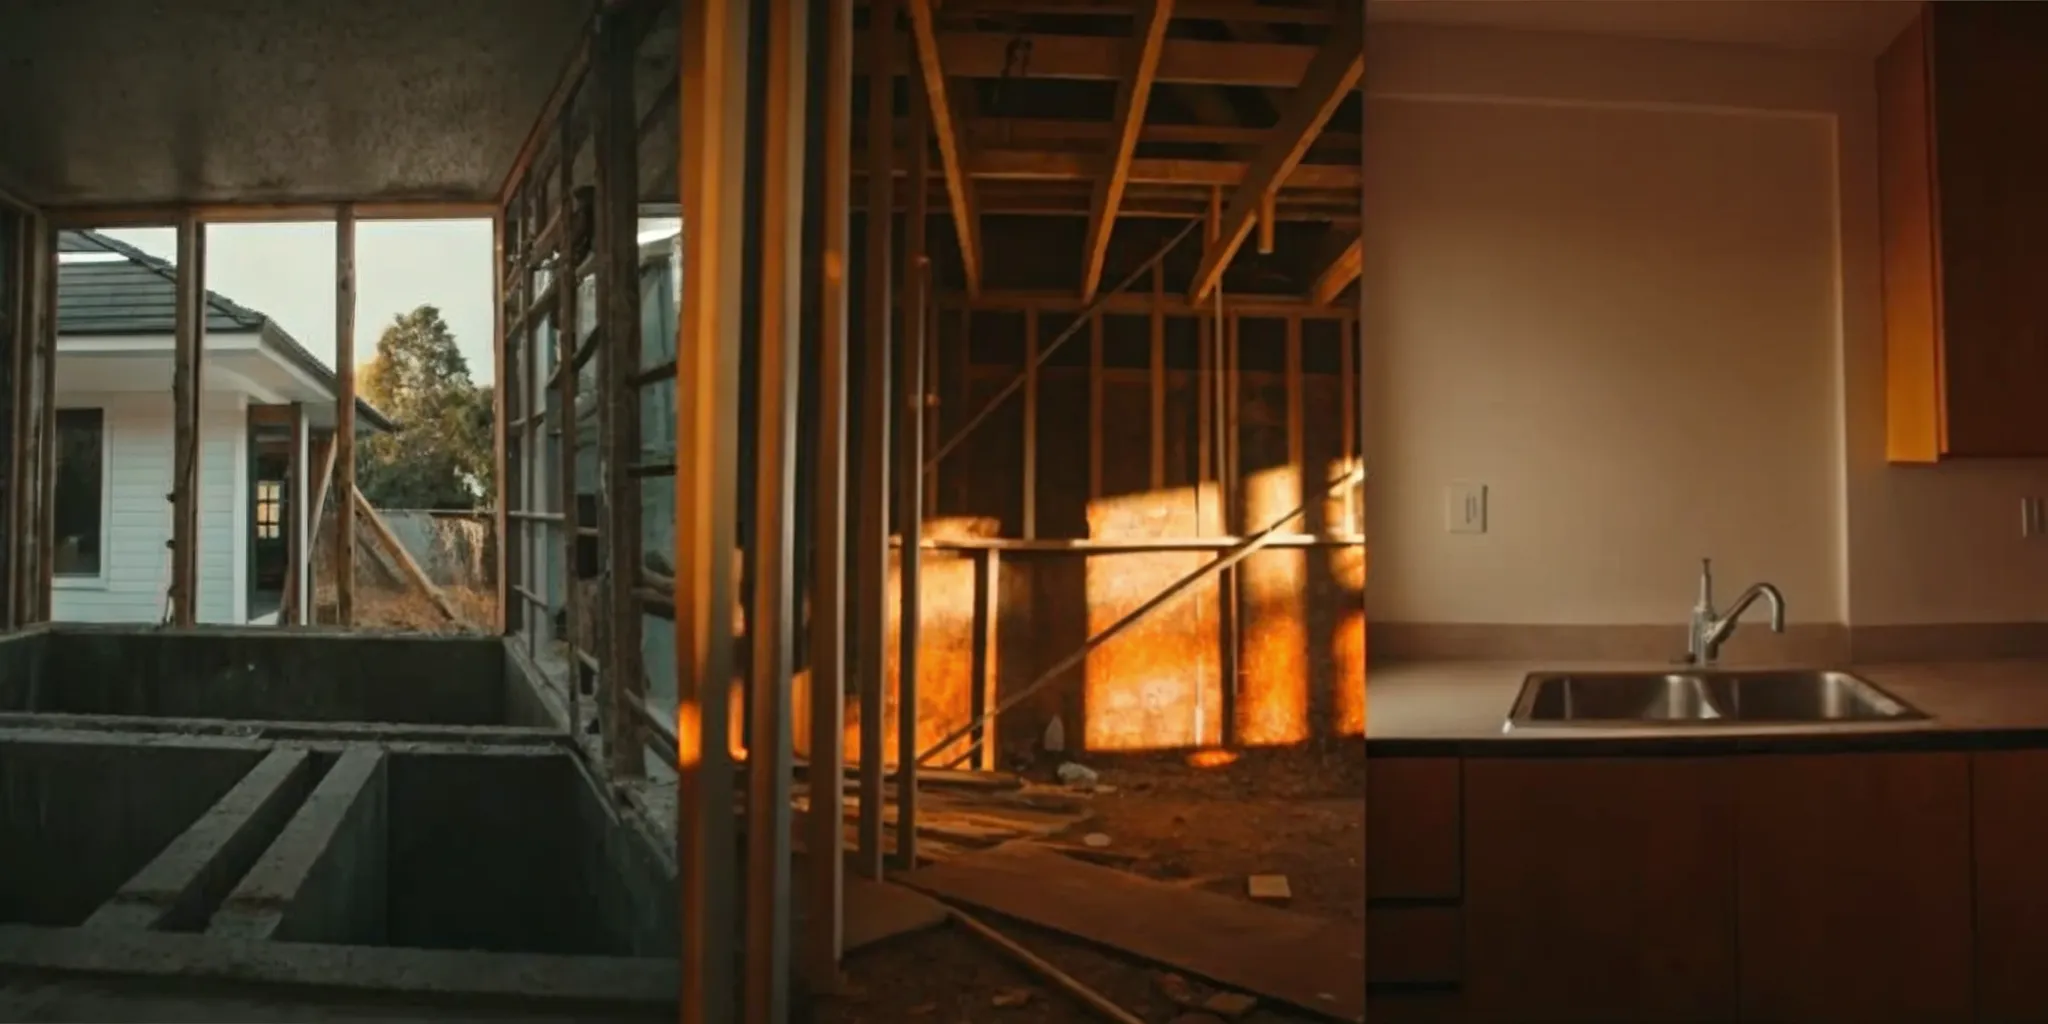
A garage conversion Seattle project can turn an underused car stall into a comfortable office. Guest suite, rental unit, or primary suite while adding valuable living space in a crowded city.
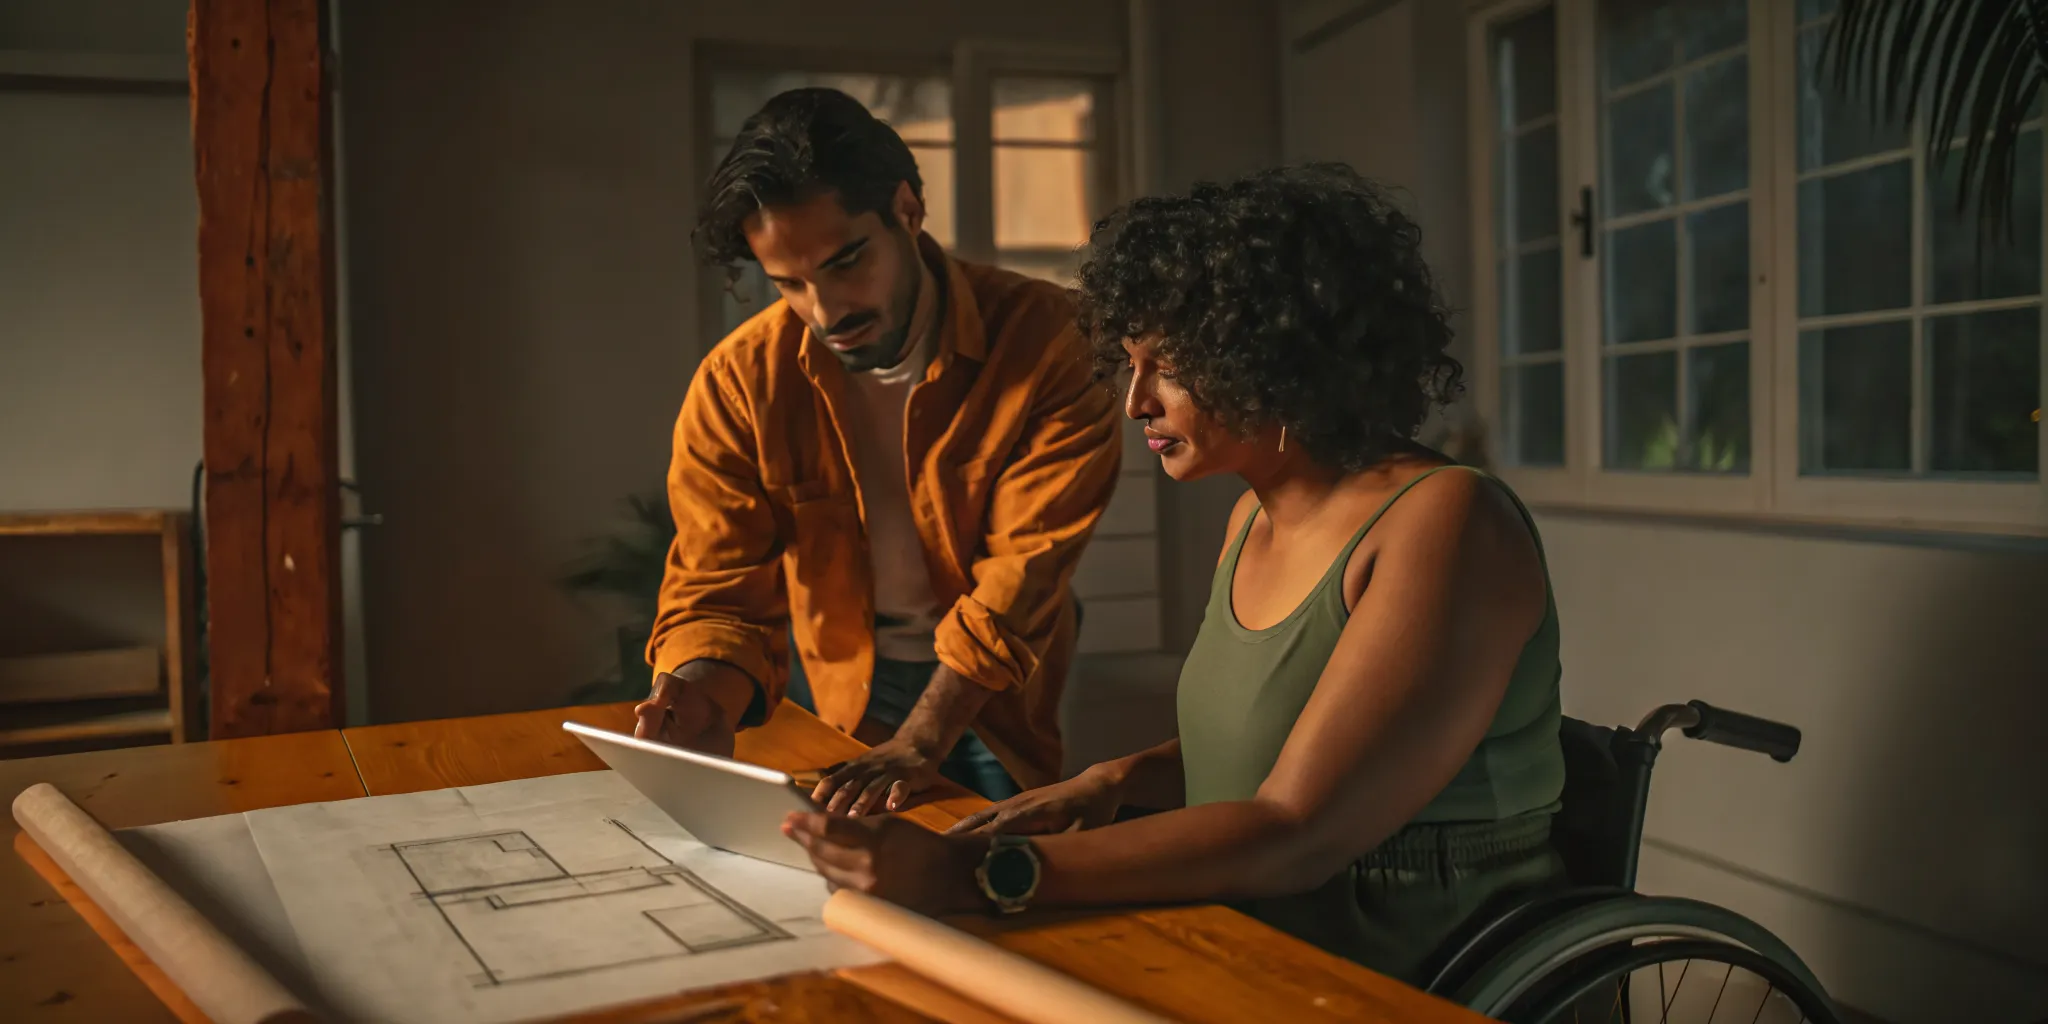
Discuss your Seattle garage conversion with a Realm renovation advisor.
Garage Conversion Seattle: Is a garage conversion in Seattle feasible?
A garage conversion Seattle project is often feasible when the structure, lot coverage, setbacks, ceiling height, moisture protection, and planned use meet city rules. Confirm zoning and existing conditions with Seattle SDCI, then have qualified professionals assess the slab, framing, utilities, fire safety, ventilation, and permit path before finalizing the design.
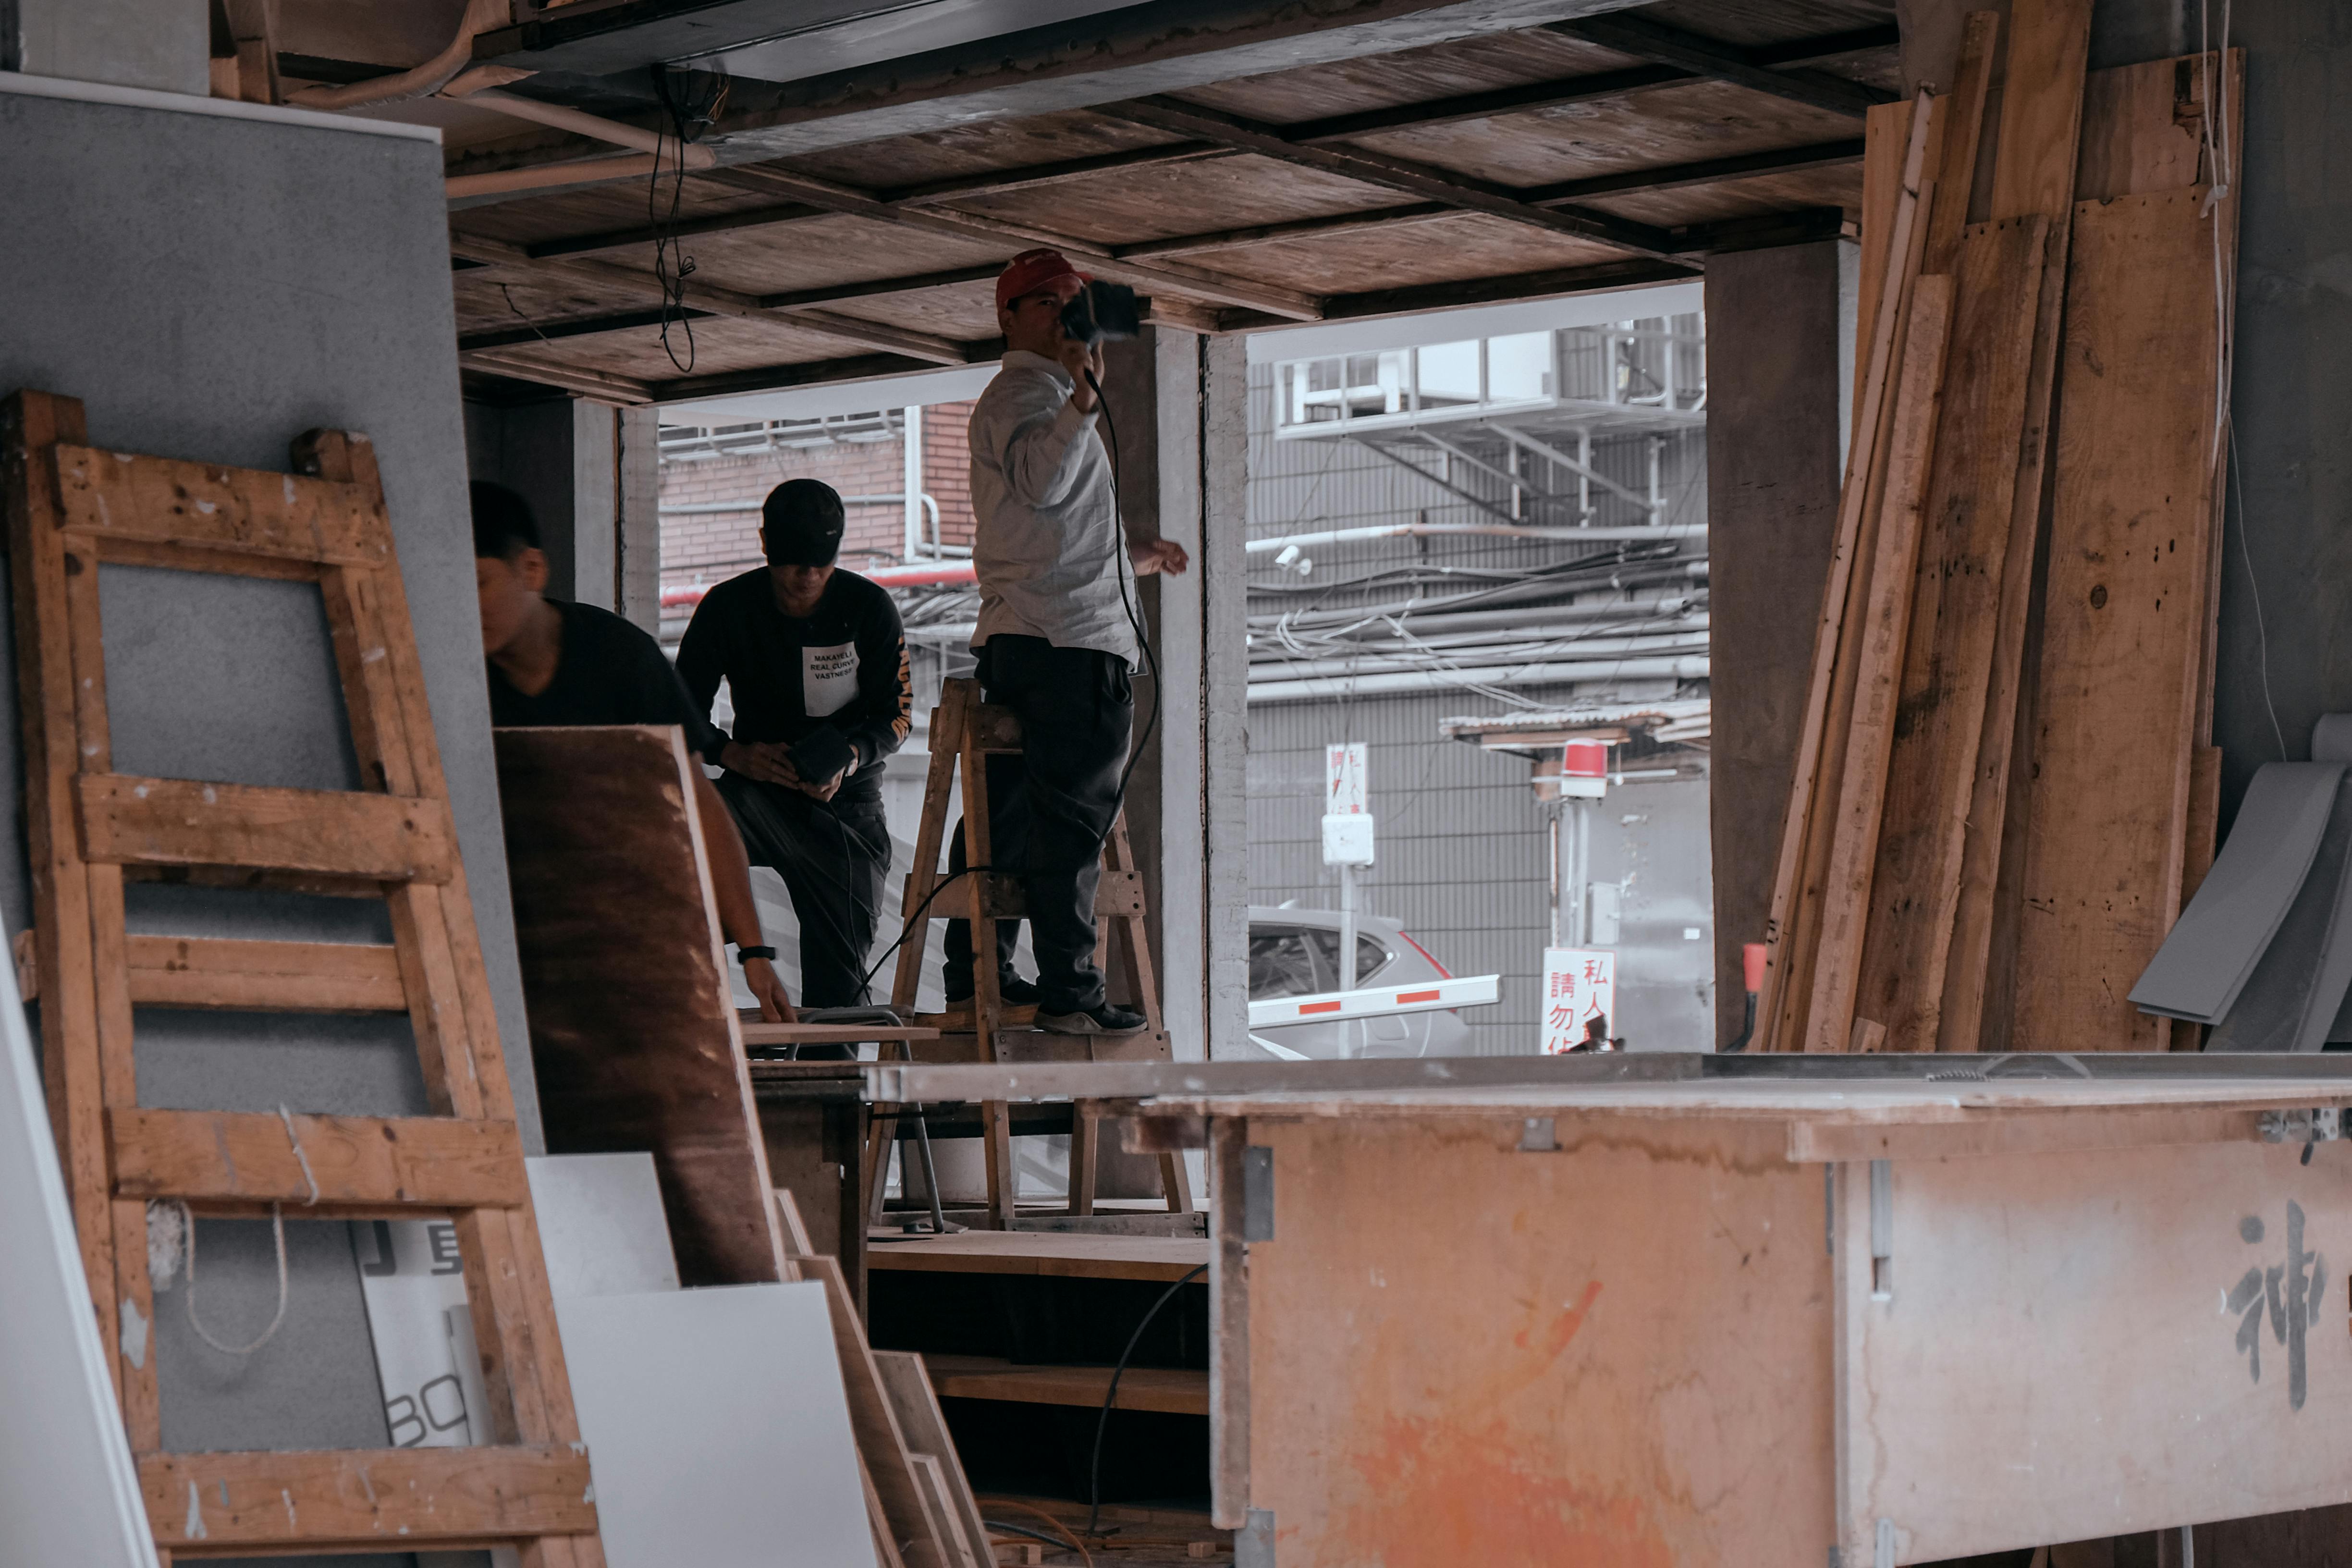
Checking if a garage conversion in Seattle is possible starts with the local rules. Most homes in the city can turn a garage into a living space by law. You will need a permit from the Seattle Department of Construction and Inspections (SDCI) for any project that adds living space. This change can add big value to your home. But you must first check your lot size and the state of your building.
Zoning and lot limits in Seattle
Seattle changed its laws in 2019 to help homeowners build more housing. Now, you can build an extra home unit on any single-family lot. There is no small lot size needed for these projects. This makes a Garage Conversion vs. Detached ADU a great choice for many people. You can even add up to two units on one lot if you follow the rules.
But you must still follow lot area limits. In many zones, your house and garage can only cover 50 to 60 percent of your land. You also need to think about setbacks. Most garages cannot be in the front 20 feet or side 5 feet of your lot. One major win for Seattle owners is that you do not need to add more parking for a new unit. This makes using your garage space much easier.
Building code and safety checks
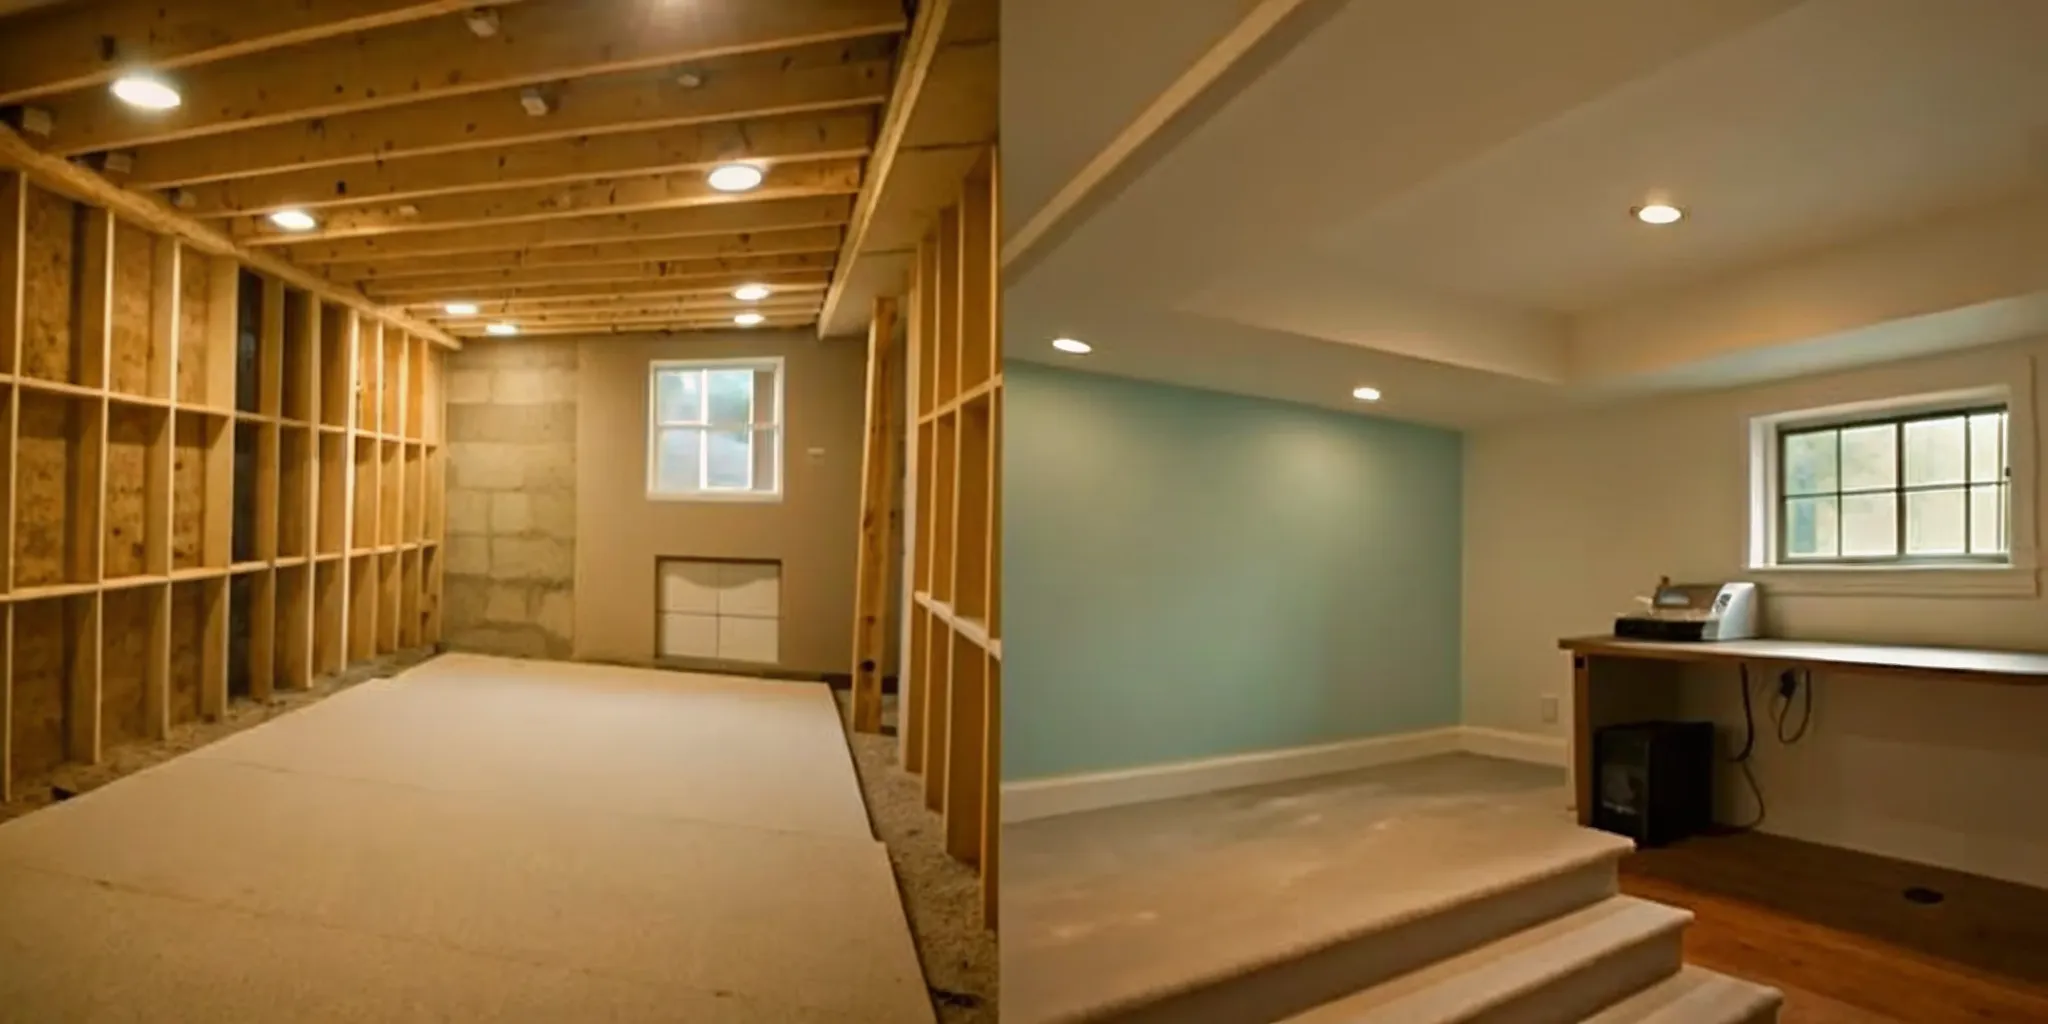
A garage was built to hold a car, not a person. To make it a home, you must follow the Seattle Residential Code. This code has rules for safety and health. For example, rooms where people sleep or live must have ceilings at least 7 feet high. Bathrooms and halls can be slightly lower at 6 feet 8 inches. These rules keep your new space safe and cozy.
The floor is also a key check. Most garage slabs need a vapor barrier and insulation to block damp air. This is a large part of Seattle ADU cost planning because it often means new concrete work. Bedrooms also need a large window for escape. These windows must have an opening of at least 5.7 square feet to meet fire laws. If your garage is close to a property line, you may also need fire-rated walls.
Permits and project timelines
Every garage conversion in the city needs a construction permit. If you add a sink or new lights, you also need plumbing and electrical permits. Most simple projects under 750 square feet can get a fast permit. This is called a subject-to-field-inspection permit. It is quicker than a full review but still needs an official check before you start. You must also follow energy codes to ensure your new room stays warm and saves power.
The time to finish your build can vary a lot. Simple bonus rooms may take just a few months. But full units with kitchens take longer to plan and build. If your home is on a steep slope, the city may need to visit your site first. This step can add time to your schedule. A Realm advisor can help you track these city rules so your project stays on time and on budget.
What permits does a Seattle garage conversion need?
A Seattle garage conversion generally needs an SDCI construction permit to establish legal living space. Separate electrical, plumbing, or mechanical permits may also apply when you add wiring, fixtures, water lines, heating, or ventilation. The exact review path depends on project size, site conditions, intended use, and whether the conversion becomes an ADU.
Any project that turns a garage into a living area needs a permit. In Seattle, you must get this from the Seattle Department of Construction and Inspections (SDCI). Most people start with a construction permit to show their plans meet city rules. You may also need extra permits for new wires or pipes if you add a sink or light.
These rules keep your home safe and help you follow local laws. They also make sure your project adds real value to your property. Talking to the city early can save you time and money for your renovation.
The construction permit process
Most small garage projects only need a simple permit. If your garage is under 750 square feet, you might get a permit with just a field check. To meet the rules, the unit must be one story and have no roof deck. This makes the start of your work much faster for most owners.
But you must still show that your space is safe and follows city land use rules. You should talk to a city planner before you start. They can tell you if your home is in a special zone. Knowing these rules early helps you avoid big stops later in the project.
In some cases, homes on steep hills or near wetlands may need more checks. You might also need a site visit in these areas before you apply. These extra steps make sure that your building plan fits the land well.
Building code for habitable rooms
Seattle has strict rules for any room where people live. These rules keep you safe and make the space useful. For a legal garage conversion, the main room must have a ceiling at least 7 feet high. Bathrooms and halls can be slightly lower at 6 feet and 8 inches.
You also need to make sure the floor slab is ready for living. This often means adding a vapor sheet and insulation under the floor. You also need to think about air and light. Every room needs a way to get fresh air, like a window or a fan.
If you add a bedroom, you must install a large window as a safety exit. This window must be at least 5.7 square feet so a person can fit through it with ease. You must also add smoke alarms and gas alarms in all sleep areas to meet fire codes.
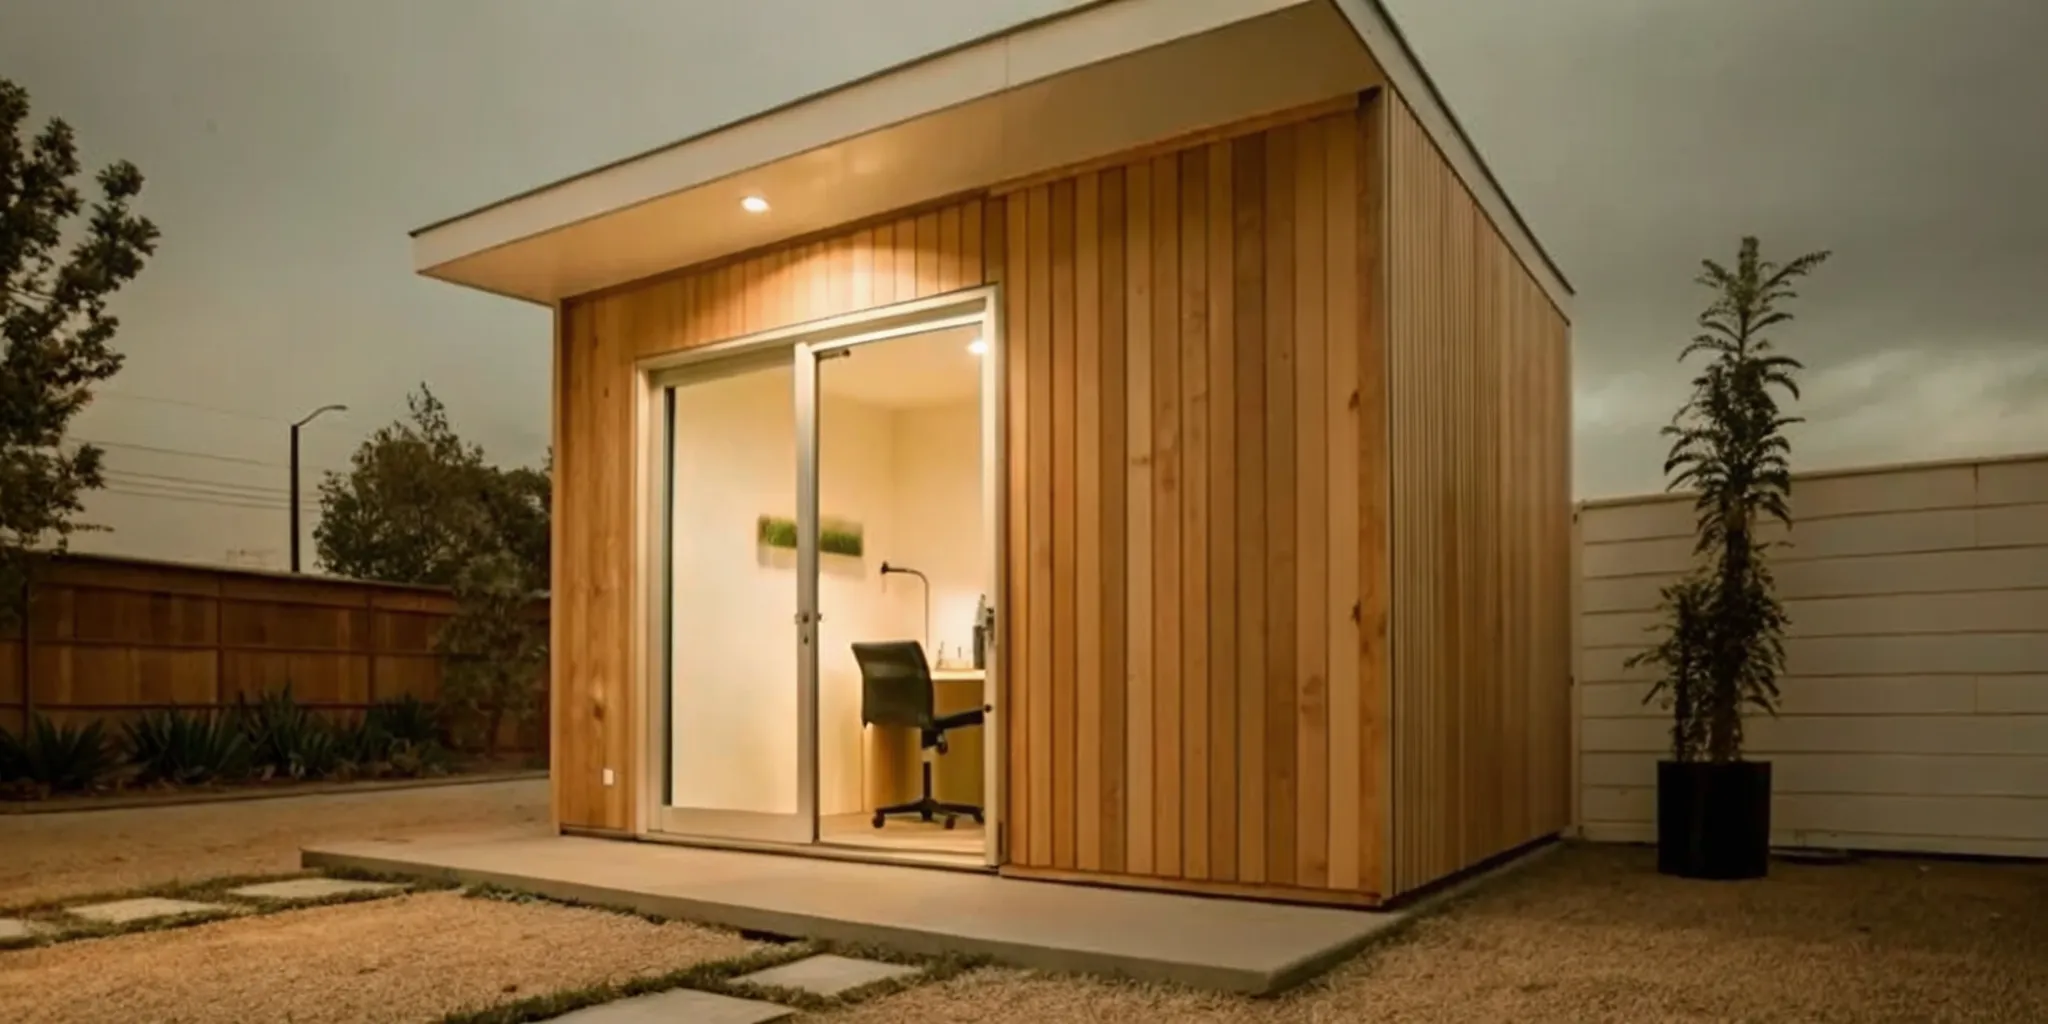
Accessory dwelling unit rules
Some owners turn their garage into a full home called an Accessory Dwelling Unit (ADU). Seattle allows up to two of these units on most single lots. You do not need a set lot size to build one, which makes it a great choice for many people.
A big plus for a garage conversion Seattle project is that you do not need to add more parking for an ADU. This rule changed in 2019 to help more people build on their lots. It makes the design process much easier for homeowners.
Building an ADU is more complex than just making a bonus room. You will need to follow rules for fire safety, heat, and energy use. You also need to look at how much of your lot you can cover with buildings. Most lots in Seattle limit structures to 50 or 60 percent of the total area.
Working with an expert guide can help you find the best path for your own home and goals. They can review your plans and help you find the right pros for the job. This support makes the whole process much less stressful for you.
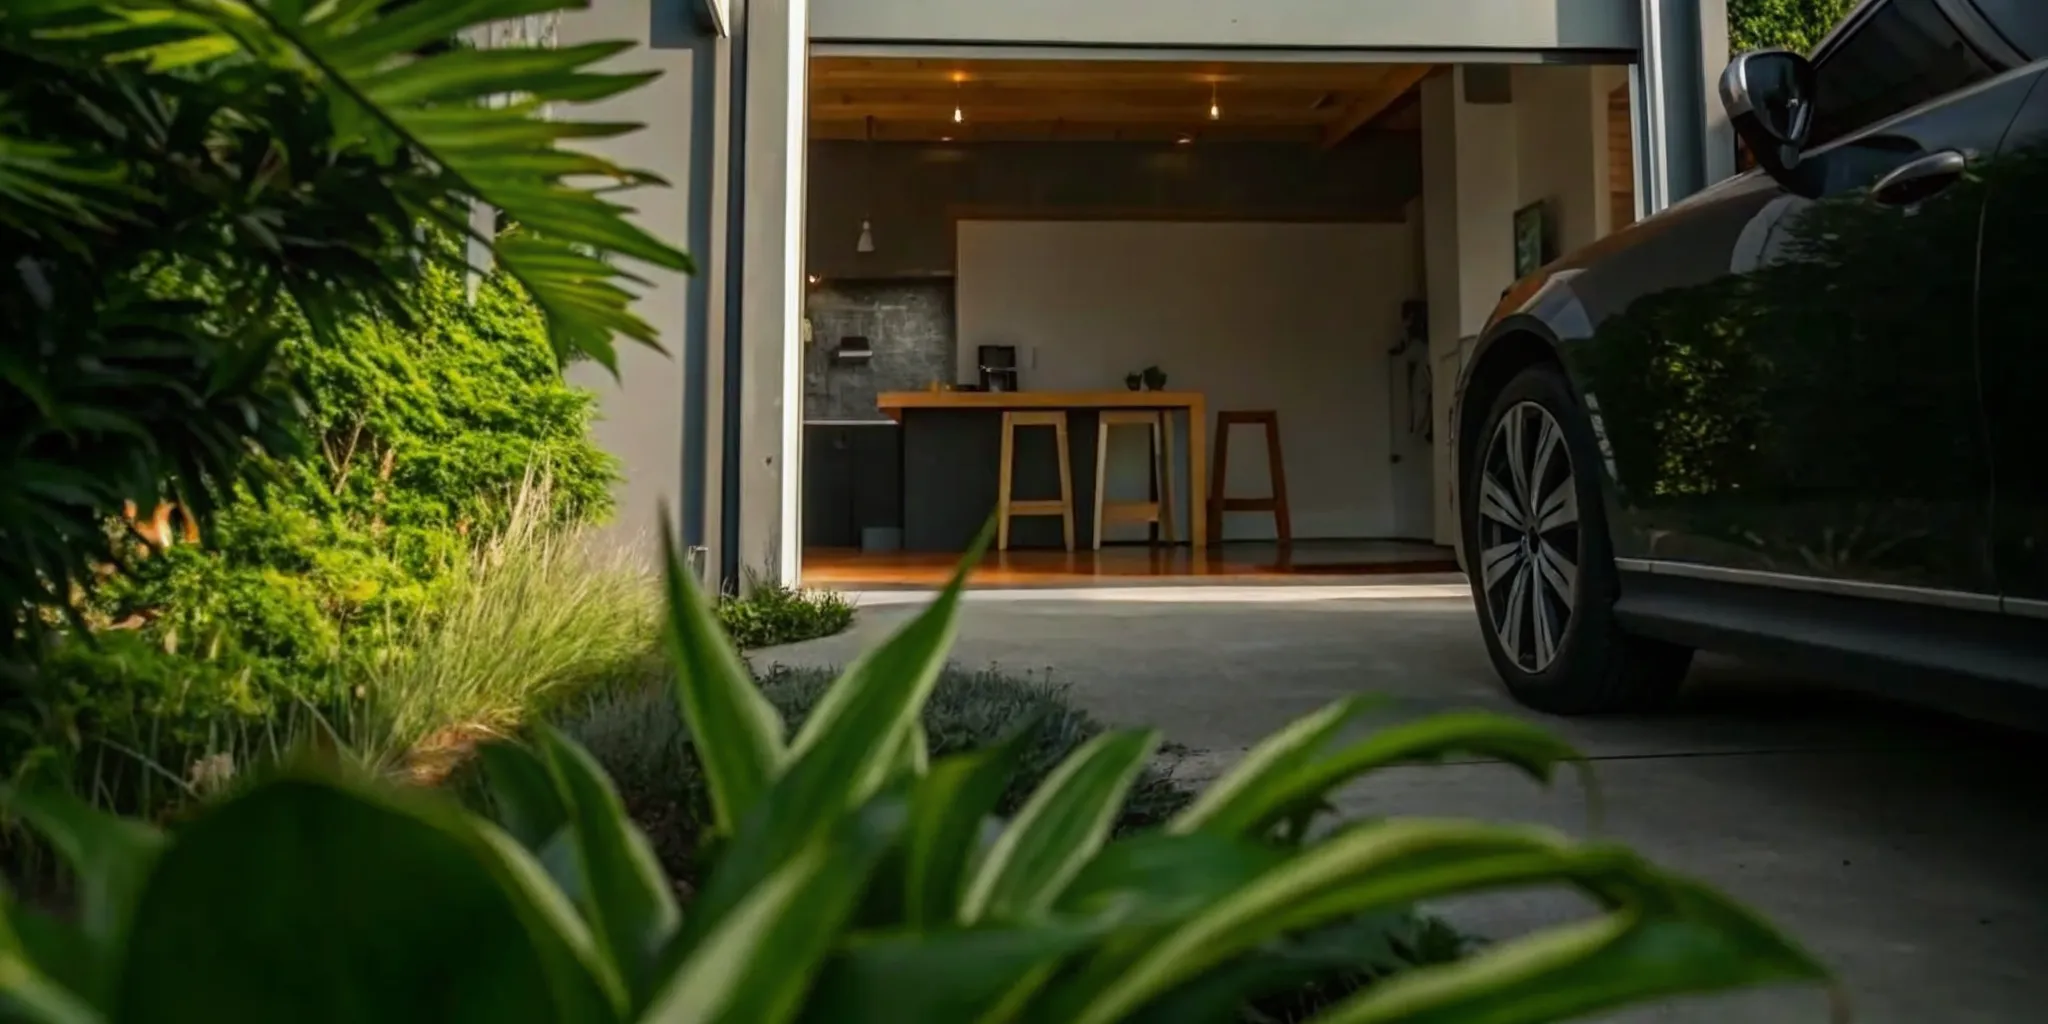
What drives Seattle garage conversion costs?
Seattle garage conversion costs are driven by the intended use, existing structural condition, permit and design needs, moisture protection, insulation, windows, utilities, and finish selections. A simple bonus room usually costs less than an ADU with a kitchen and bathroom, while drainage, foundation, sewer, or electrical upgrades can increase the budget substantially.
Planning a garage renovation cost breakdown for your home can be complex. In Seattle, the price to change a garage into a room varies a lot. You might spend $45,000 for a simple bonus room. But a full living unit with a kitchen and bath can cost $180,000 or more, says the Seattle Department of Construction and Inspections. Your final bill depends on how you plan to use the new space.
Permit and design fees
Every garage conversion project needs a permit to stay legal. You must follow the Seattle Residential Code to make sure the space is safe. Drafting plans also adds to the full cost. You may need an expert to draw plans that meet city rules. This step helps you avoid big fines or having to tear down work later.
Zoning is another cost driver. Seattle laws allow two living units on one lot. But you must still follow rules for how much of your land you can cover. Most zones limit buildings to about 50 to 60 percent of the lot. If your garage is in an odd spot, you might need extra help to get the right papers. This planning stage sets the path for your whole project.
Structural and utility needs
Garages are not built like houses. To make one a living room, you must change the base. Most garage floors need new layers to keep out wet air and cold. You must add insulation to the walls and roof to meet city heat rules. New windows are often needed to meet safety laws. Any bedroom must have a window large enough for a person to crawl through in a fire. These changes help keep your power bills low and the room warm.
Bringing water and power to the space is a big job. A full unit needs its own plumbing and wires. You will need a permit for any new sink or outlet. Adding a bathroom means digging up the floor to lay pipes. This work can be slow and needs skilled hands. A Seattle ADU cost planning session can help you see which systems you need most.
| Project Type | Scope of Work | Cost Impact |
|---|---|---|
| Bonus Room | Floors, walls, heat, and lights | Lower |
| Guest Suite | Adds a small bathroom and bed | Medium |
| Full ADU | Full kitchen, bath, and laundry | Higher |
| Detached Unit | New pipes from the main house | Highest |
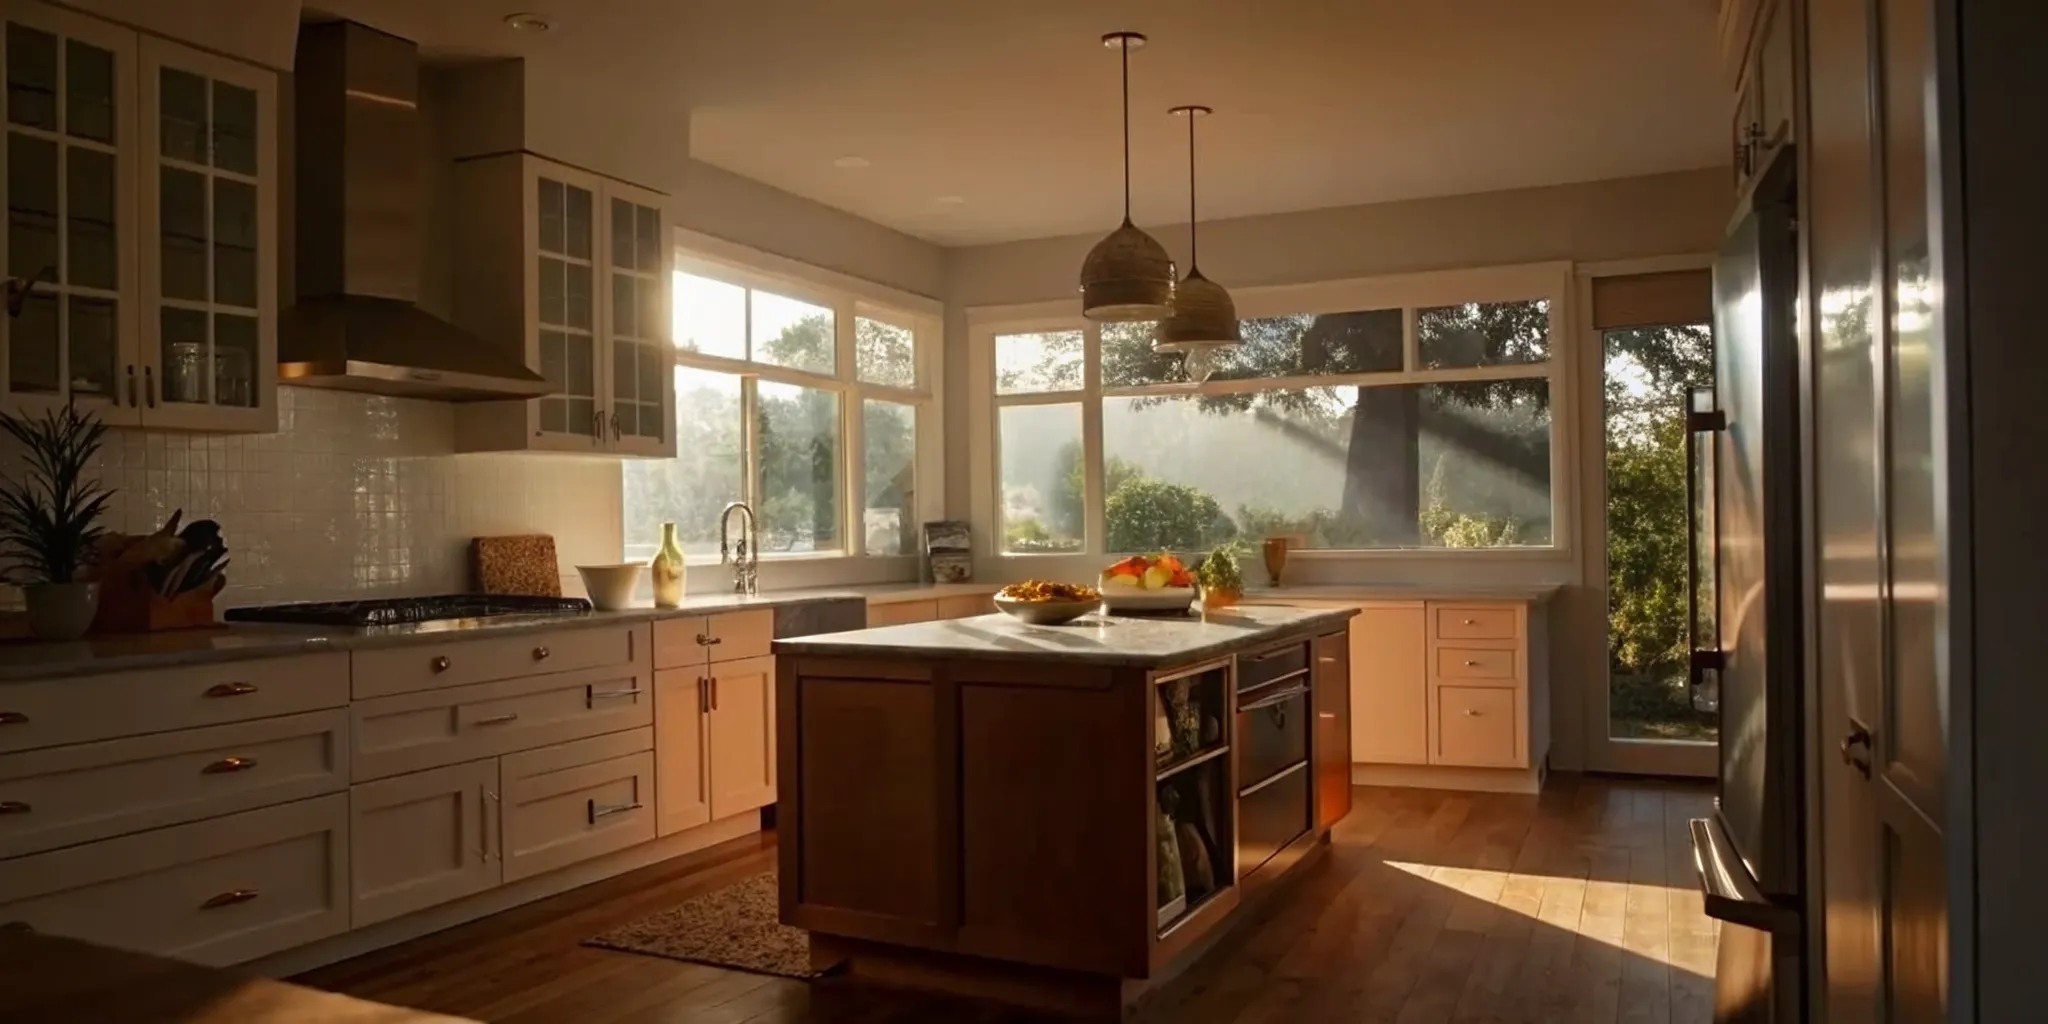
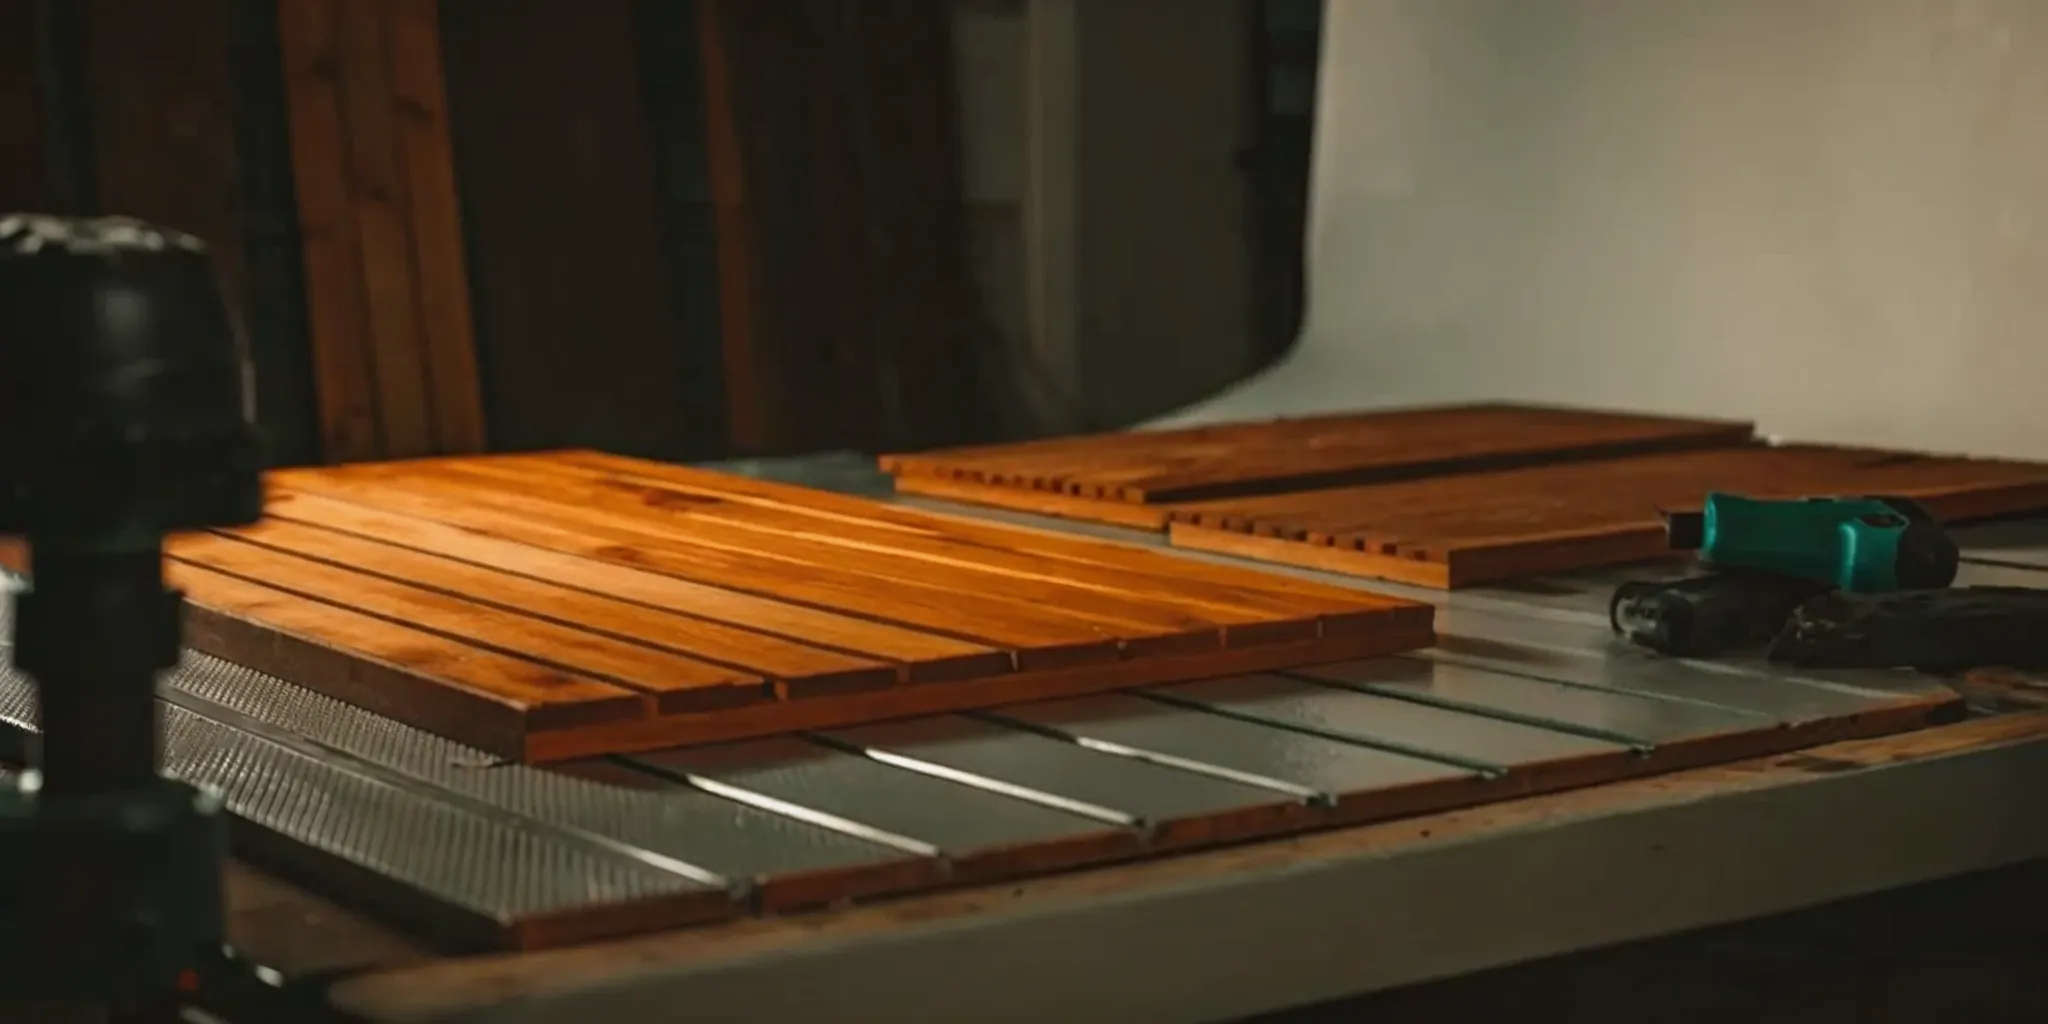
Interior finish choices
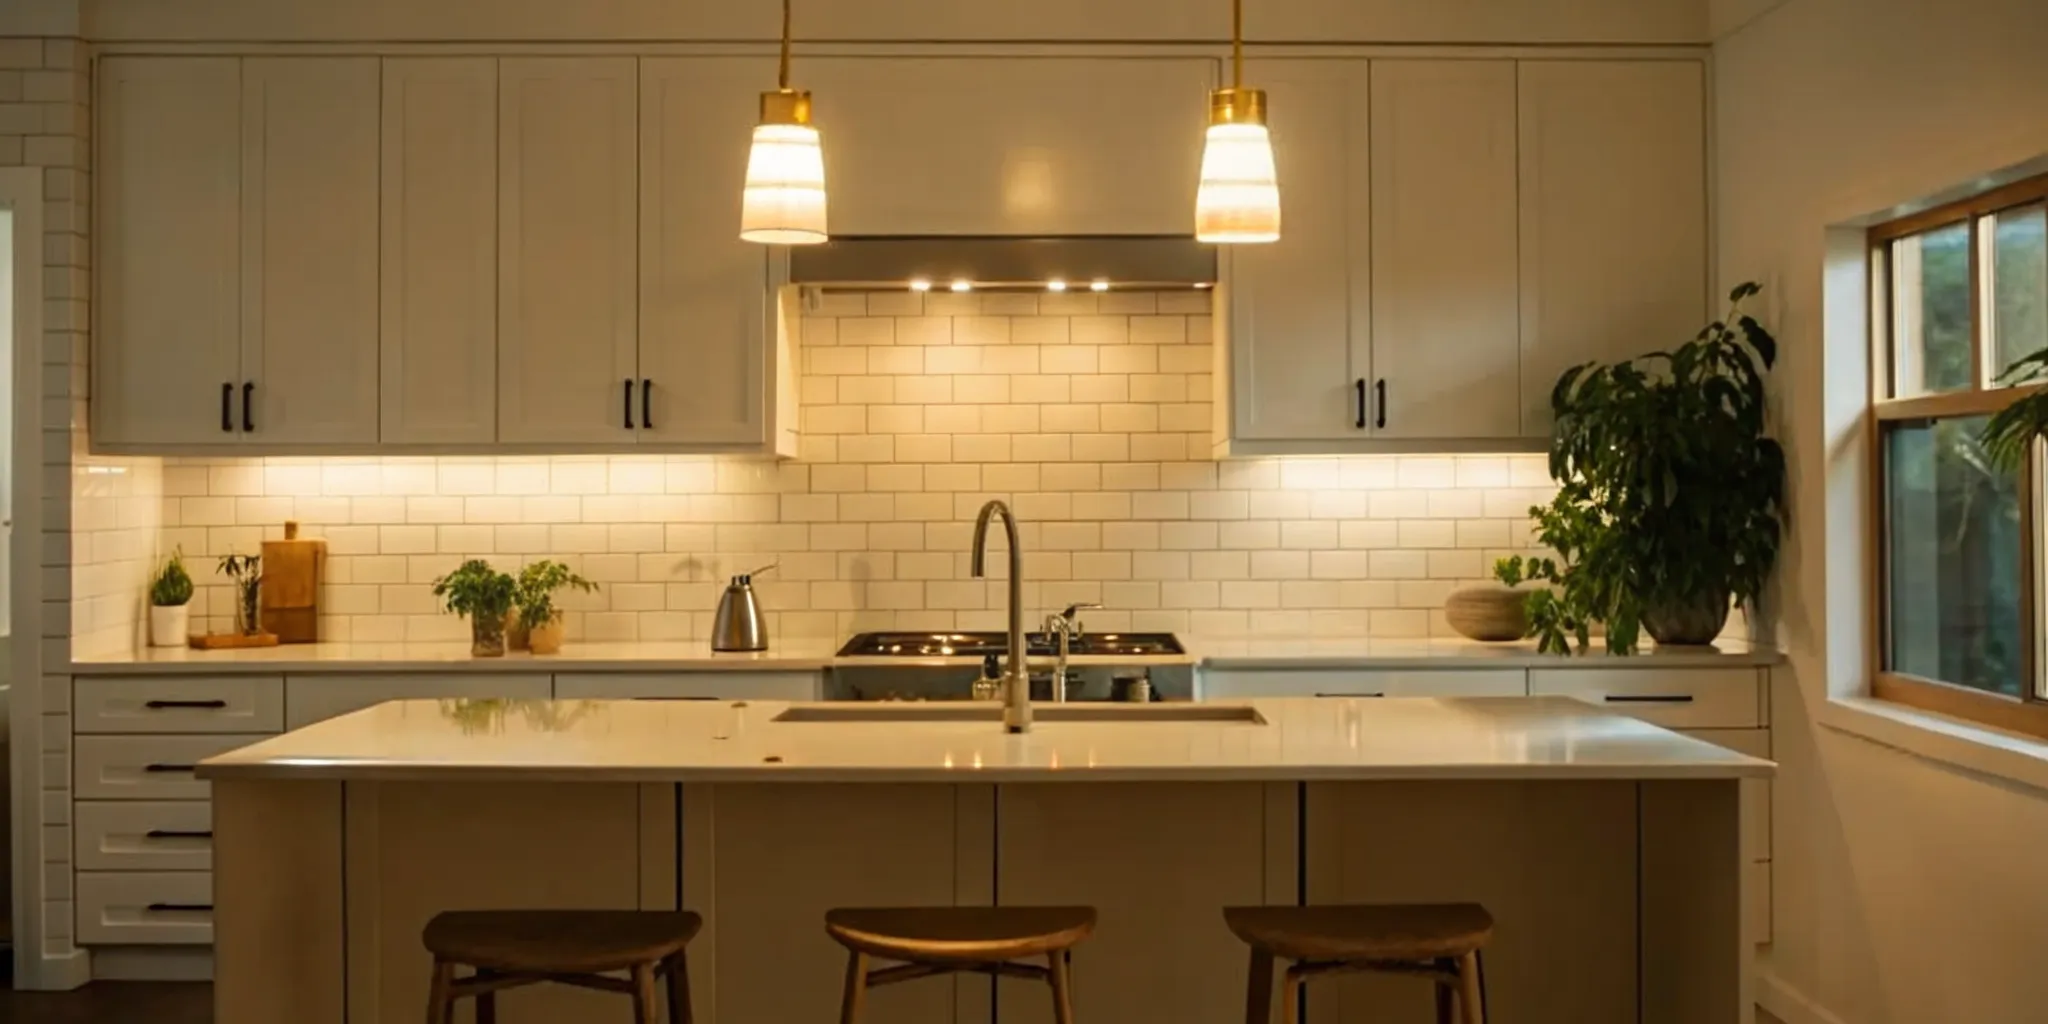
The things you see and touch also change the price. High-end floors and custom lights can add thousands to your bill. If you add a kitchen, you must pay for storage and tools. Buying pre-made items can save you money. Many people choose simple styles to keep costs down. Your choices here can make a big change in the final feel of the room.
Set aside a contingency for hidden work that may appear after walls or slabs are opened. Your advisor and contractor can help prioritize scope, compare tradeoffs, and keep decisions aligned with the approved budget.
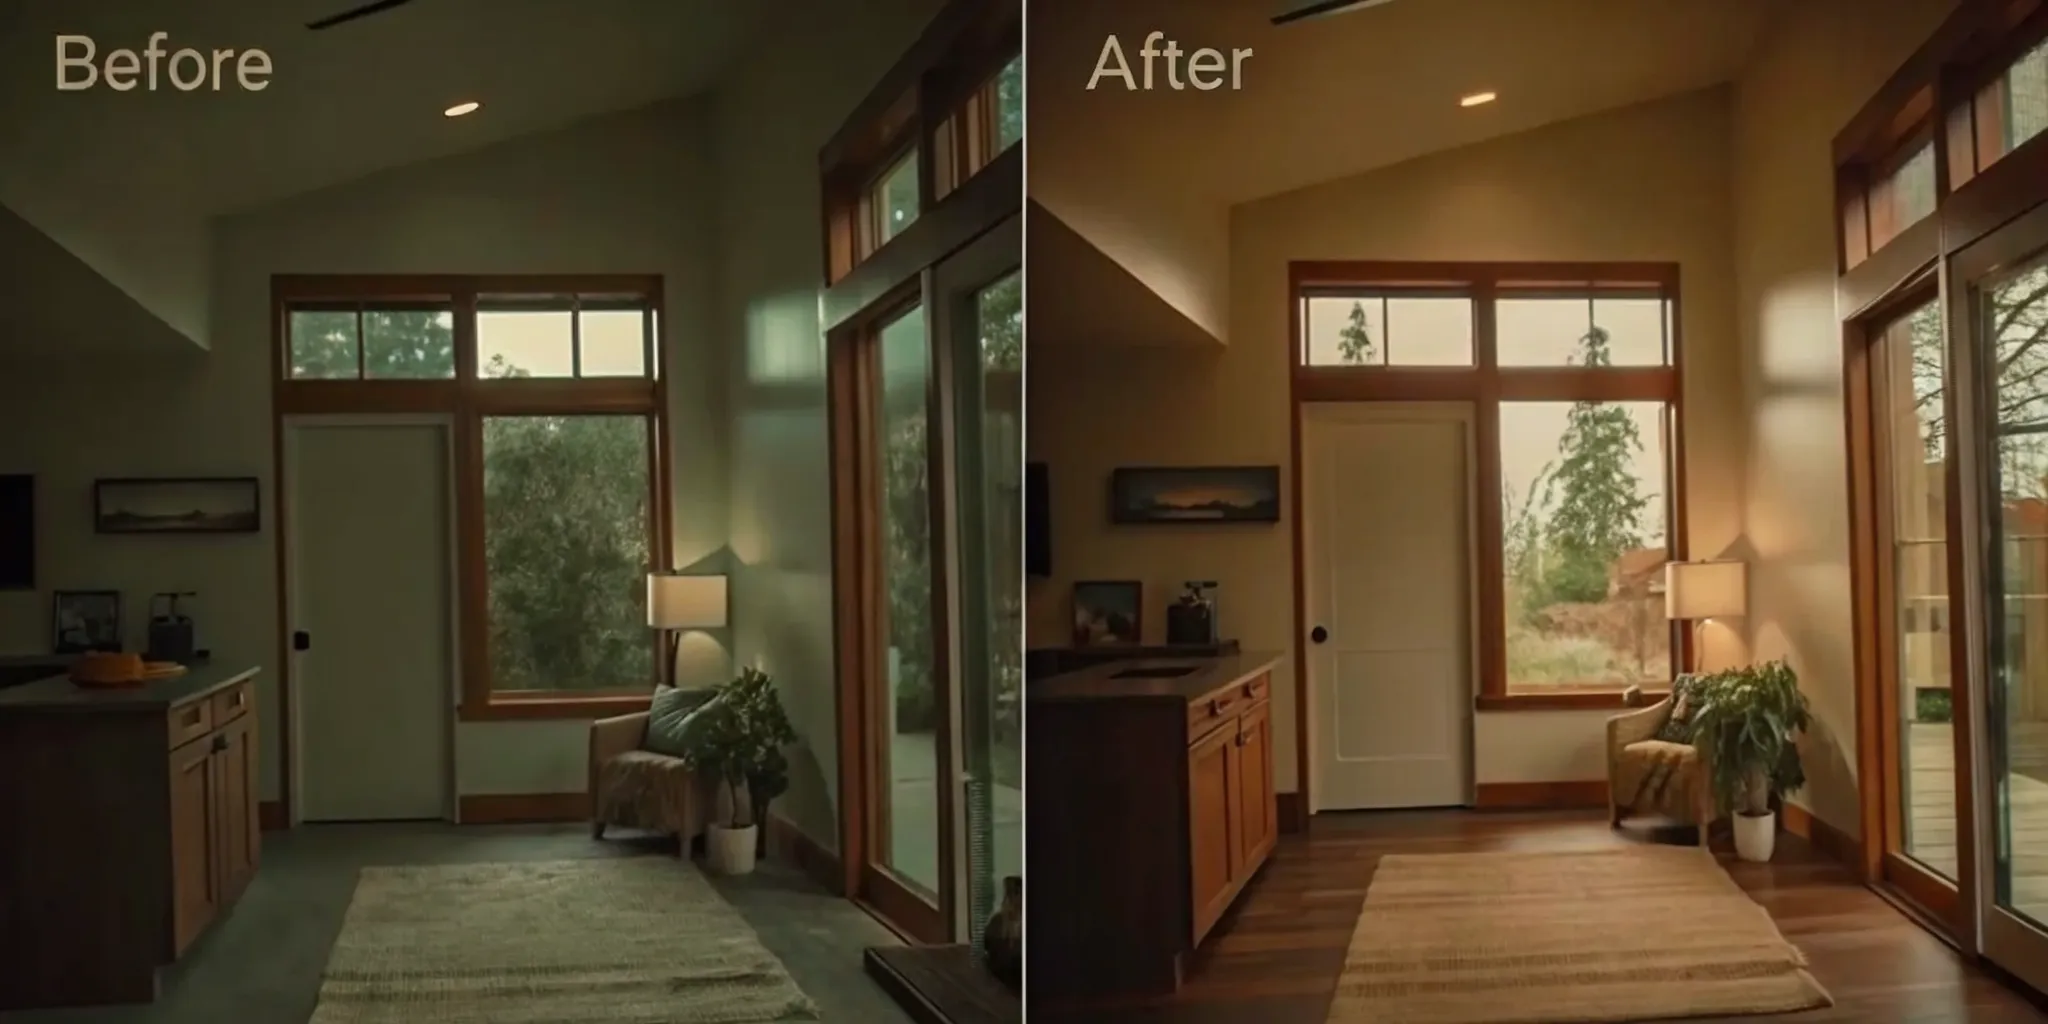
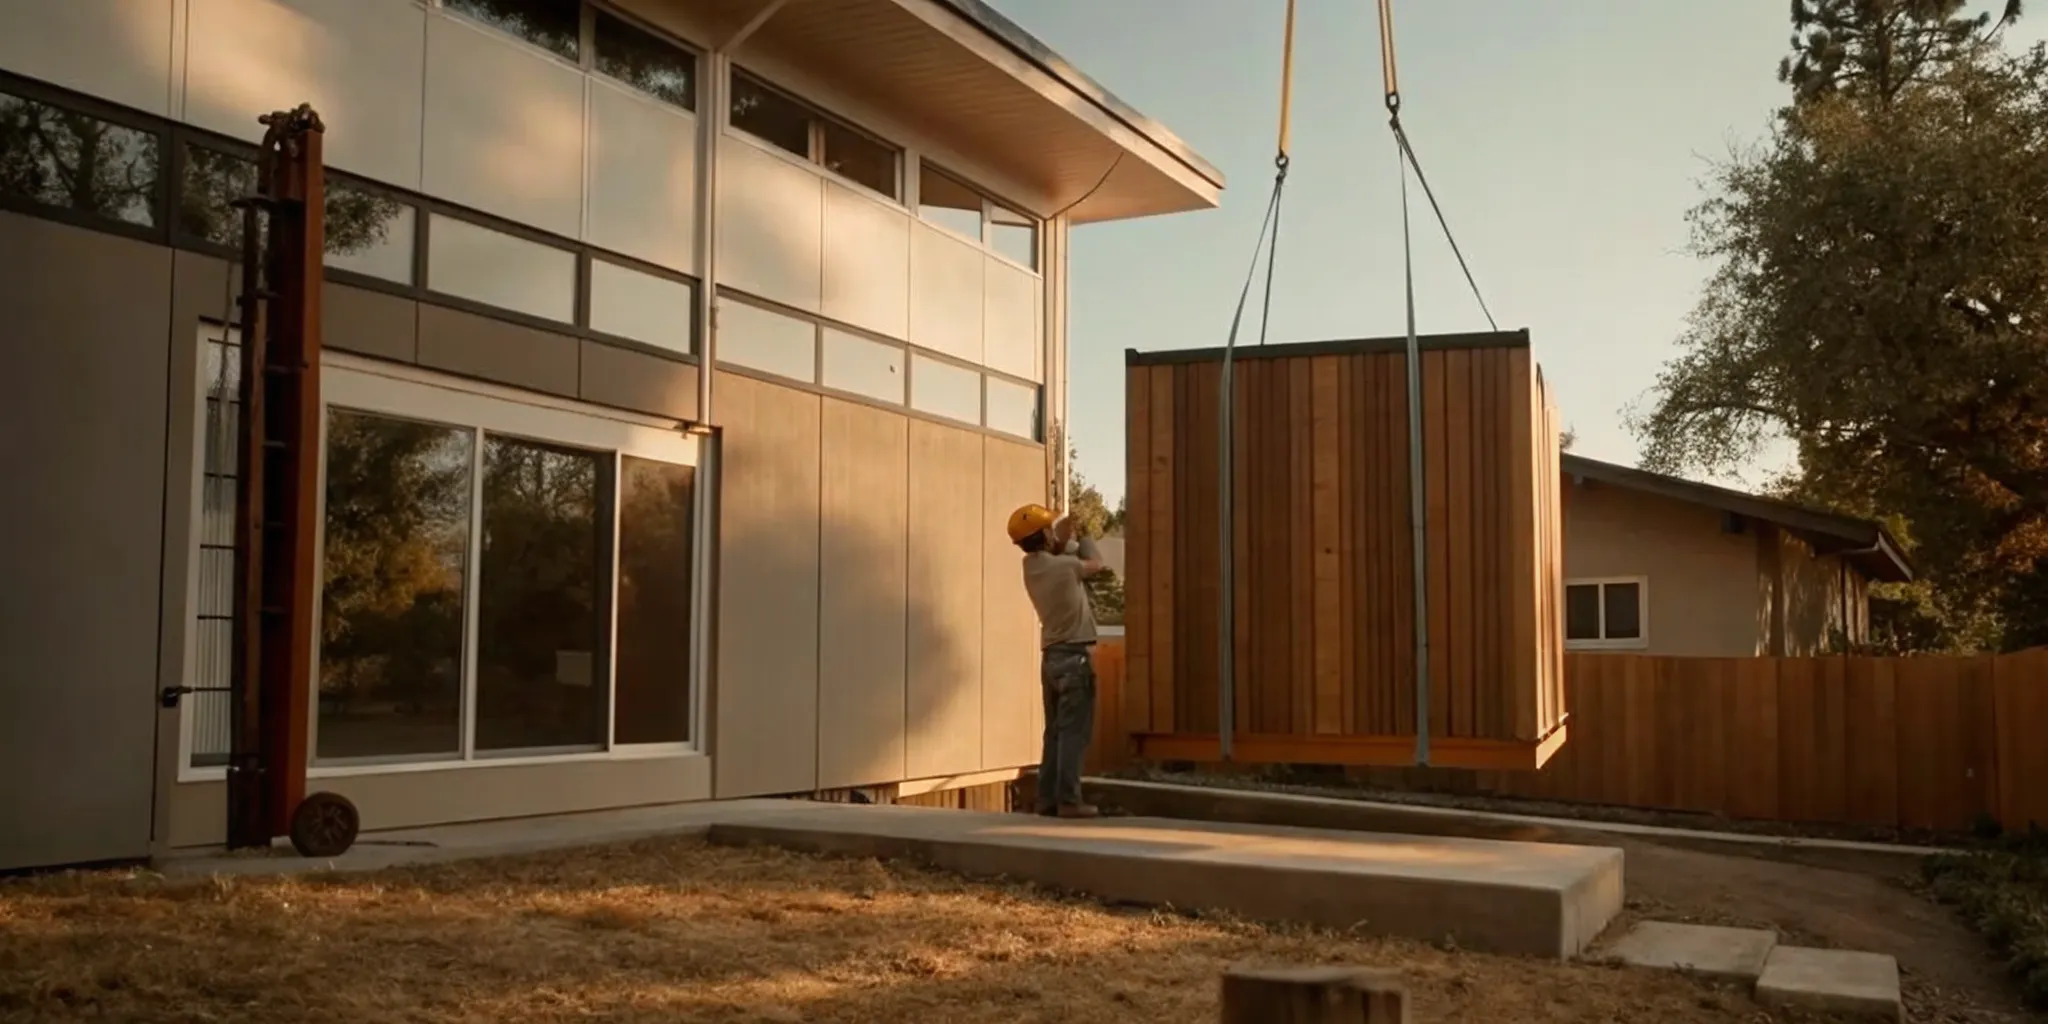
How does a garage conversion project unfold?
A garage conversion moves from feasibility and goal setting through design, permitting, contractor selection, construction, inspections, and closeout. Starting with a documented scope helps the design team and builders price the same work. During construction, scheduled city inspections verify that structural, utility, energy, and life-safety work follows approved plans.
A garage conversion project moves in stages. It starts with a clear plan and ends with a new living space. For a garage conversion Seattle owners must follow local rules. These rules ensure the space is safe and legal.
The process can feel big, but a step-by-step path makes it easy. Setting goals early helps you stay on budget. It also helps you talk to builders about what you want.
Check zoning and limits first
Before you pick paint colors, you must know what the city allows. In Seattle, most homes can add a living unit. You need to check the Seattle Department of Construction and Inspections rules. They look at things like how much of your lot has buildings.
Most areas allow two units per lot, but you must follow height and size limits. You also need to check the frame of your garage. Some floors need new slabs to meet living standards.
You might need to add insulation or vapor barriers to keep the room dry. Checking these facts early helps you avoid shocks later. It also helps you set a real price for the work.
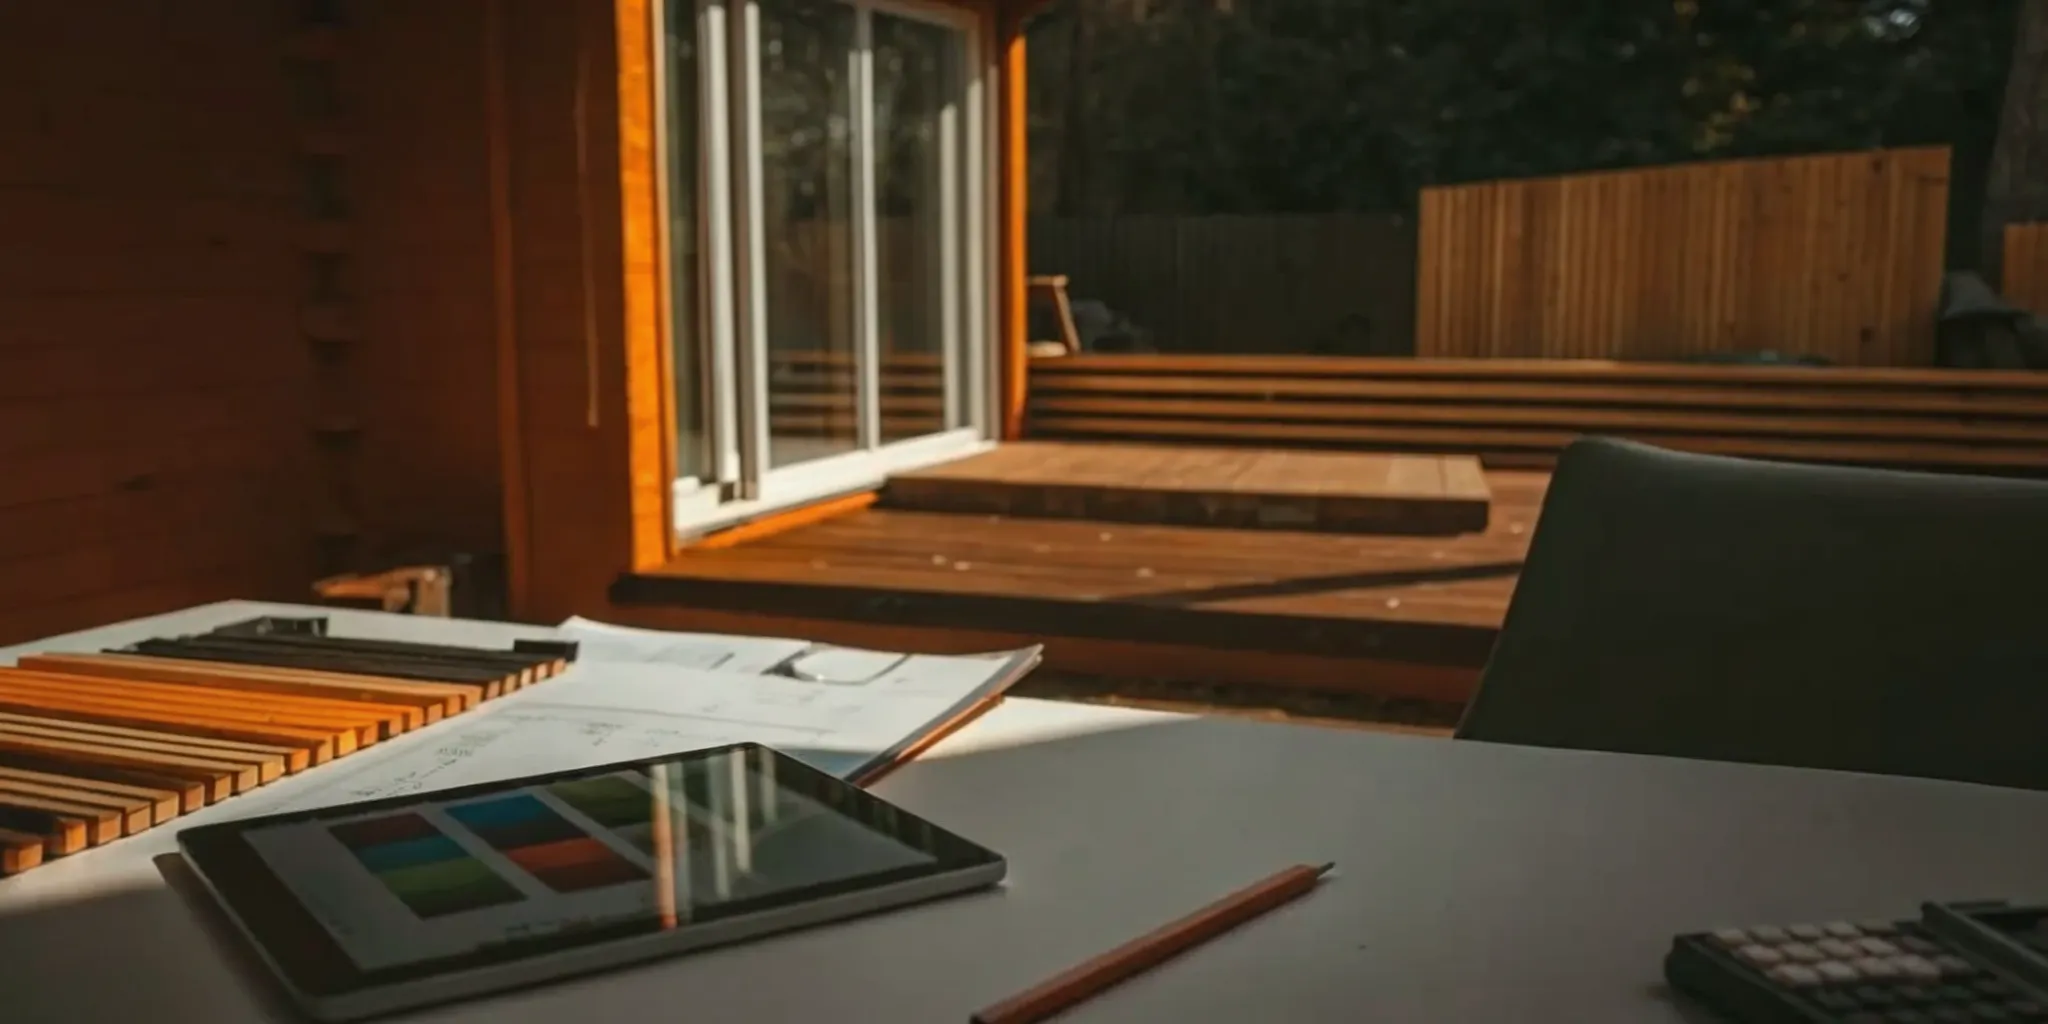
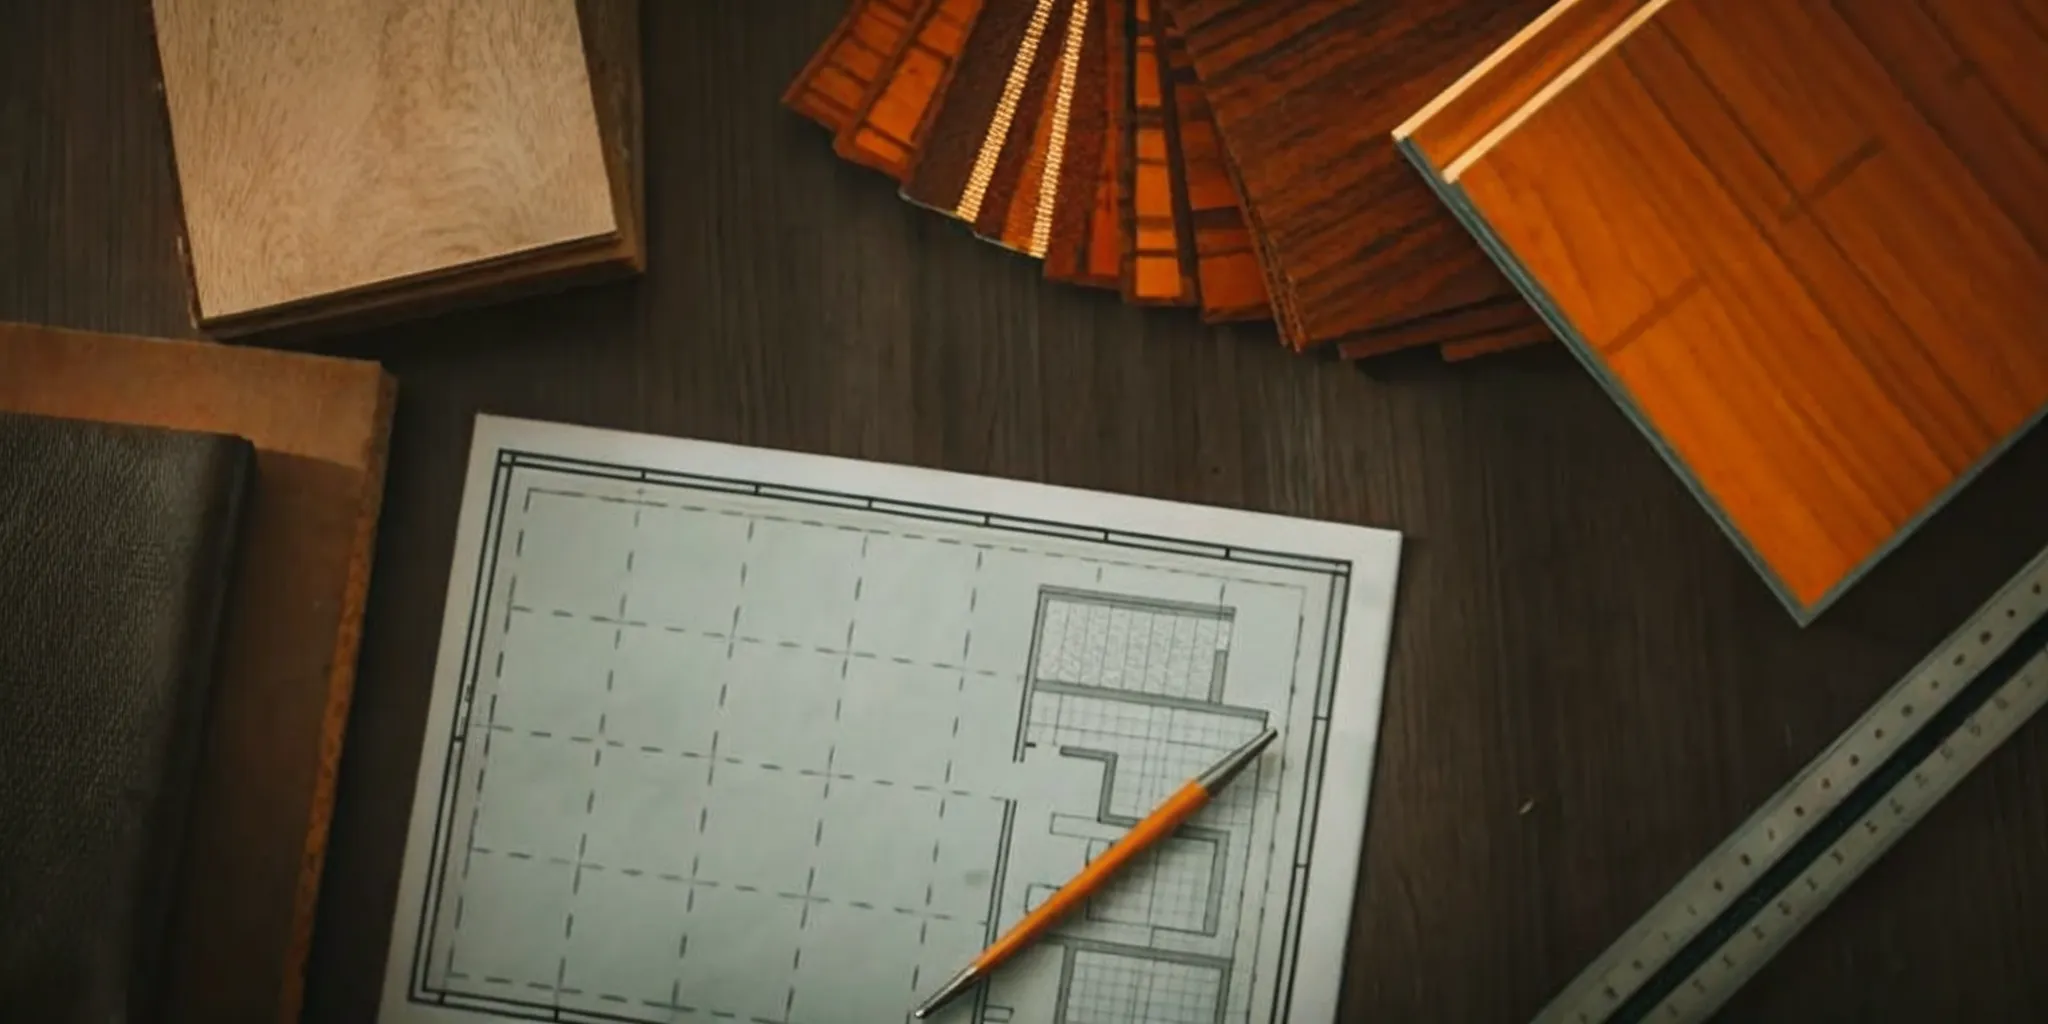
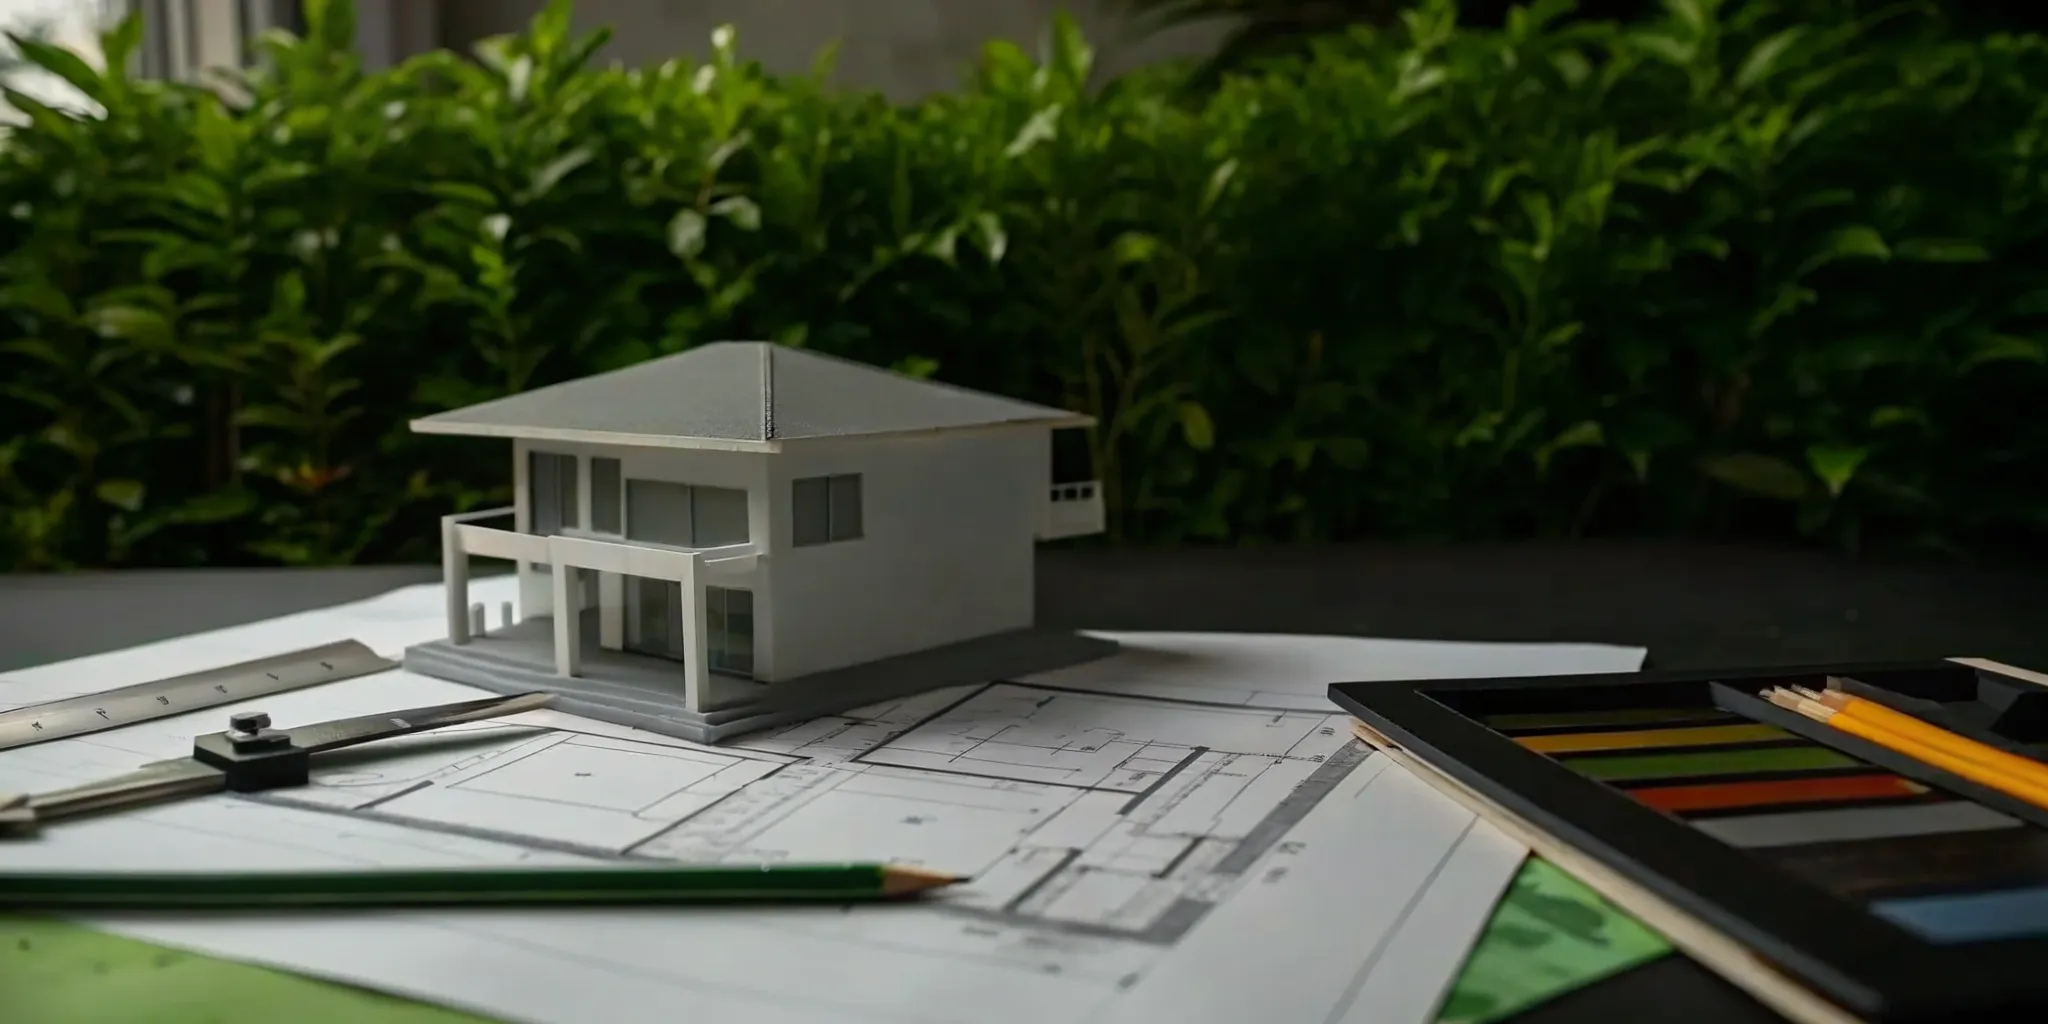
Design your new living space
Once you know what is legal, you can start the design. You will need plans that show the new layout. This includes walls, windows, and doors.
These plans are the map for your whole project. In Seattle, rooms must have a certain ceiling height. Proper Seattle ADU cost planning includes these design fees.
Most rooms need at least seven feet of space from floor to ceiling. Good plans also show how you will heat and cool the space. You might need new pipes for a sink or a bathroom.
If you add a bedroom, it must have a window large enough to use as an exit. These safety rules are key to getting your city permit. Following the rules from the start saves time later.
- Set goals and check rules. Decide how you will use the room. Check your lot size and zoning limits with the city to see what is possible.
- Draft the project plans. Hire a pro to draw the layout. These plans must meet the local building code for safety and energy use.
- Apply for city permits. Submit your plans to the city office. Most garage projects in Seattle need a construction permit to start work.
- Get bids and hire help. Show your plans to builders. Choose a team that has a good history with garage projects and local codes.
- Prepare the site and build. Clear out the garage. The crew will then add walls, floors, and lights to turn the garage into a room.
- Pass city inspections. City workers will visit to check the work. They make sure the wiring and pipes are safe and follow the plans.
- Final walkthrough and closeout. Do a final walk with your builder. Once the city gives the final okay, you can start using your new space.
Manage your project timeline
Most projects take a few months from start to finish. The time depends on how fast the city reviews your plans. It also depends on the type of work you need.
A full suite with a kitchen takes longer than a simple office. Working with experts can help keep the project on track. They can handle the hard parts so you can enjoy your new room.
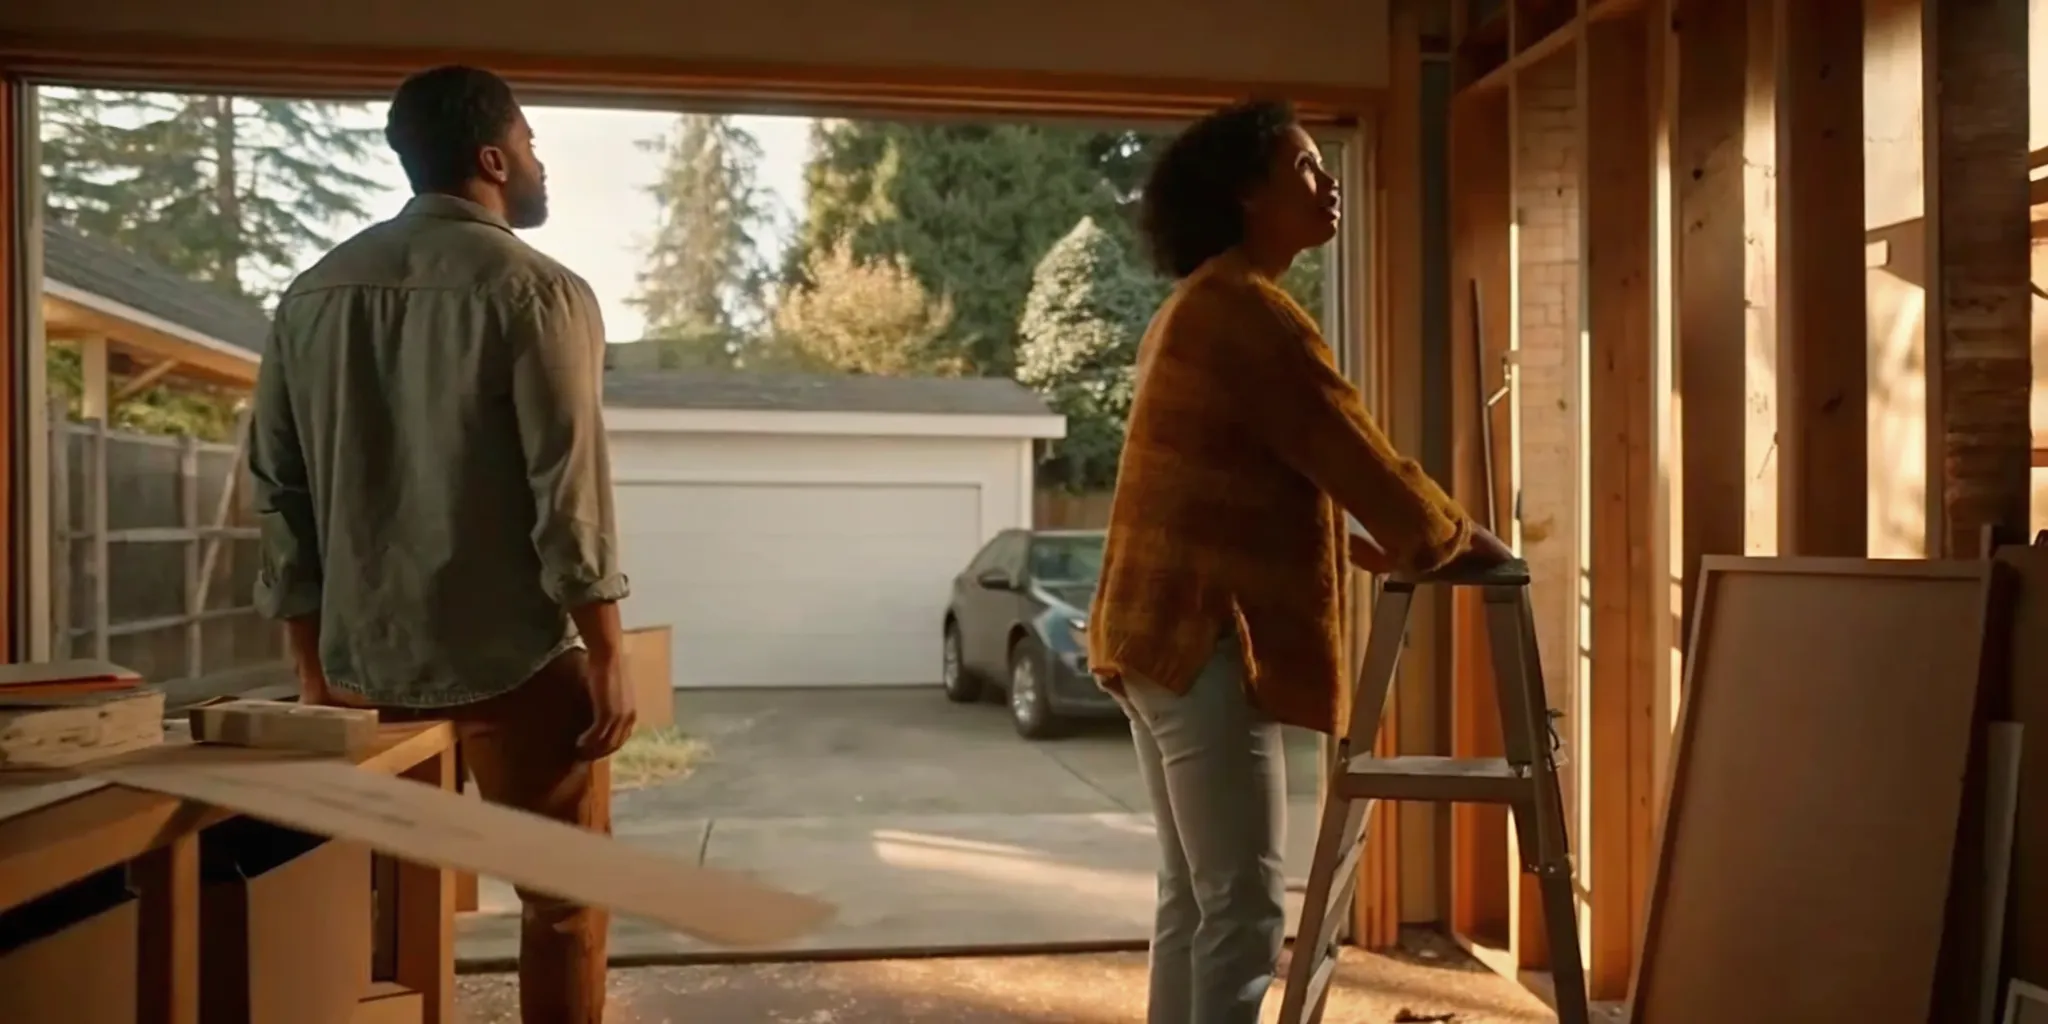
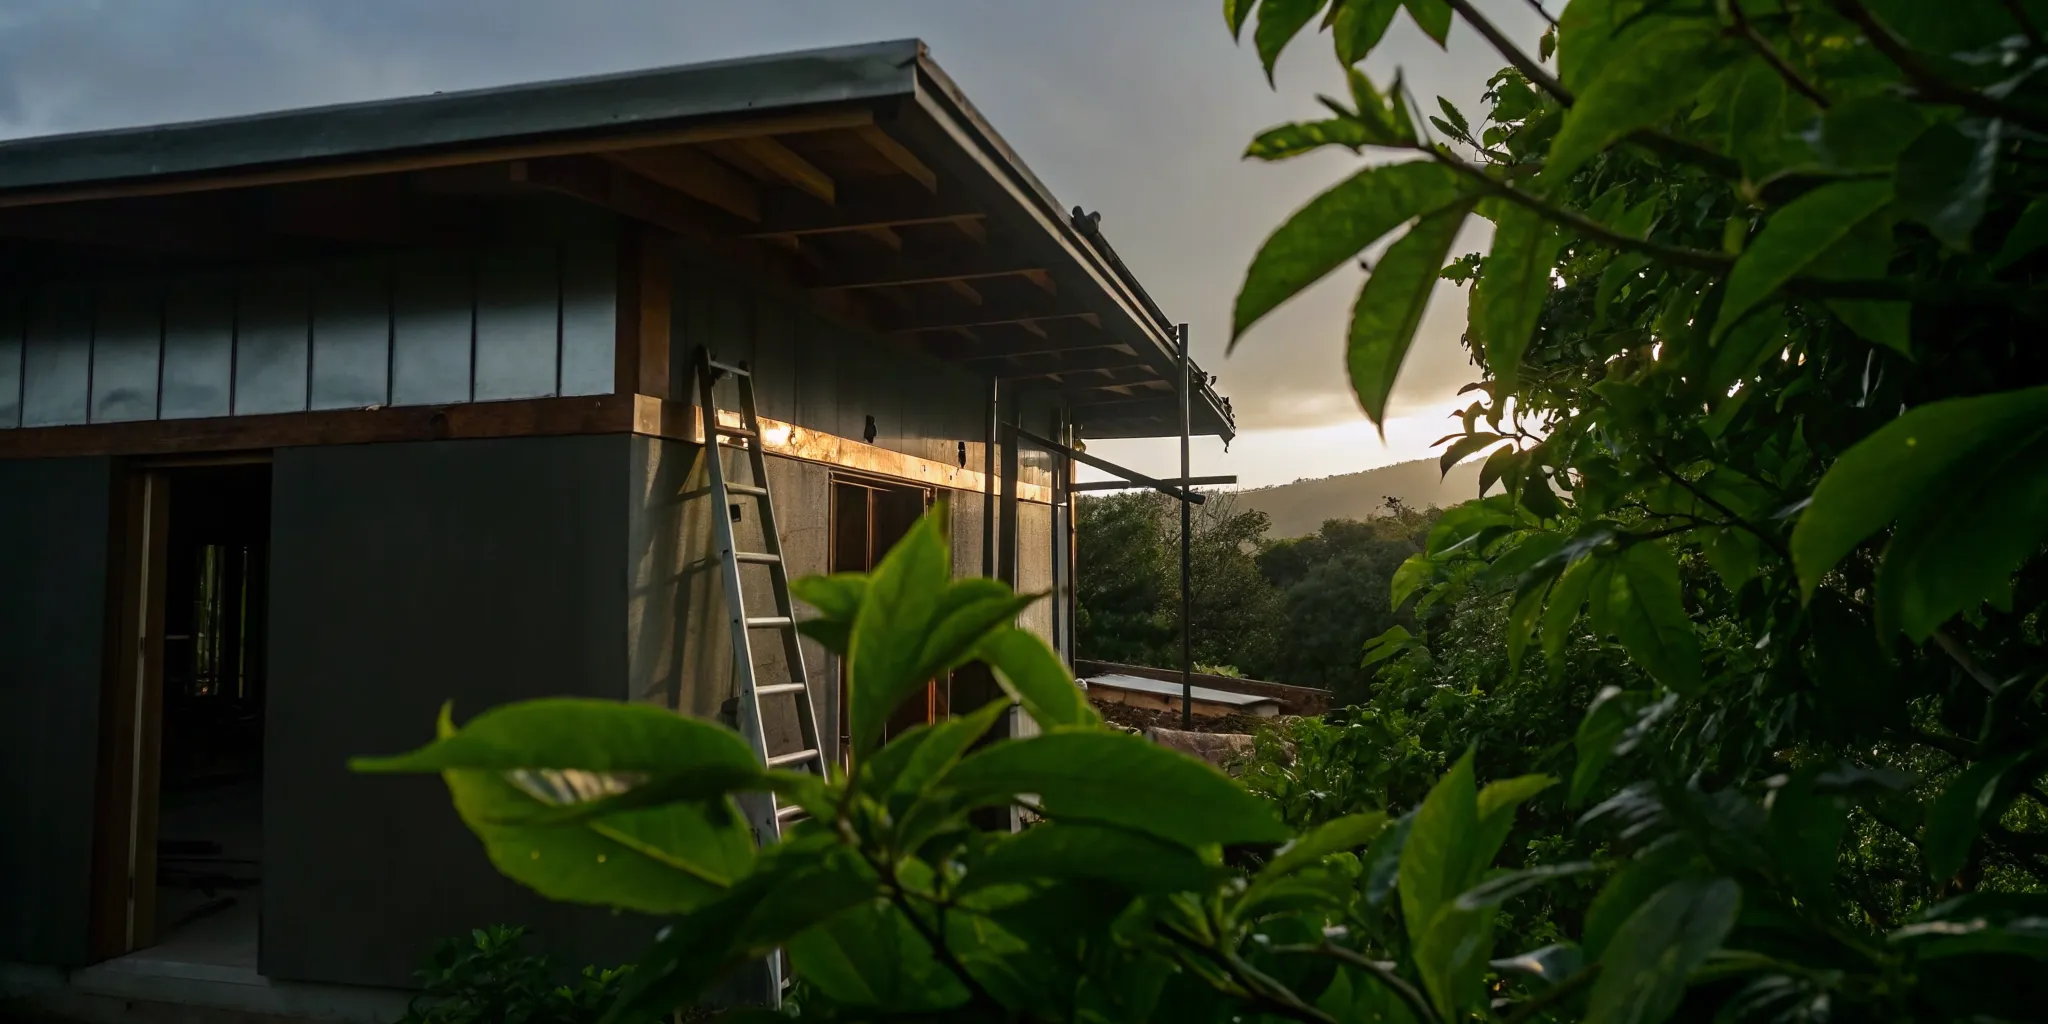
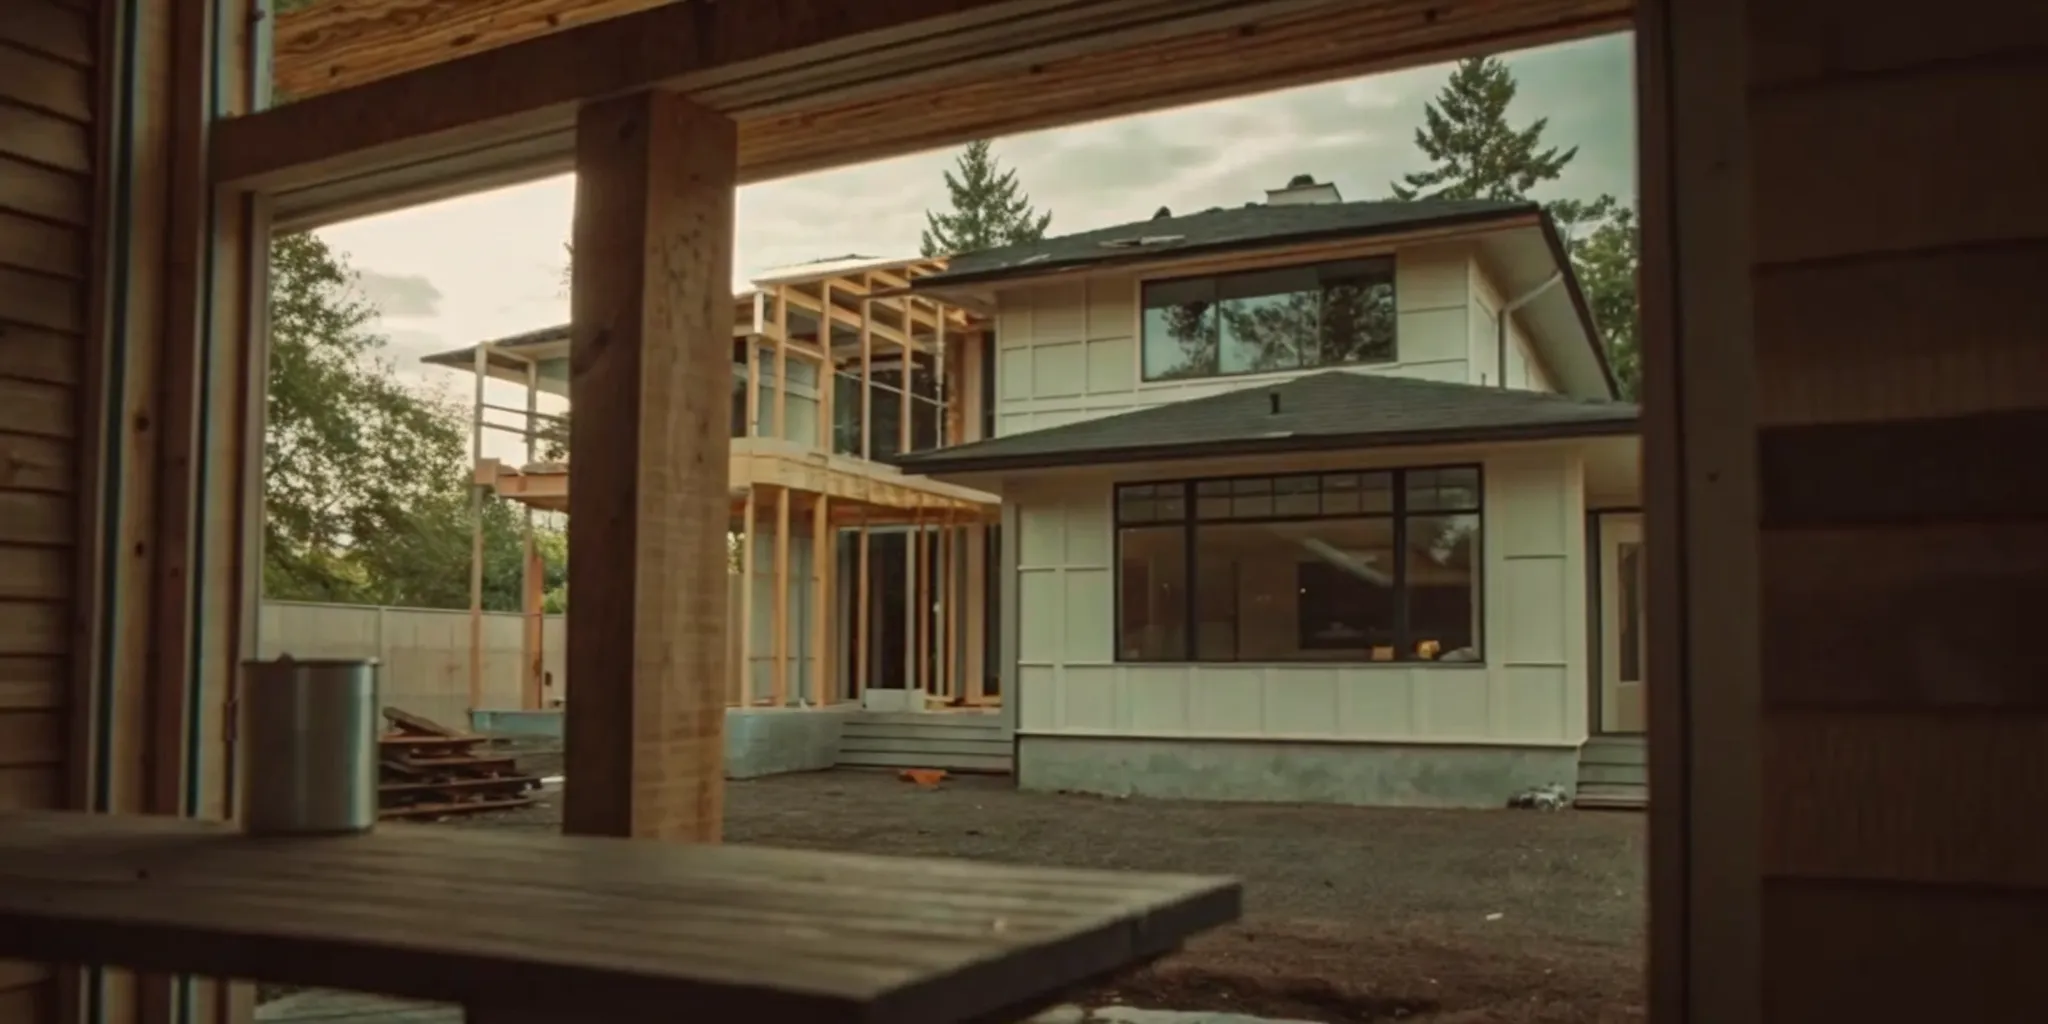
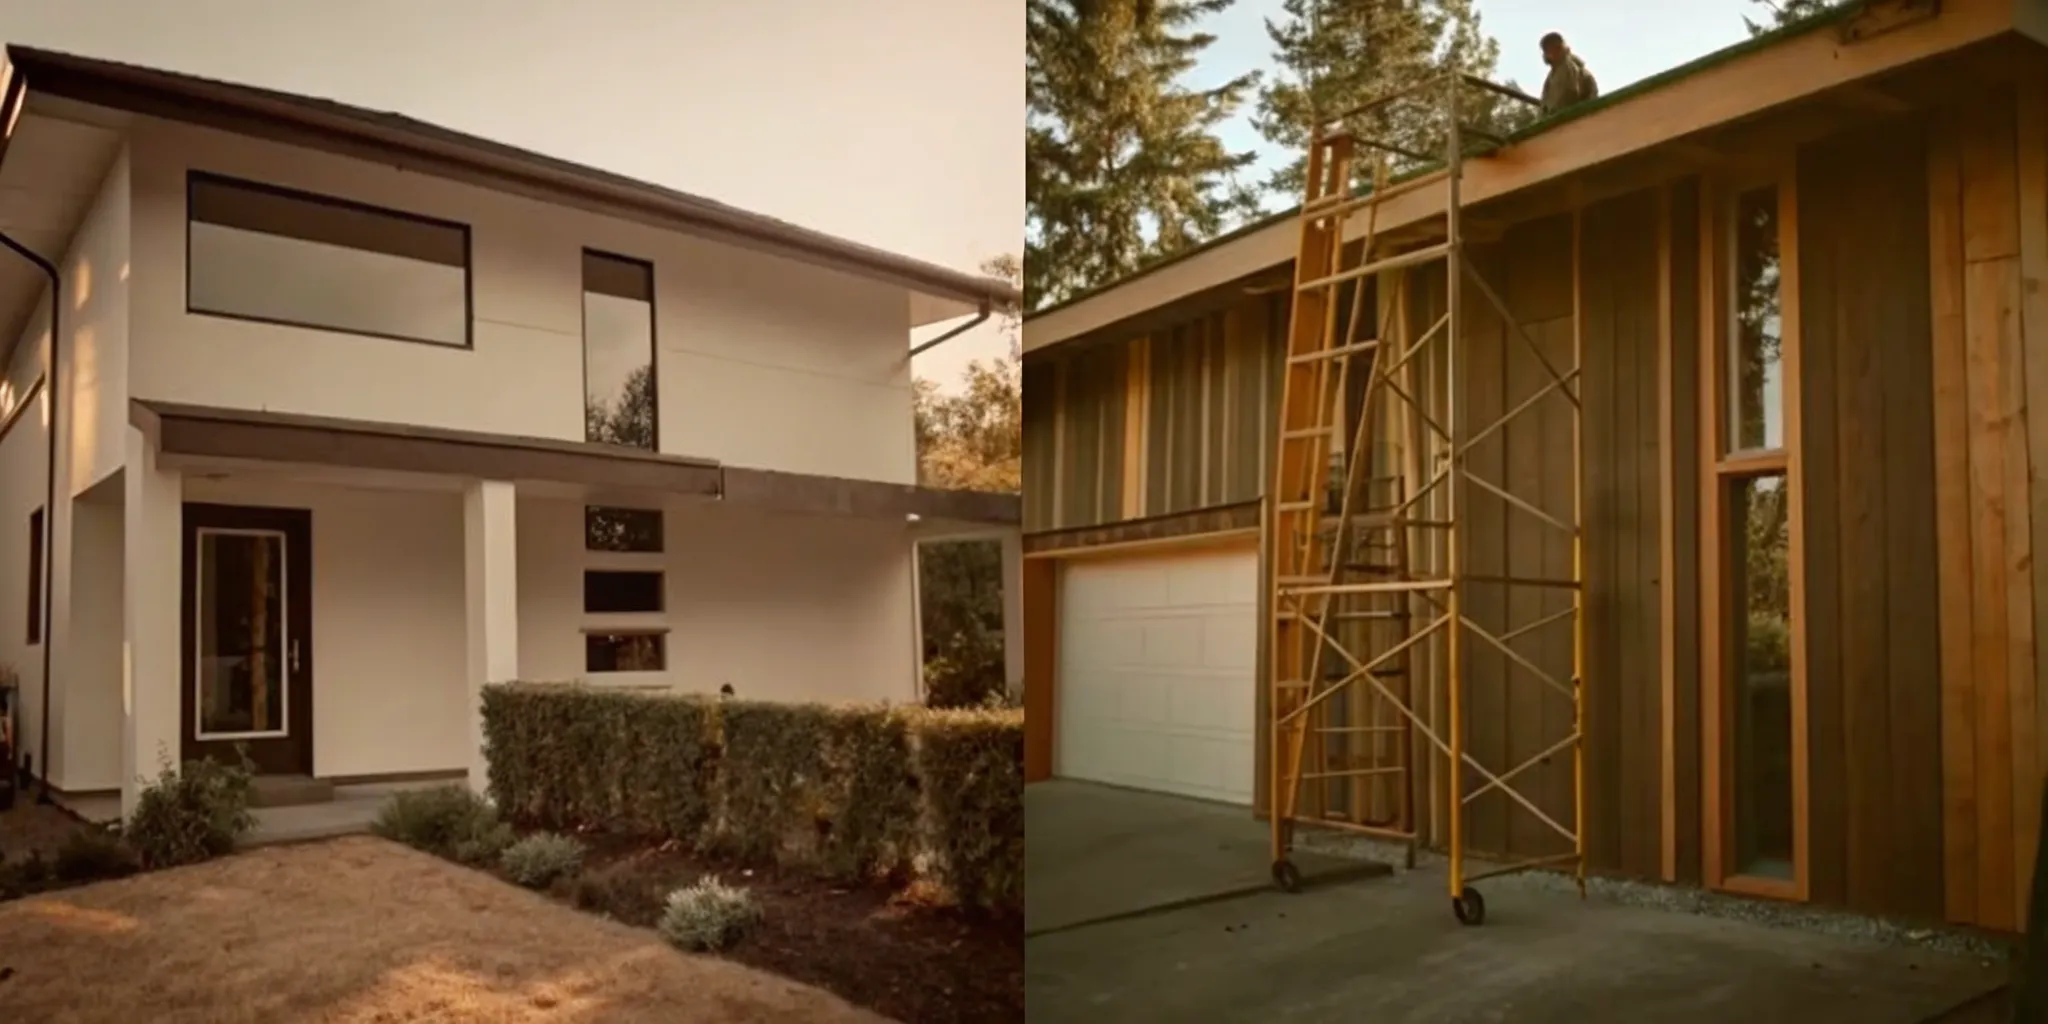
Plan the envelope and utility upgrades
Seattle's wet weather makes the shell of the room the first goal. Most garages are just shells with thin walls and cold floors. To make it a home, you must add layers to keep heat in and water out. You also need to bring in new power and water lines to meet city rules.
A tight shell for comfort
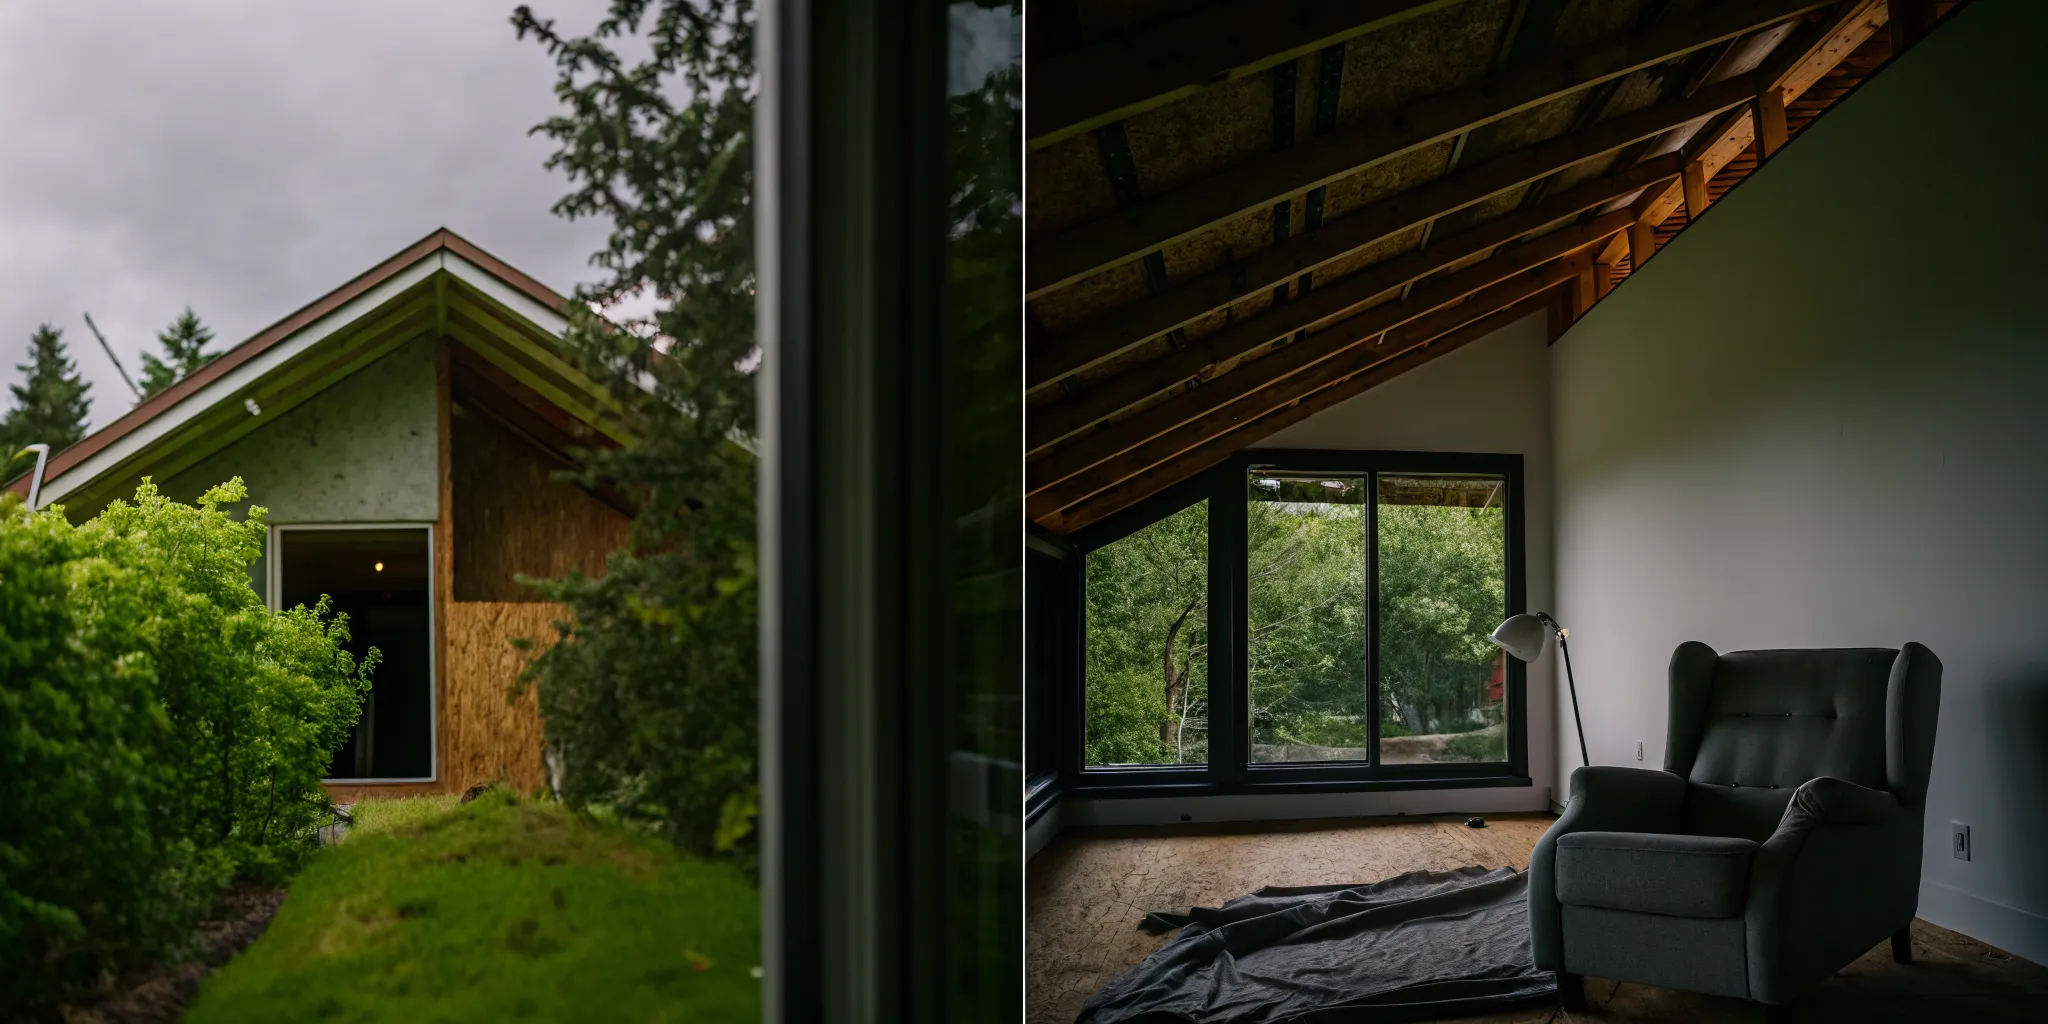
The shell is a big part of the cost for any garage conversion in Seattle. Seattle rules say your room must meet energy goals to be lived in. This means you need to add padding to the walls, roof, and floor. For the floor, you might need to add a plastic wrap and foam under the new floor. This stops wet air from the ground from making the room feel cold.
The roof needs thick padding too. Check the Seattle permit rules for the exact R-values you need. Most rooms need at least 7 feet of head room to be legal. If your garage has a low roof, you may need to dig out the floor or raise the roof.
Good air sealing is just as vital as padding. You must seal gaps around the door and windows to stop drafts. In the local area, air leaks can also let in damp air. This can lead to mold if you do not plan for it. Using high-quality tape and foam helps keep the air inside dry and warm.
Modern power and water lines
Most old garages only have one or two lights and no water. A Seattle ADU cost planning list will always have new wiring and pipes. You will need a new power box if your house does not have enough power for a kitchen. If you plan to add a sink, you must connect to the main sewer line. This often means digging up the yard to lay new pipes.
You should also think about fire safety. City rules need smoke alarms that link to the main house. You may also need fire-safe walls if you are close to the edge of your land. These steps keep you safe and help you pass the final check.
You must ensure the new pipes have the right slope to drain well. If the garage is lower than the sewer line, you might need a pump. It is smart to convert a garage into a room legally by following all local rules. Talk to a pro early to avoid any surprise costs during the build.
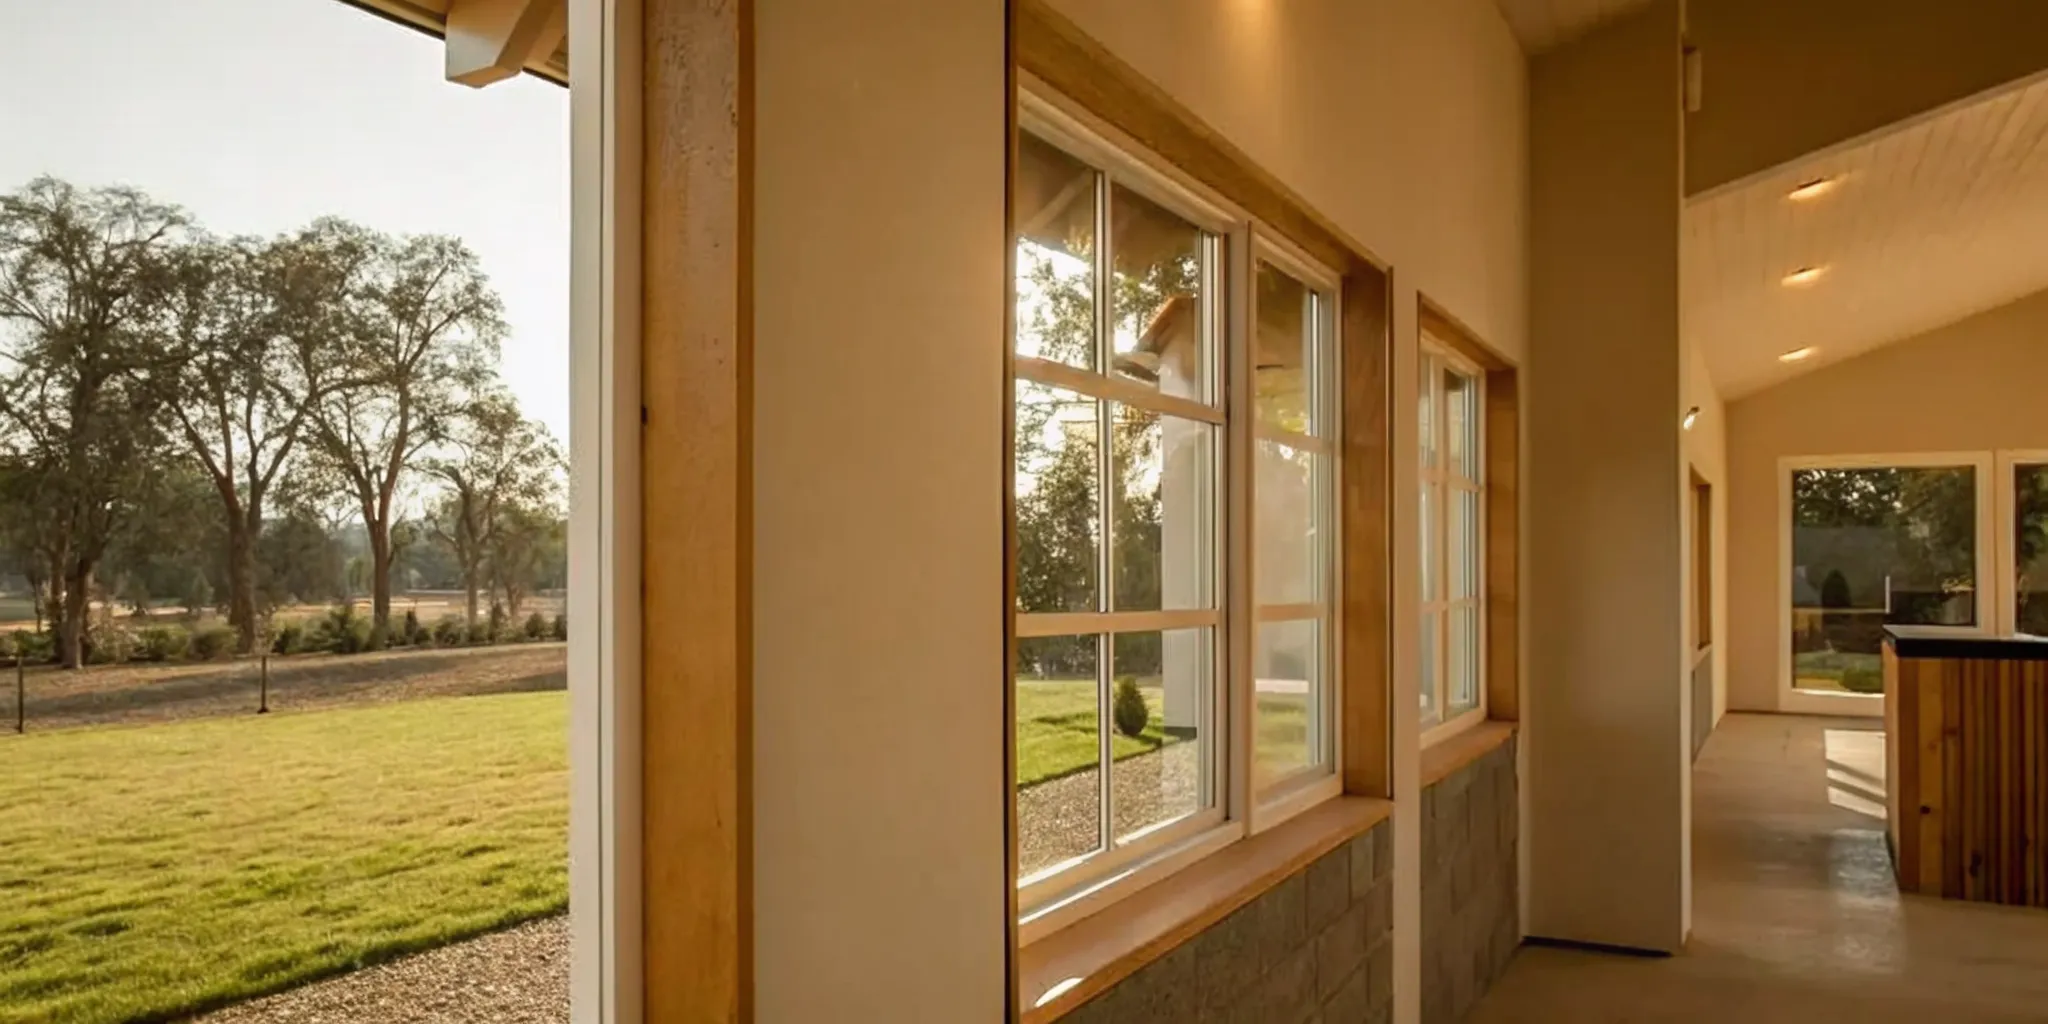
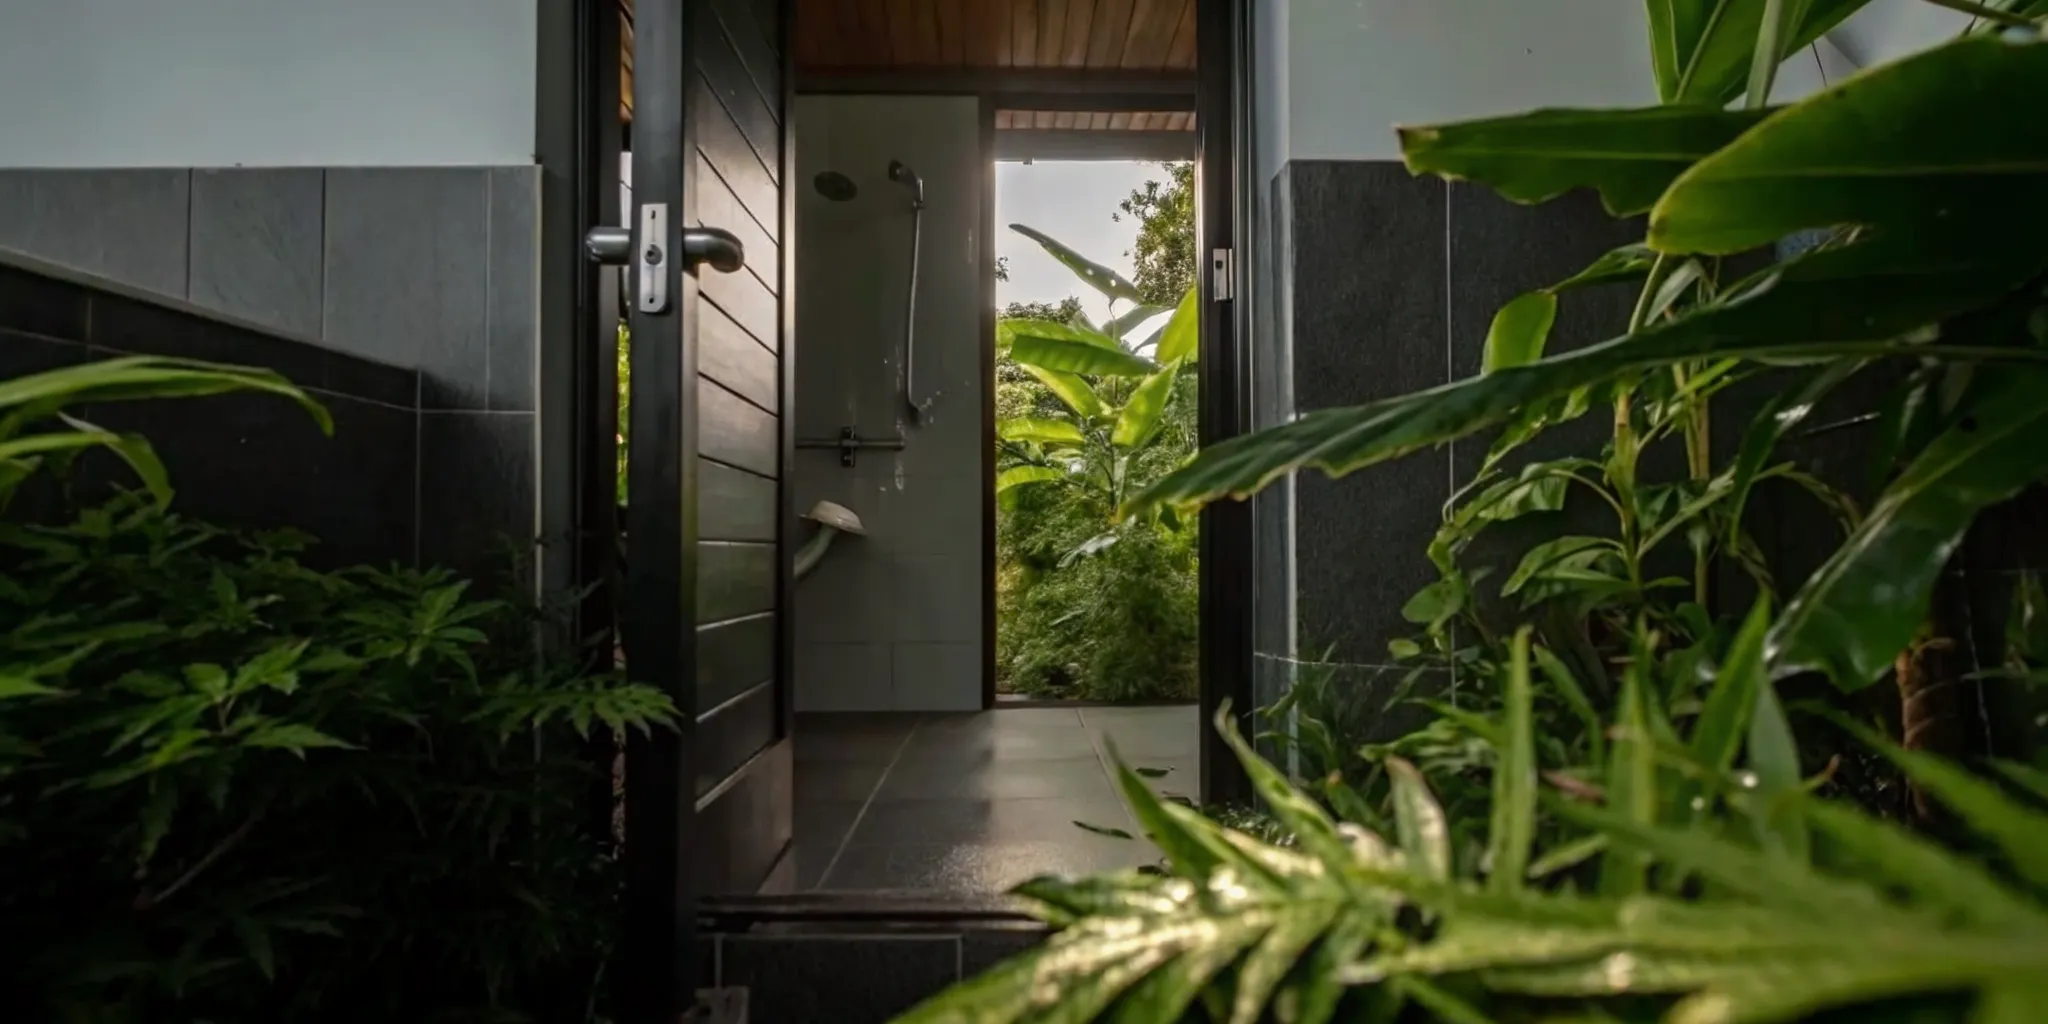
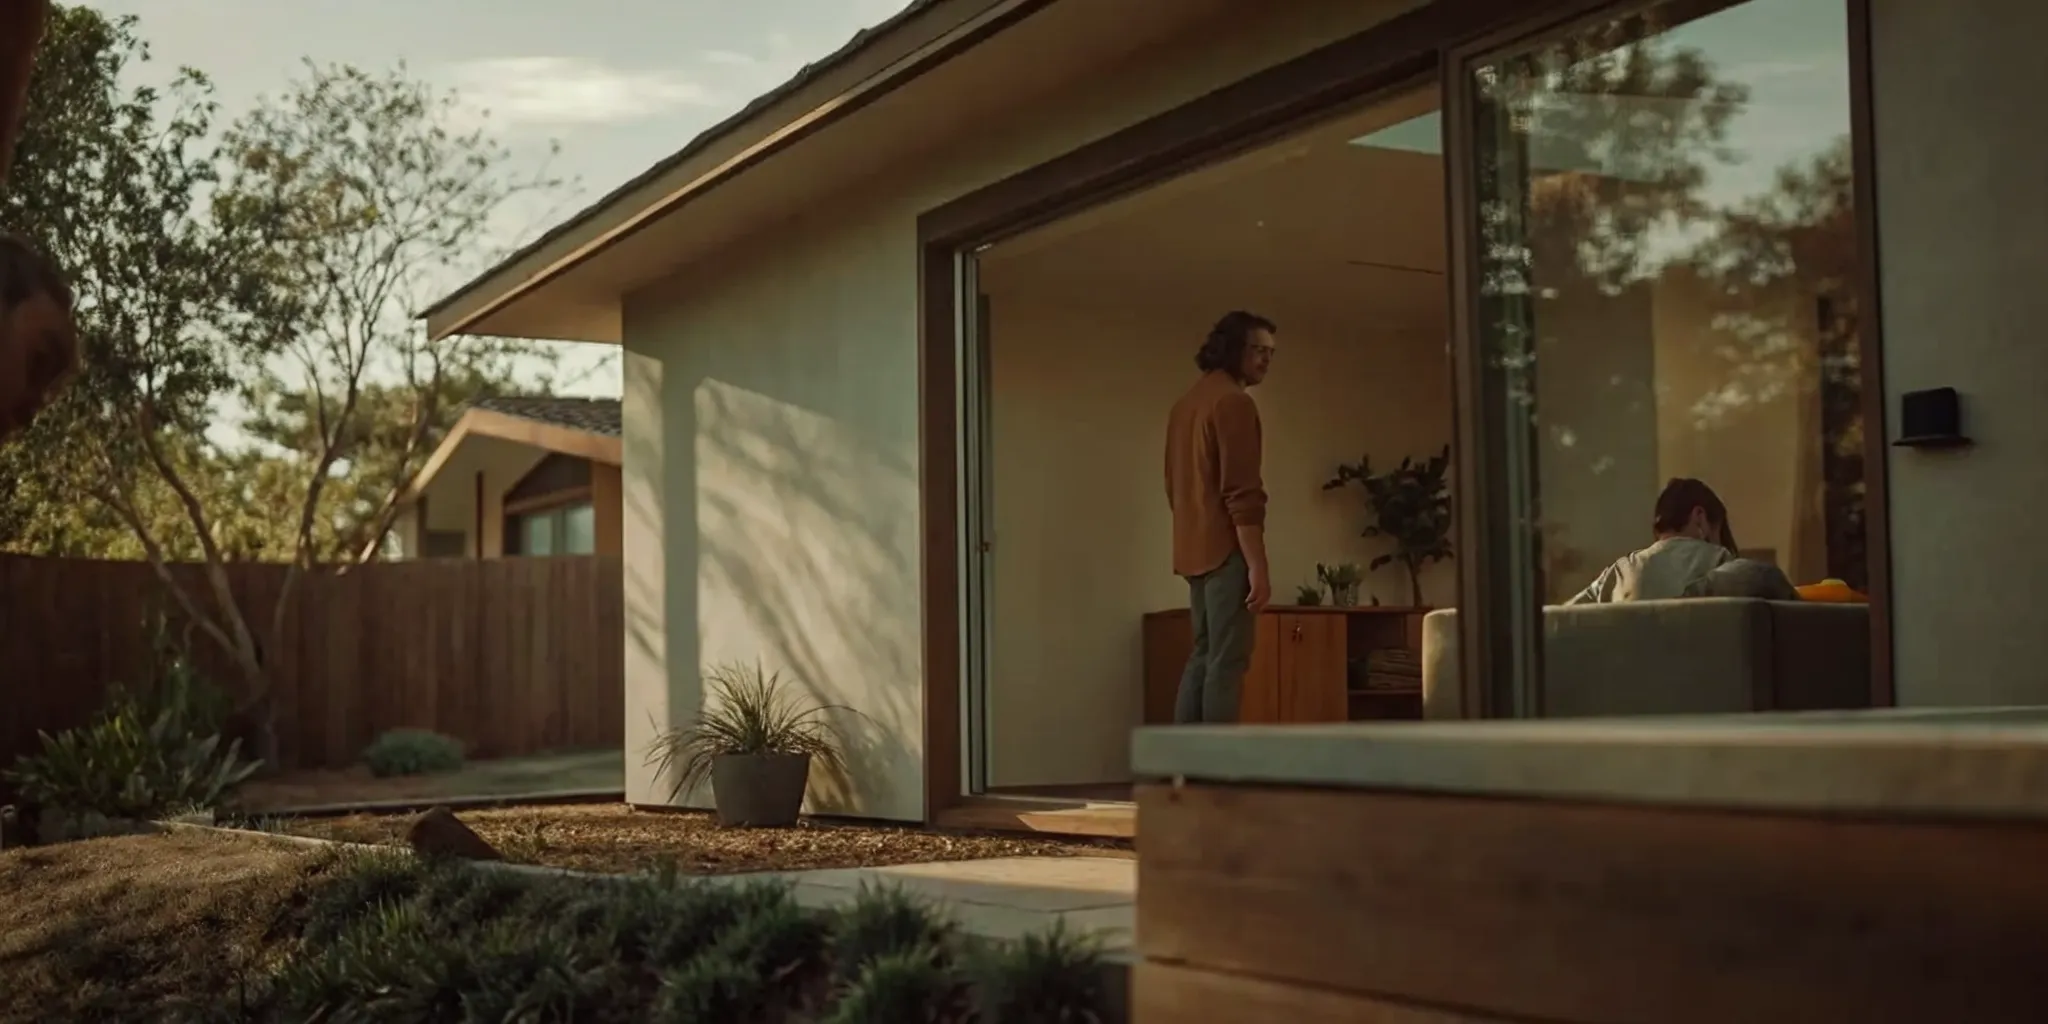
Natural light and air flow
Garages often lack windows, so you must find ways to let in light. Large glass doors can make a small room feel much bigger. Seattle law says you must have a way to move fresh air through the room. You can do this with windows that open or a fan. Good air flow keeps the space from feeling stale or damp.
For heat, many people use a mini-split system. These units are quiet and do not need large ducts. They work well in the local area because they can heat and cool the room. This helps you stay warm in winter and cool in summer.
If you cannot add more windows, think about solar tubes. These tubes bring light from the roof down into the room. They are easy to set up and do not take up wall space. This is a great way to brighten up a dark corner.
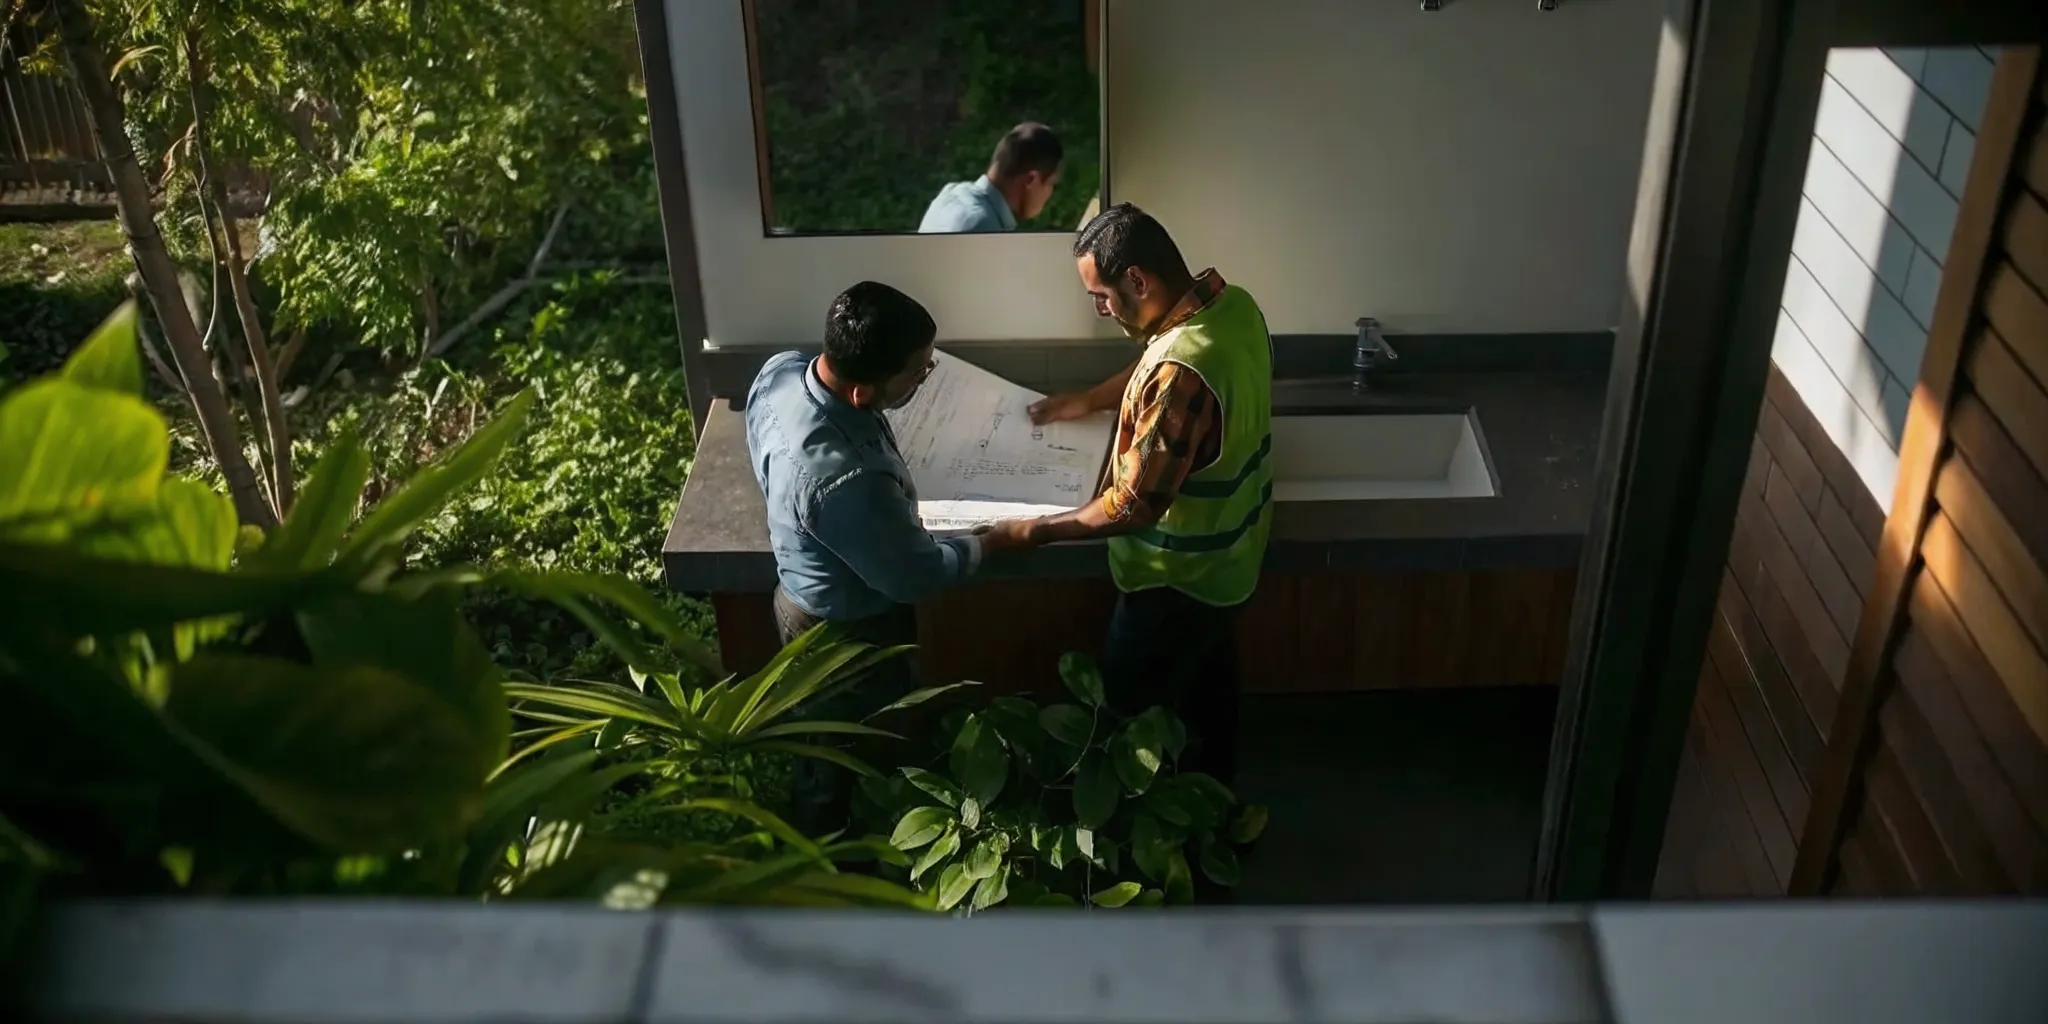
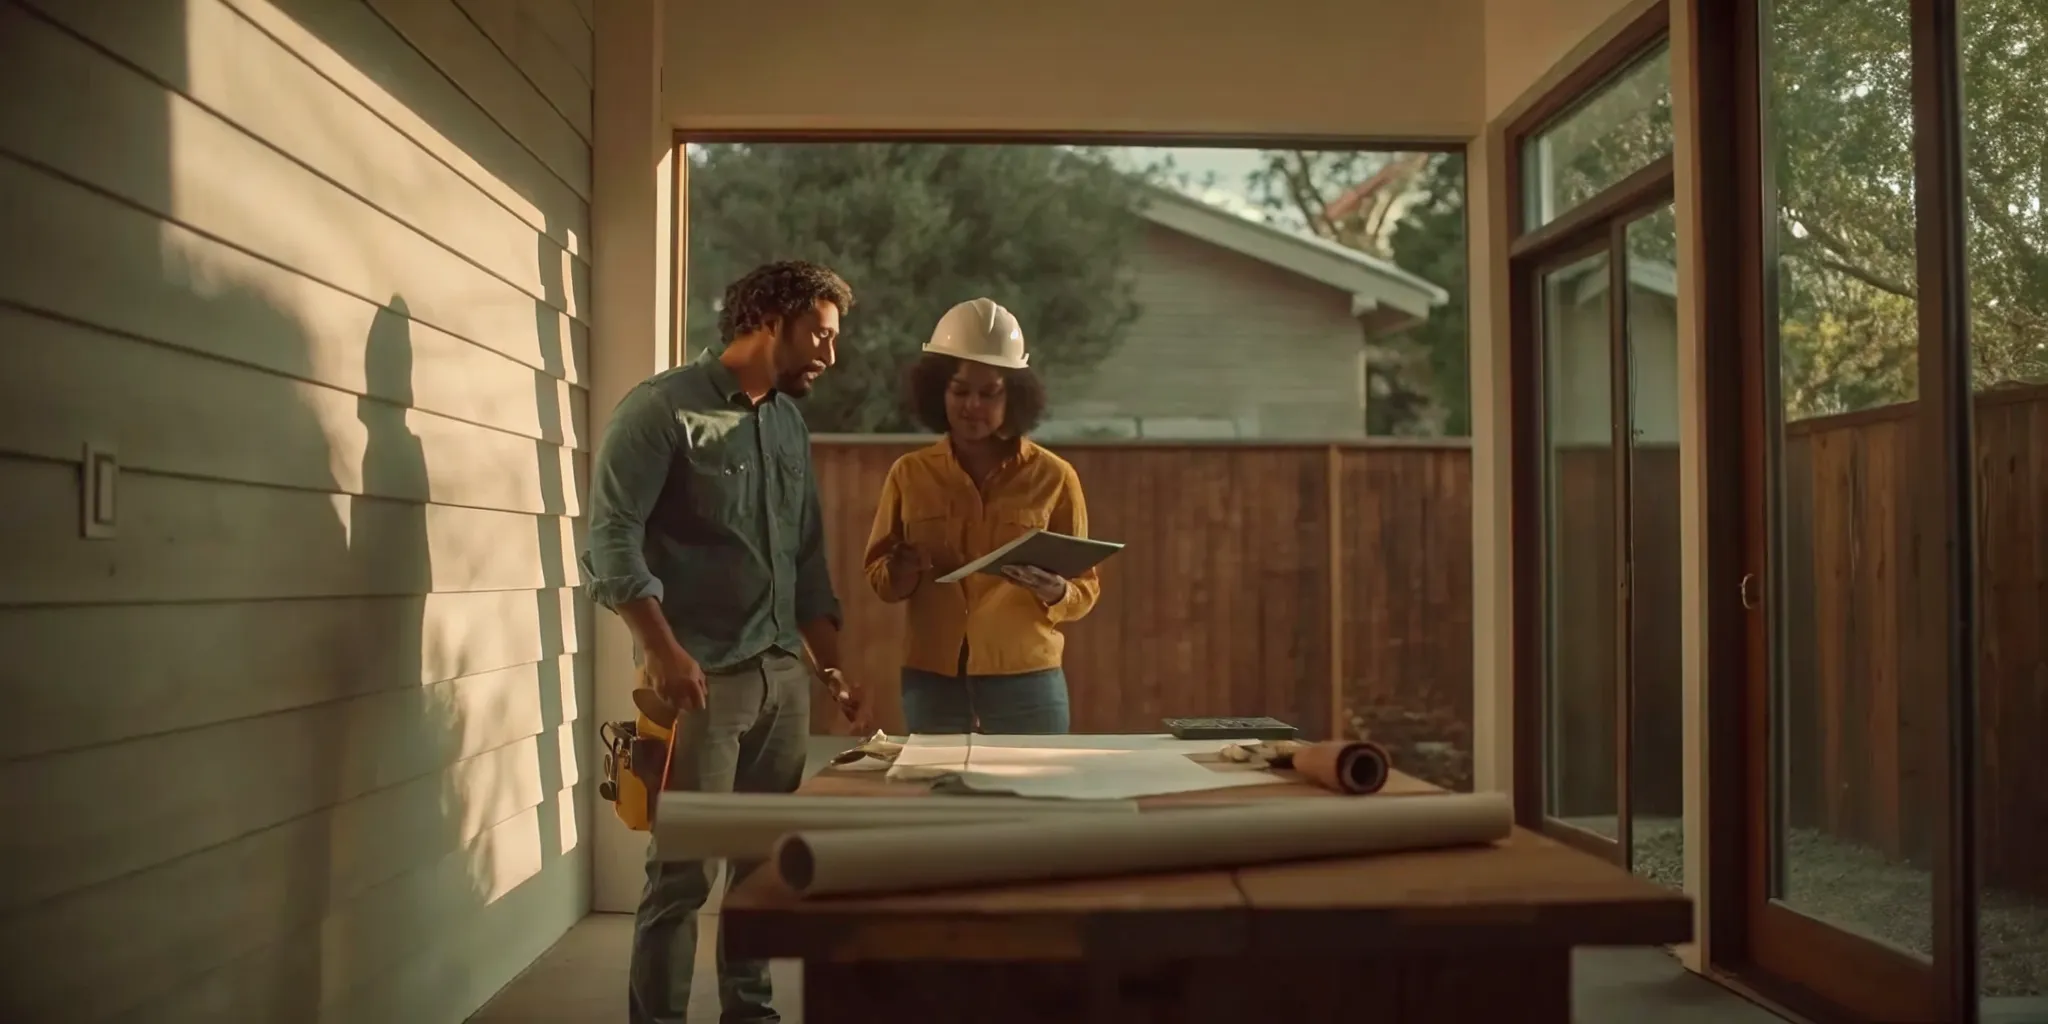
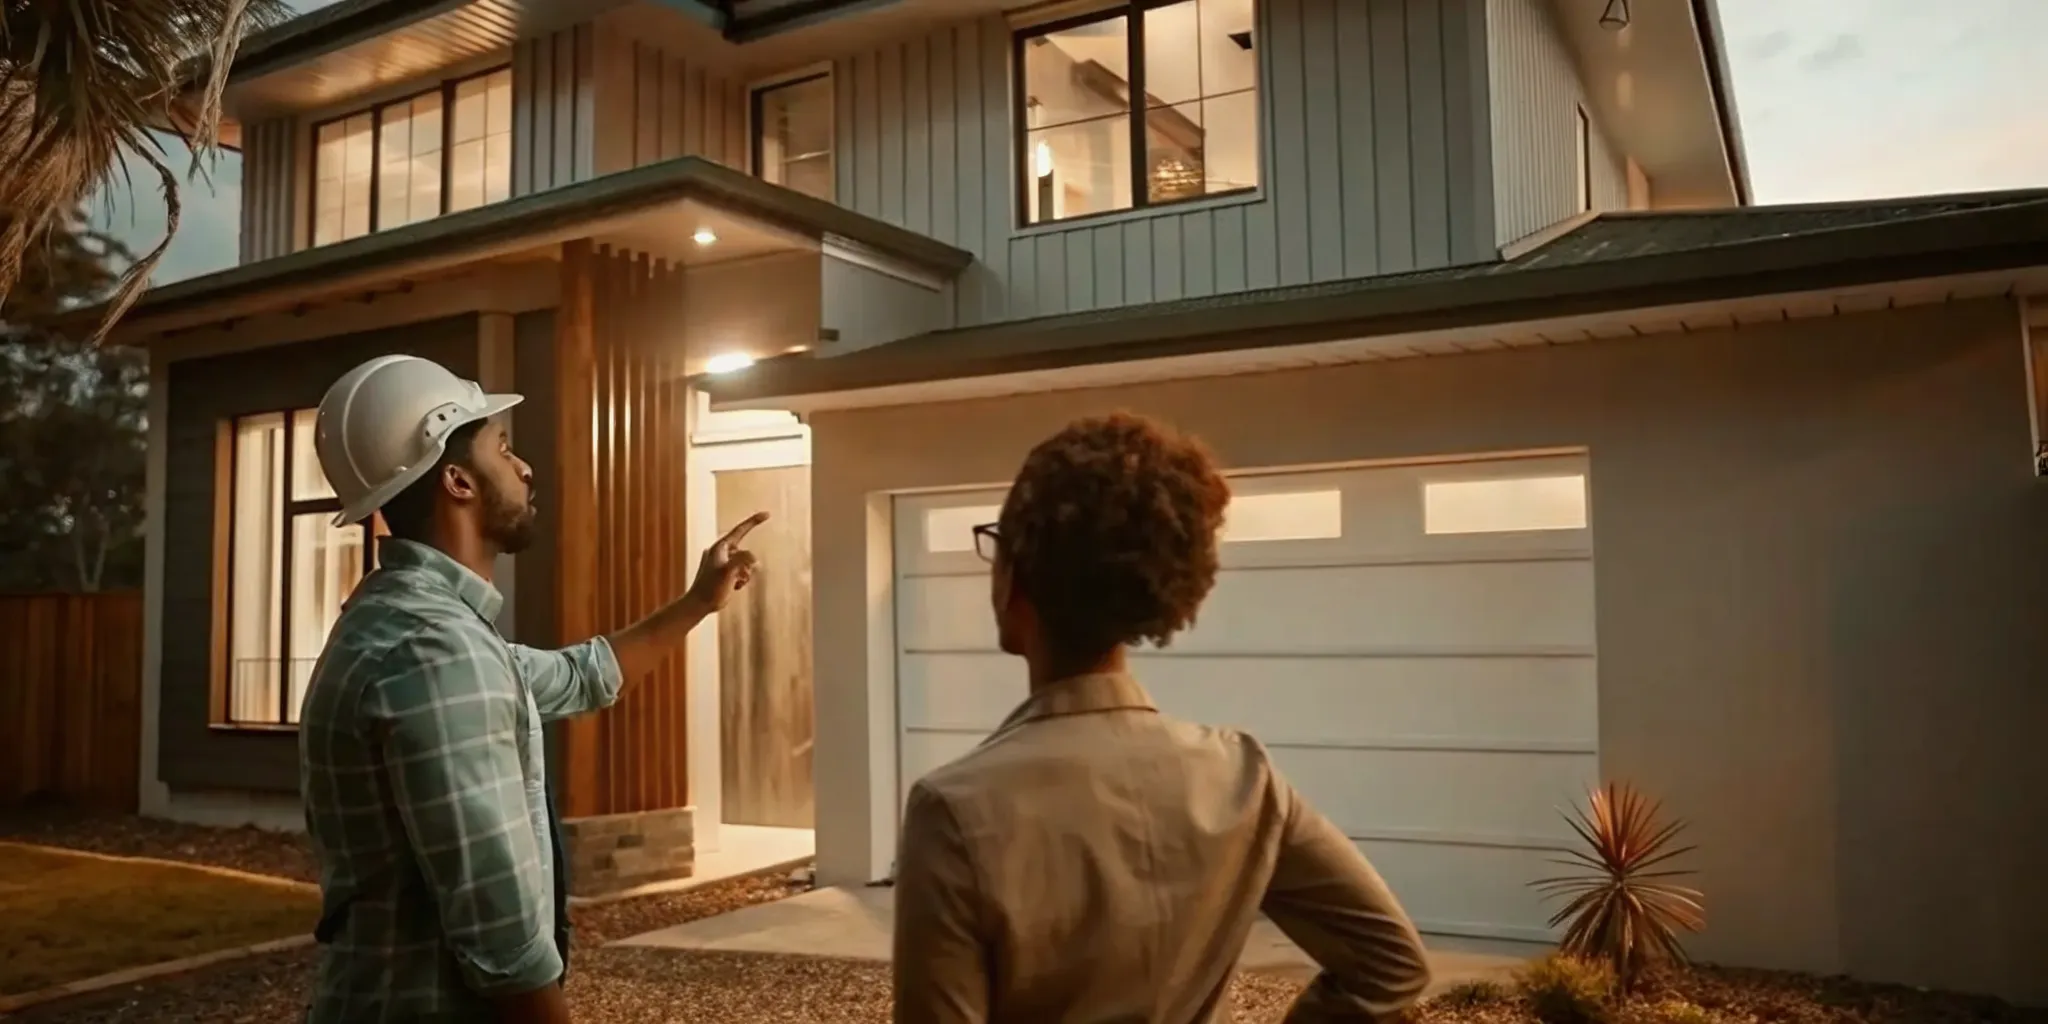
How should you compare contractor bids?
Compare contractor bids by aligning every proposal to the same drawings and written scope, then reviewing inclusions, exclusions, allowances, schedule, payment terms, permits, and change-order rules. Verify each contractor's license, insurance, relevant Seattle conversion experience, and references. A detailed bid may offer better value than a lower price with important work omitted.
When you get bids for a garage conversion Seattle project, the lowest price is not always the best deal. You must look at the details to make sure you compare the same work. A low bid might leave out key steps that you will have to pay for later. It is better to spend time now to check each line than to face high costs during the build.
Check for equal scope and items left out
Start by making a list of every task your project needs. Look at each bid to see if it covers the same items. Some builders might skip things like insulation or finish work to make their price look low. You should also check for "exclusions." These are tasks the builder will not do. If one bid does not include the drywall or paint, you must add those costs back in to see the true price.
You also need to look at "allowances." This is the money set aside for things like tiles, lights, or sinks. If one builder gives you a low allowance, you may end up paying more to get the look you want. Make sure the bids use similar amounts for these finishes. For a better sense of how to budget, you can check a garage renovation cost breakdown to see common costs for these items.
Verify licenses and permit plans
In Seattle, you must follow strict rules to turn a garage into a room. Every Seattle garage conversion needs a permit from the city building office. When you look at bids, ask who will get the permits. A good builder will handle the paperwork and talk to the city for you. If a pro asks you to get the permits yourself, it could be a sign they lack the right license.
You also need to check for insurance and bonds. A pro should have general liability and workers' compensation. This keeps you safe if someone gets hurt or if the work causes damage. Ask for a copy of their insurance papers and call the agent to make sure the policy is still active. This step is vital to protect your home and your bank account during the build.
Review payment plans and timelines
A fair bid will have a clear payment plan. You should not have to pay the full price upfront. Most plans have a small deposit and then payments after the builder hits specific marks. For example, you might pay when the framing is done or when the city signs off on the plumbing. If a builder asks for too much money at the start, you should be wary.
Finally, look at the project timeline and how the team talks to you. A good bid should list how long the work will take and how they will handle "change orders." These are changes to the plan that can add to the cost. Before you sign anything, read a Seattle ADU cost planning guide to understand the typical steps and time needed for these projects. Clear talk and a firm plan are just as important as the final price.
Frequently Asked Questions
How much does a garage conversion cost in Seattle?
Expect to pay between $45,000 and $180,000 for a garage conversion in Seattle. A basic bonus room sits at the lower end, while a detached ADU with full plumbing and high-end finishes reaches the top range. According to Seattle SDCI, costs depend on your project scope and utility needs. Using a marketplace like Realm can help you manage these costs and save about 10 to 25 percent compared to local market rates.
Do I need a permit to convert a garage in Seattle?
Yes, you must get a construction permit from the Seattle Department of Construction and Inspections (SDCI) to turn a garage into living space. This ensures the new room meets safety and building codes. Most small projects under 750 square feet only need a simple permit if they do not have a roof deck. You might also need separate permits for any new electrical wiring or plumbing work you plan to add.
What are the ceiling height requirements for a garage conversion?
To follow Seattle building rules, living rooms must have a ceiling at least 7 feet high. Hallways and bathrooms have a lower limit of 6 feet 8 inches. If your current garage is too low, you may need to dig out the floor or raise the roof. These details are key for passing a city check. According to Ark Design Services, meeting these rules is vital for a legal project.
Can I add a kitchen to my Seattle garage conversion?
You can add a kitchen to your garage project, but it often turns the room into an Accessory Dwelling Unit. This path means you must follow specific land use laws and get plumbing and electrical permits for the new sinks or stoves. Adding a kitchen can raise your home value, but it also adds to the total cost and work time. A Realm advisor can help you plan for these upgrades and find top contractors.
How long does a garage conversion in Seattle take?
The time it takes to finish a garage project in Seattle varies based on your goals. A simple room fix might take a few months, while building a full guest house can take six months or longer. This timeline includes the time spent on plans, getting permits from the city, and the actual build. Planning ahead and hiring vetted contractors can help you stay on track and avoid long delays during the work.
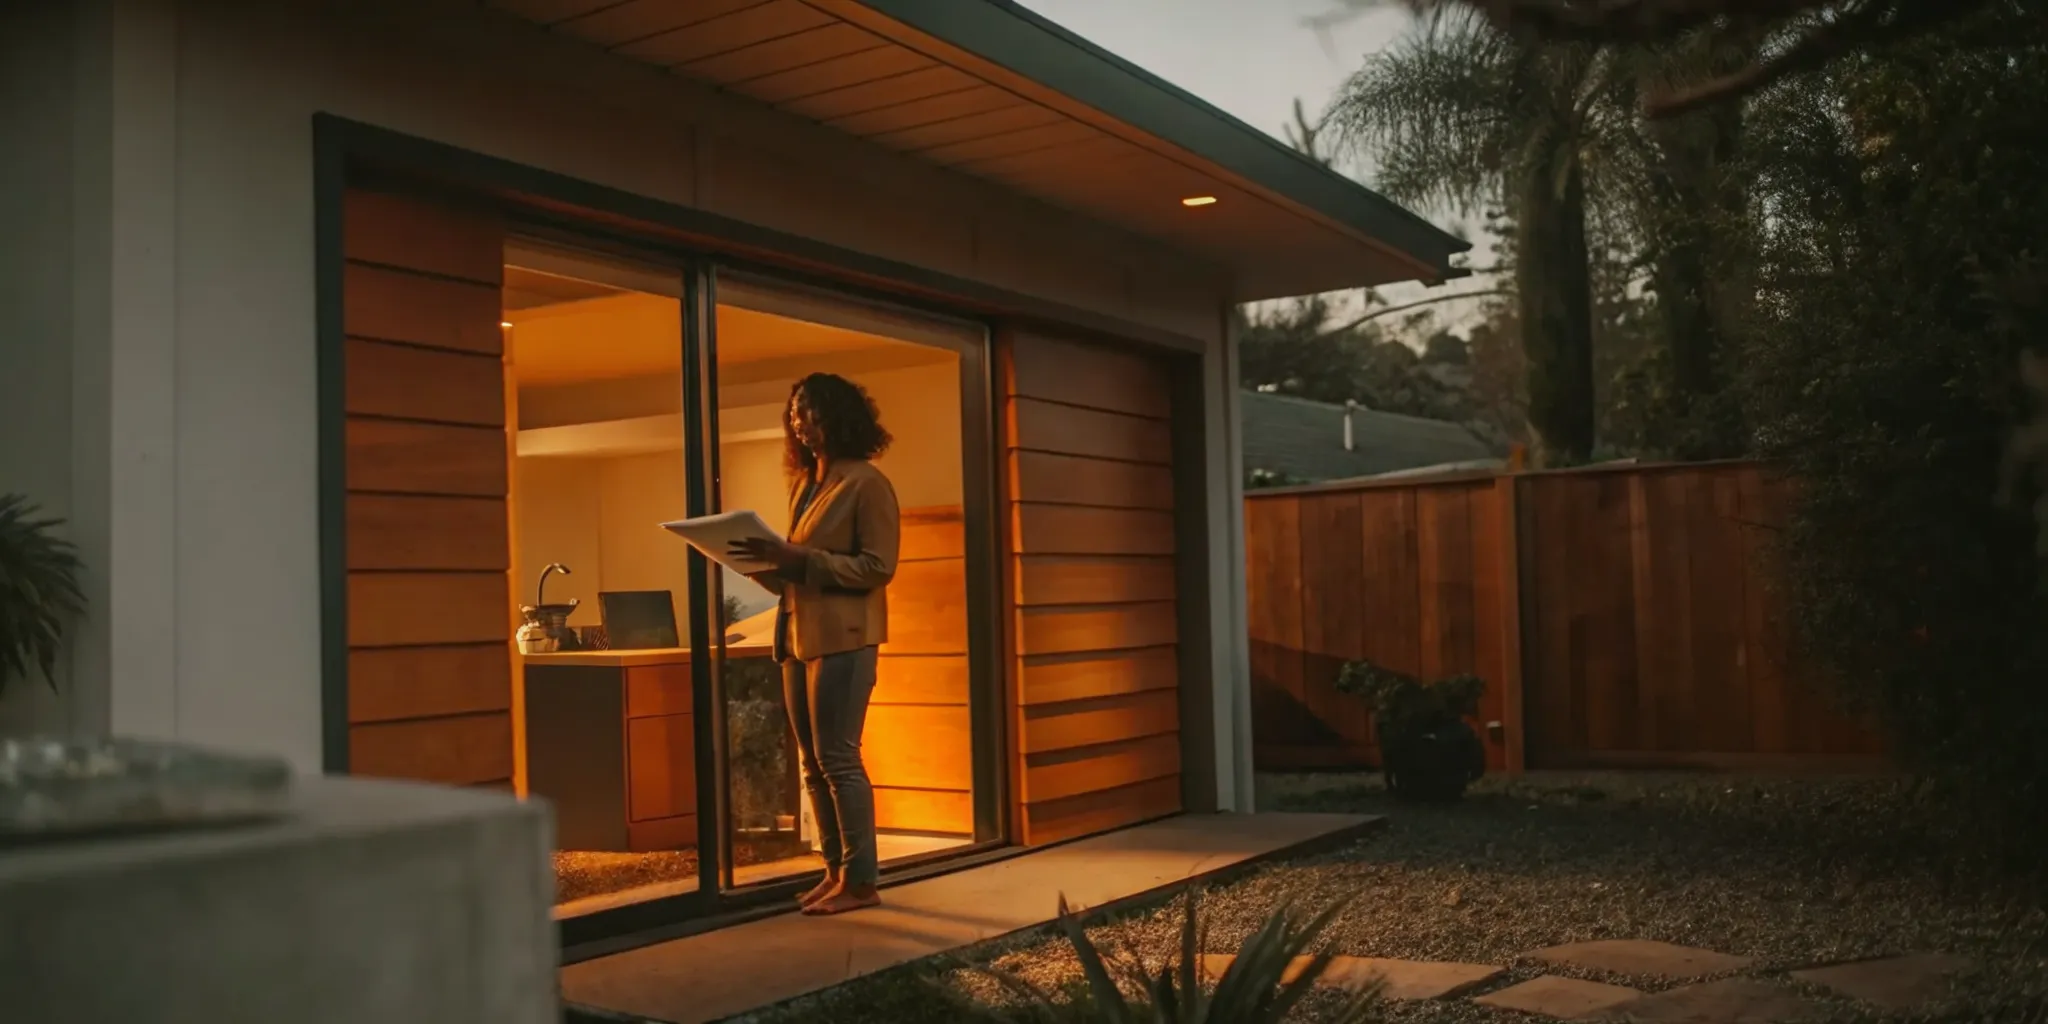
Ready to get started with a guided renovation plan?
Every day you wait is a day of missed rent or lost room in your home. Starting your project now means you could finish your new space before the next season hits and avoid price hikes. You do not have to handle the hard Seattle permit process or find local help on your own. You can see how our team helps people on our how it works page. Without a clear plan, your work could stall for months due to code issues or delays that cost you money. Taking action today puts you on the fast track to a legal home addition that adds real value to your house. Our team helps you avoid common traps that lead to high costs and wasted weeks of work. We check every step of the path so you can move forward with trust and peace of mind.
Ready to get started? Get started with a guided renovation plan to talk to a renovation advisor.