The Rebuilding a House Process: A 7-Step Guide
Get a clear overview of the rebuilding a house process with this 7-step guide, including tips for planning, budgeting, and hiring the right team.
|
May 14, 2026

In this article:
Sometimes, a home's issues run deeper than a remodel can fix. Perhaps the foundation is failing, the layout is completely dysfunctional for your family, or the repair costs are spiraling out of control. This is when rebuilding becomes a powerful option. It’s your chance for a complete fresh start, allowing you to design a home that perfectly fits your life today. You can create an open floor plan, improve energy efficiency, and build a space that is 100% you. Understanding the rebuilding a house process is the first step toward turning that vision into a reality. This article will guide you through each phase, from creating your dream design to getting the final keys.
Key Takeaways
- Solidify your plan before you start: A successful rebuild depends on the work you do upfront. Finalize your design, create a detailed budget that includes a 10-20% contingency fund, and understand local building codes to avoid expensive surprises and keep your project on track.
- Vet your general contractor thoroughly: Your project's success hinges on your general contractor. Don't rush this decision; check their license and insurance, call recent references, and ask detailed questions to ensure you're hiring a professional you can trust to manage your build.
- Manage the project actively: Stay in control of your rebuild by establishing clear milestones with your contractor and scheduling regular check-ins. Insist on formal change orders for any new requests to keep a firm handle on your budget and timeline from start to finish.
What Does It Mean to Rebuild a House?
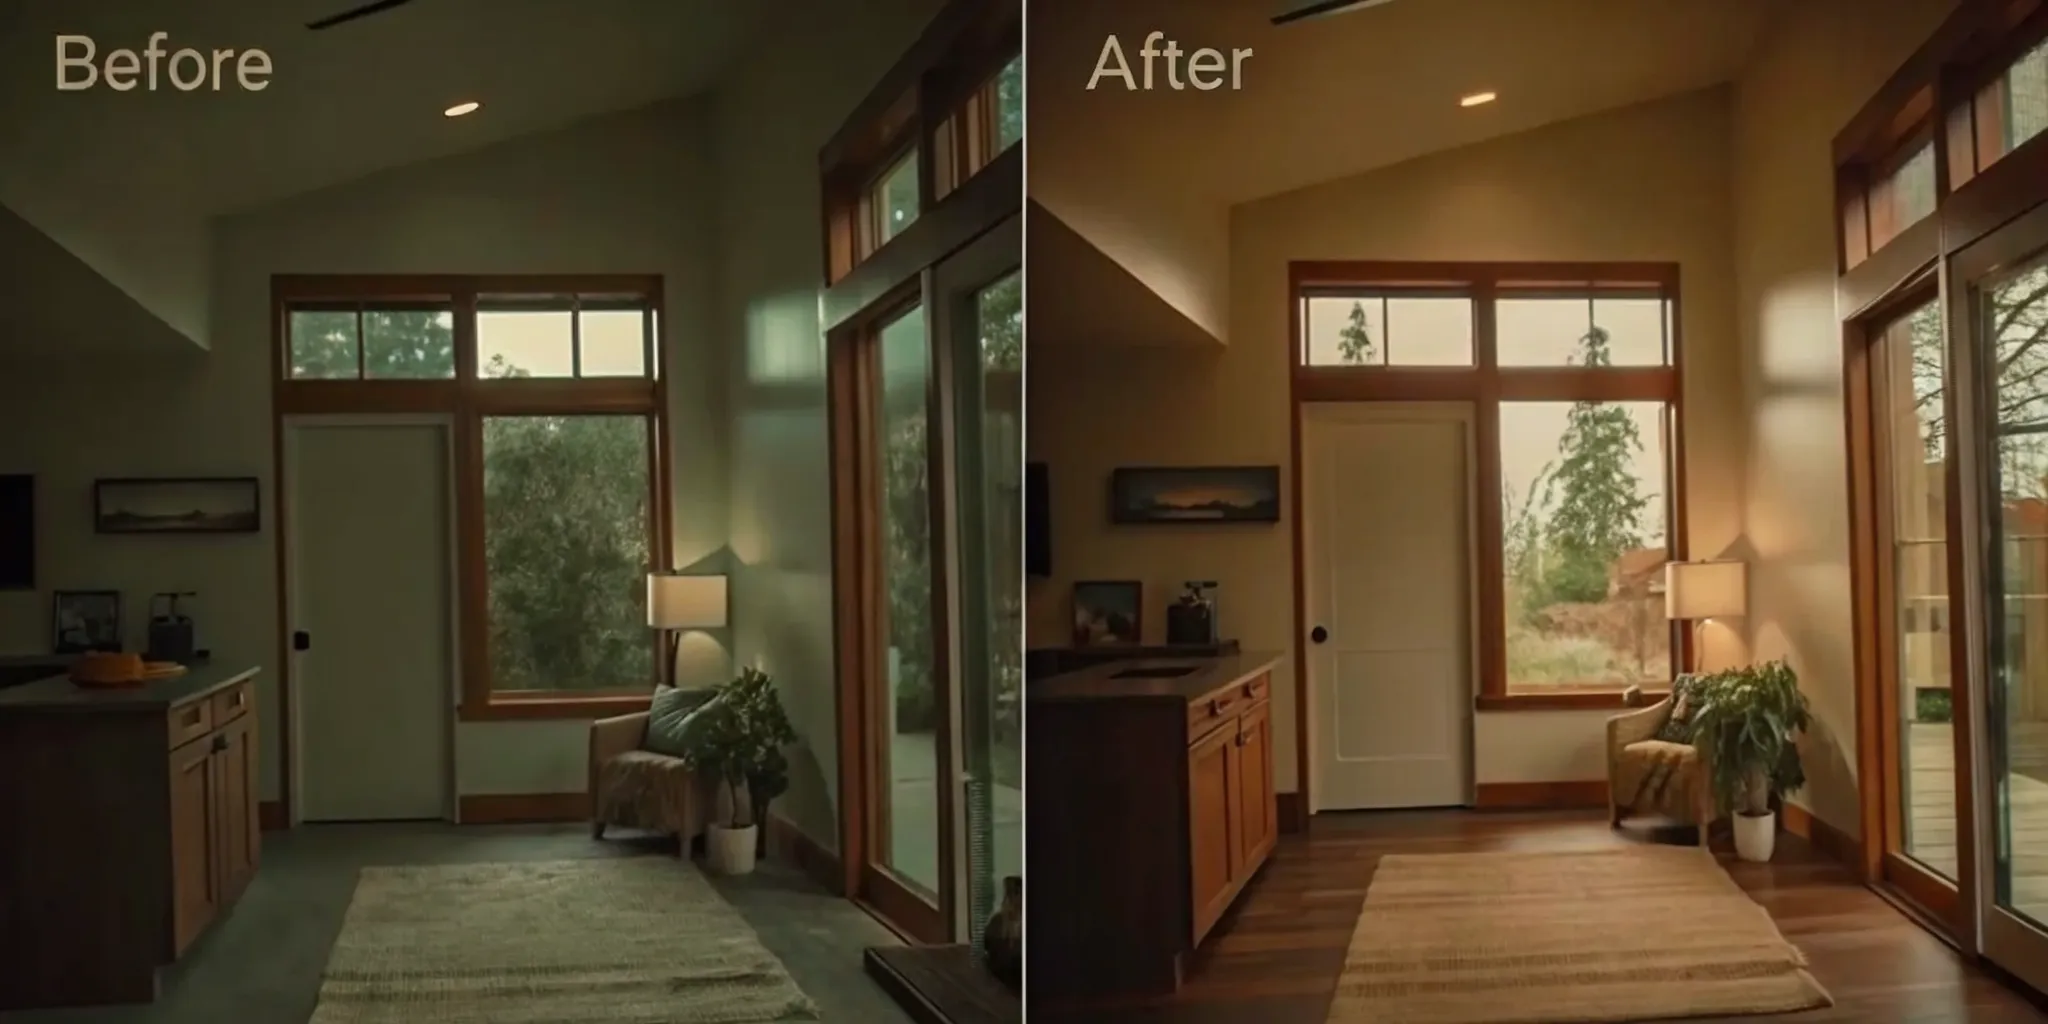
Deciding to rebuild your house is a major step. It means you’re not just making updates, you’re starting over. The process involves tearing down the existing structure and constructing a brand new home on the same plot of land. Think of it as a complete fresh start, giving you the chance to design a home that perfectly fits your current lifestyle and meets modern building standards. It’s an opportunity to use better materials, improve energy efficiency, and create a layout that truly works for you and your family, all with the help of customized plans tailored to your goals.
Rebuild vs. Renovate: What's the Difference?
It’s easy to mix up these terms, but the difference is huge. Renovating means you’re updating or improving the house you already have. This could be anything from a kitchen remodel to adding a new bathroom. You’re working within the existing structure. Rebuilding, on the other hand, means the old house is coming down completely to make way for a new one. While a restoration project focuses on preserving the original character of a home, a rebuild gives you total freedom. You can completely redesign the floor plan, change the architectural style, and build a space that is 100% you.
When to Rebuild Instead of Remodel
So, how do you know when to take the leap from a large-scale remodel to a full rebuild? It often comes down to a few key factors. You should seriously consider rebuilding if the home's structural integrity is compromised, like if it has a failing foundation or widespread damage. Sometimes, the cost of the extensive renovations needed to fix everything would actually be more than building new. It also makes sense if the current layout is so dysfunctional for your family that no amount of remodeling can fix it. Getting expert guidance can help you weigh the costs and benefits to make the right call for your situation.
First Steps: What to Do Before You Break Ground
Before the first hammer swings, a lot of important work needs to happen behind the scenes. These initial steps are the foundation of your entire project. Getting them right sets you up for a smoother process, helping you avoid costly surprises and delays down the road. Let’s walk through what you need to do before you break ground.
Assess Your Property and Existing Structure
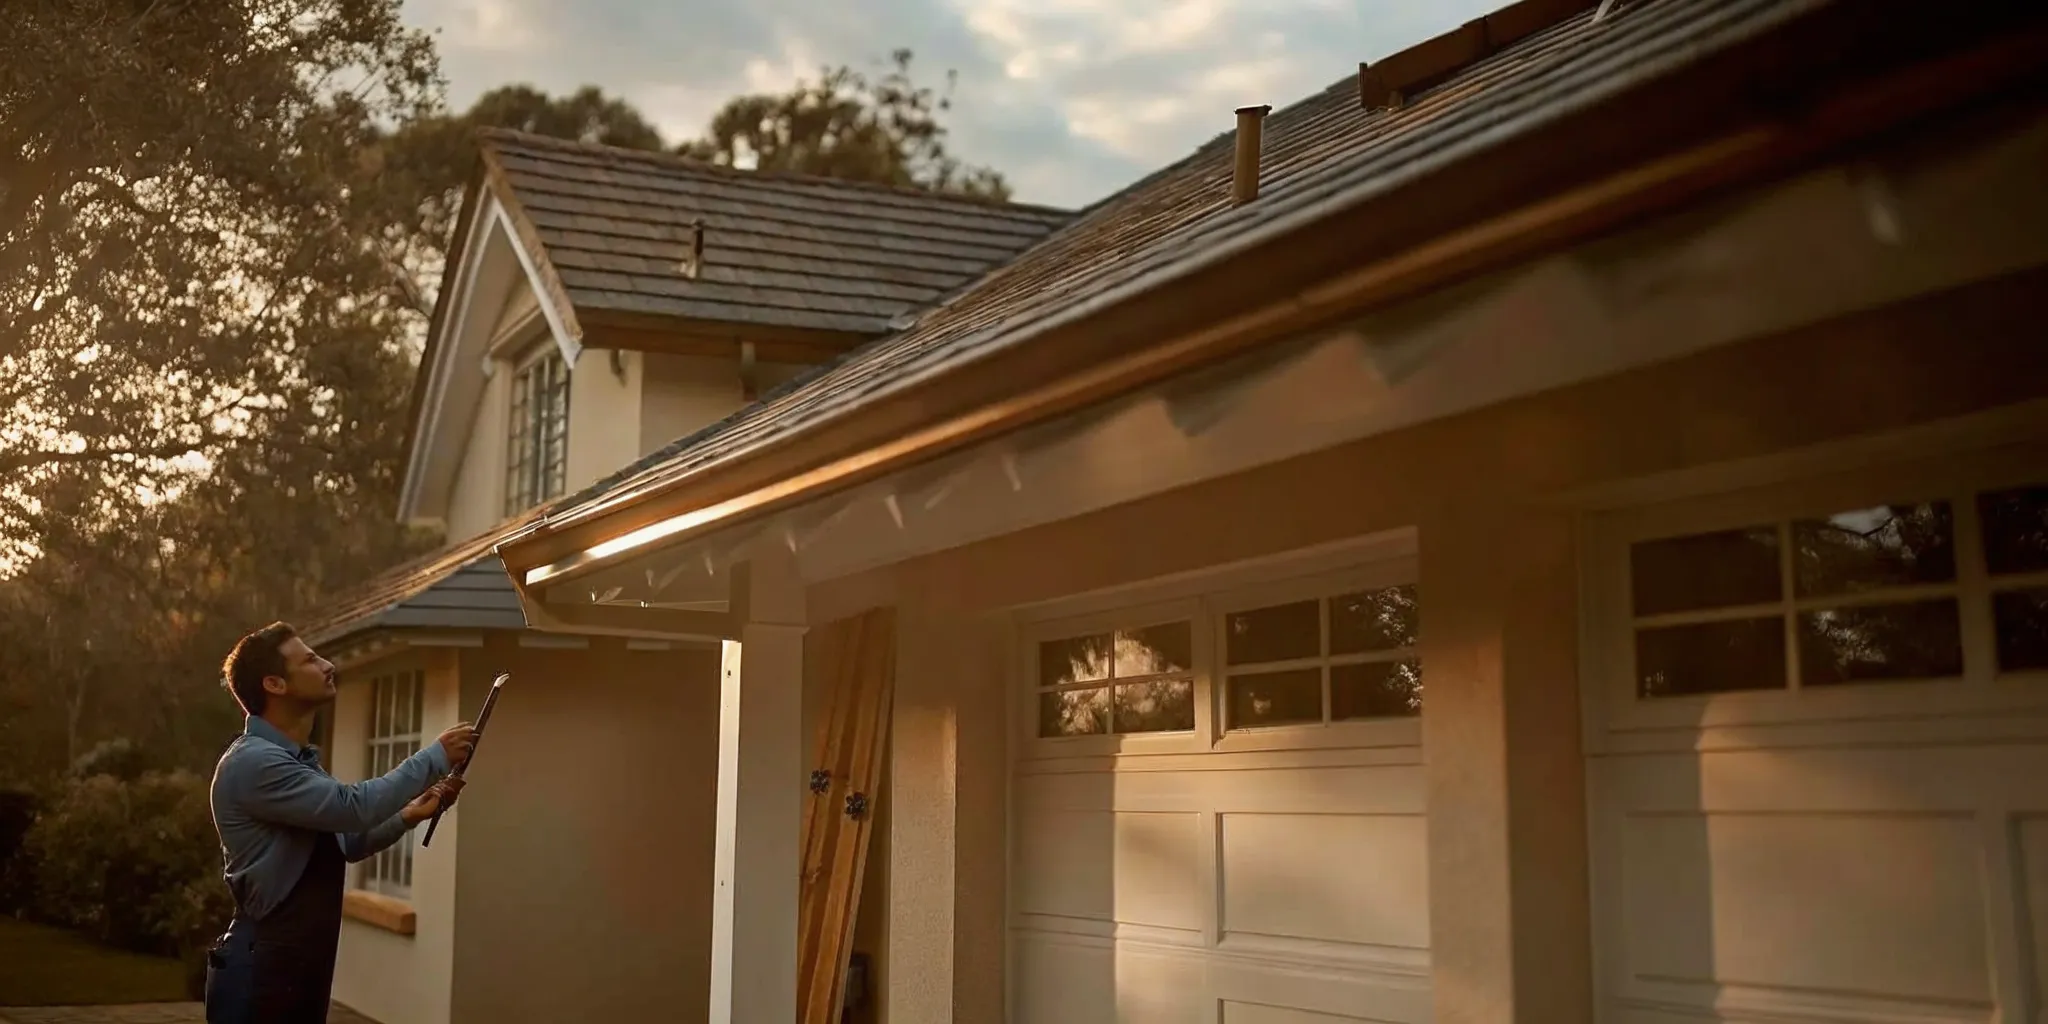
Before you can plan your new home, you need a clear picture of your starting point. A thorough property assessment involves inspecting every part of your existing structure to uncover hidden issues. Look for things like water damage, outdated electrical wiring, or foundation cracks that need to be addressed in your plan. This isn't just about finding problems; it's about understanding the full scope of your project. Knowing what you're working with allows you and your team to create a realistic budget and timeline from day one. A dedicated advisor can help you coordinate these initial inspections to ensure nothing gets missed.
Research Local Building Codes and Zoning Laws
Every city and county has its own set of rules for construction, and it's crucial to understand them. Local building codes dictate safety standards for things like plumbing and electrical systems, while zoning laws control aspects like your home's height and its distance from the property line. Researching these regulations early is a non-negotiable step. A clear plan helps avoid delays and the extra costs that come with having to make last-minute changes. This is where expert guidance becomes invaluable, as professionals are already familiar with the specific requirements in your area.
Secure the Right Permits
Once your design plans are aligned with local codes, the next step is to get official permission to build. This comes in the form of permits from your local building department. The number and type of permits you’ll need depend entirely on your project's scope and location. For a full rebuild, you can expect to apply for several, covering everything from demolition to plumbing and electrical work. While the paperwork can seem intimidating, this is a task your general contractor or project advisor can manage for you. They will submit the necessary documents to the local council, ensuring everything is filed correctly to get your project approved and underway.
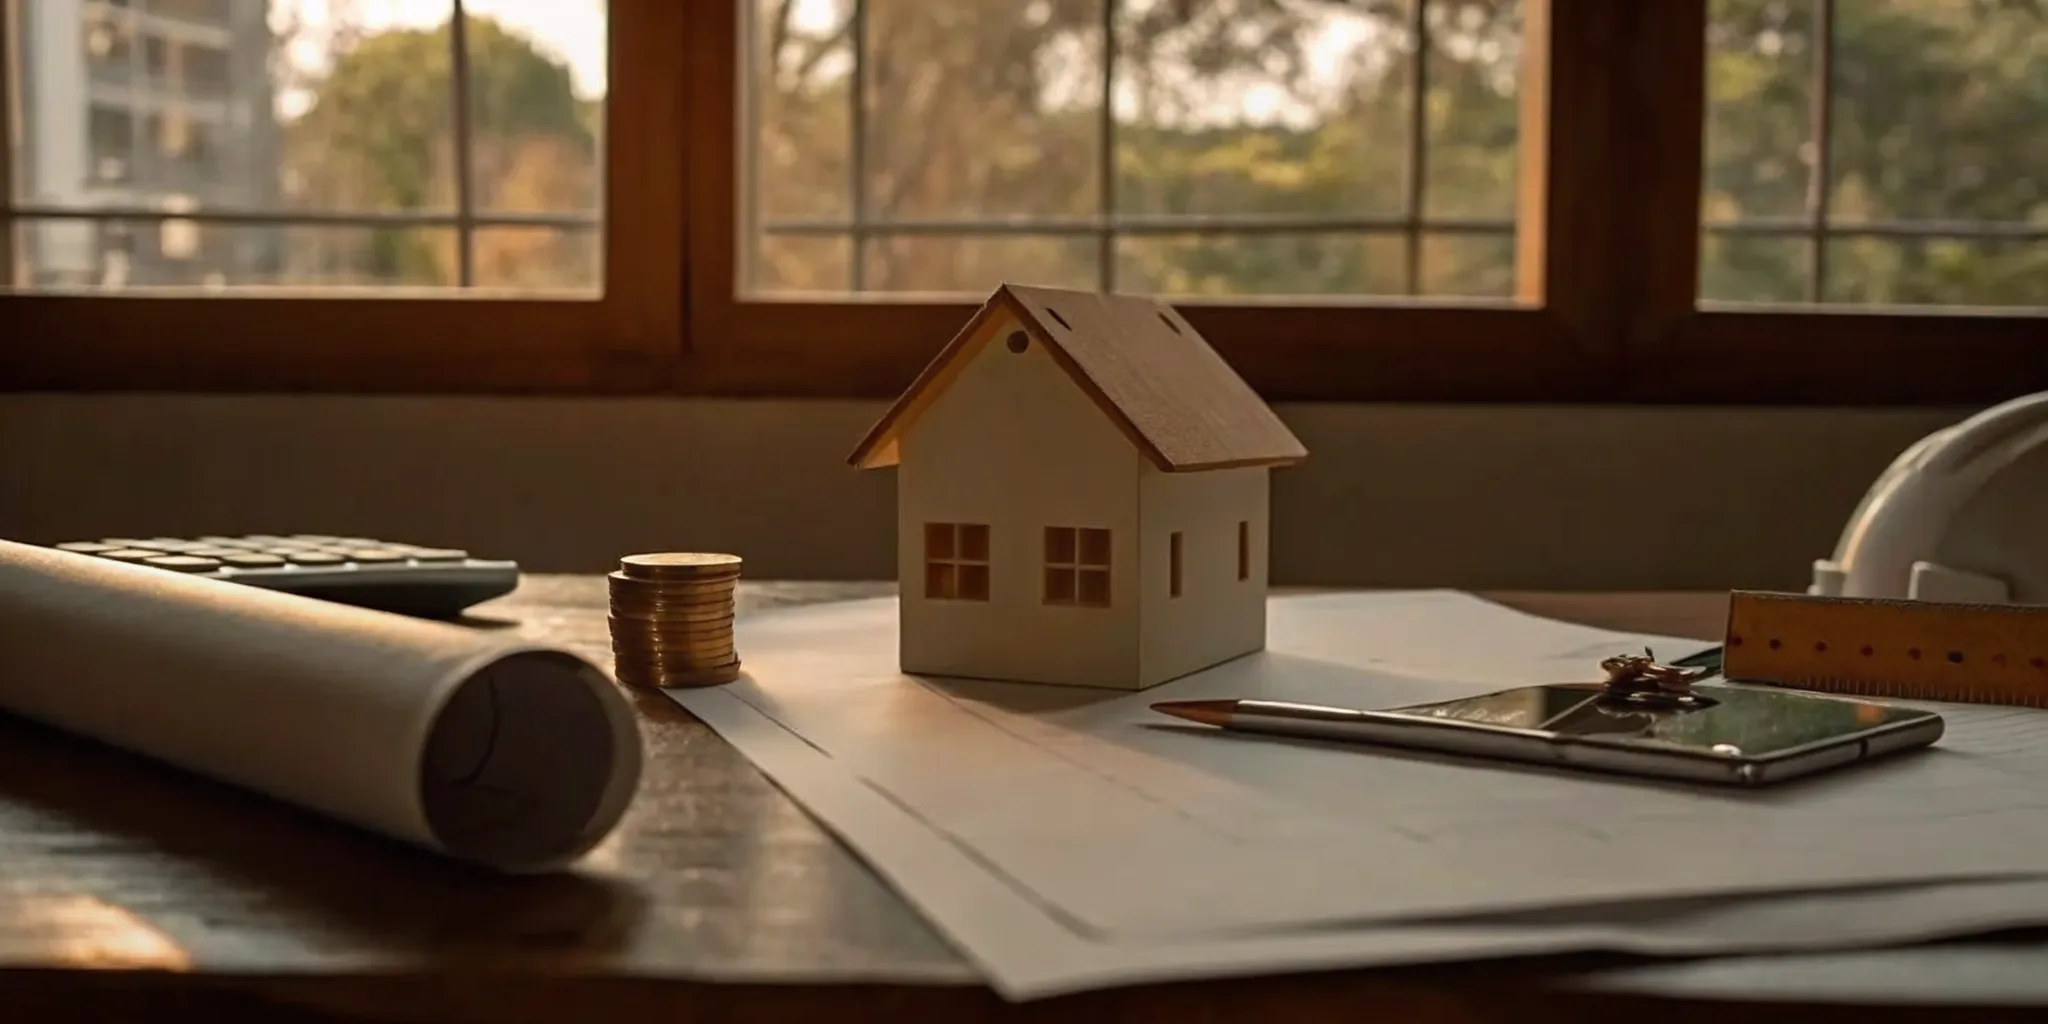
How Much Does It Cost to Rebuild a House?
Let's get straight to the big question: What’s the price tag on a full rebuild? The honest answer is that it varies widely. Rebuilding a house can cost anywhere from $150,000 to over $500,000, and sometimes much more depending on your location and vision. The final number depends on where you live, the square footage of the new home, and the quality of the materials you select. A modern 3,000-square-foot home in the Bay Area with high-end finishes will have a very different budget than a modest 1,500-square-foot home in Sacramento.
Instead of getting stuck on a single number, it’s more helpful to understand where the money goes. By breaking down the expenses and making smart decisions about your priorities, you can create a realistic budget that aligns with your financial goals. This is where having a clear plan becomes so important. A data-driven approach can help you see exactly how your choices impact the bottom line, turning a daunting figure into a manageable financial plan. With the right expert guidance, you can get a clear and customized cost estimate before you even start, ensuring there are no major surprises down the road.
Break Down the Major Costs
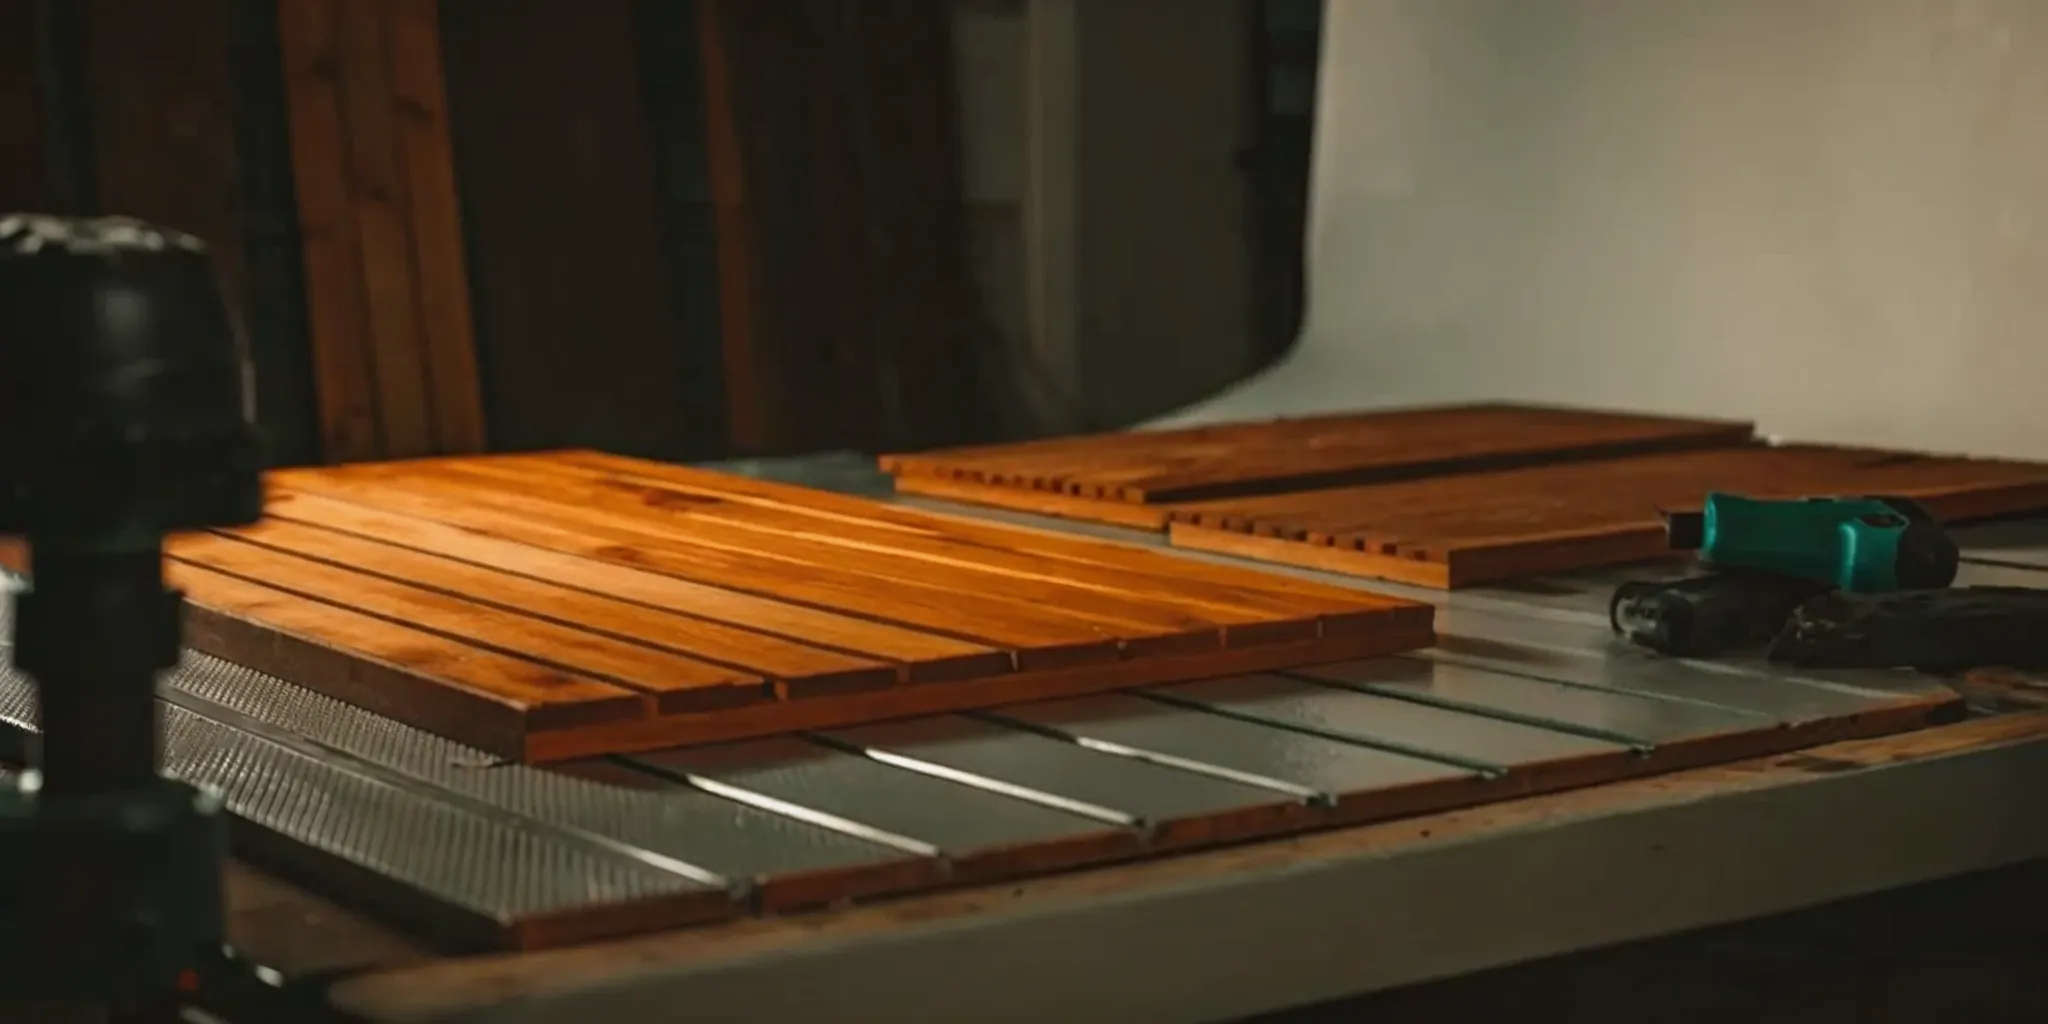
To get a handle on your total budget, you need to see it as a collection of smaller costs. Each phase of the rebuild comes with its own price tag. Major expenses typically include demolition of the old structure, site preparation, and pouring a new foundation. From there, you have the costs for framing the house, followed by exterior work like roofing, siding, windows, and doors. Inside, you’ll budget for the big three mechanical systems: plumbing, electrical, and HVAC. Finally, you have all the interior finishes, which include insulation, drywall, flooring, paint, cabinets, countertops, and fixtures. Each of these categories can fluctuate based on the materials you choose and the labor rates in your area.
Prioritize Your Must-Haves vs. Nice-to-Haves
Once you have a rough idea of the costs, it's time to get practical. This is where you can really take control of your budget. Start by making two lists: one for your "must-haves" and another for your "nice-to-haves." Your must-haves are the non-negotiable elements that ensure your home is safe, sound, and functional. Focus your money here first. This includes a strong foundation, quality framing, durable roofing, and energy-efficient features like good insulation and windows. Your nice-to-haves are the items you’d love to have but could live without or upgrade later, like that waterfall marble island, imported tile, or a top-of-the-line home automation system. This exercise helps you invest wisely in your home's long-term value.
Build a Contingency Fund (The 10-20% Rule)
No matter how perfectly you plan, unexpected costs are a part of any major construction project. That’s why a contingency fund isn’t just a good idea; it’s essential. You should always set aside extra money, typically 10% to 20% of your total construction budget, to cover unforeseen expenses. This fund can be a lifesaver if your team discovers difficult soil conditions during excavation, a key material suddenly increases in price, or bad weather causes project delays. Think of it as a financial safety net that provides peace of mind. It ensures that a surprise issue doesn’t derail your entire project or force you to make compromises on your must-haves.
The Rebuilding Process: A Step-by-Step Guide
Okay, you’ve made the big decision to rebuild. It’s an exciting prospect, but it can also feel like a massive undertaking. The key to keeping everything manageable is understanding the sequence of events. While every project has its own unique quirks, the construction process generally follows a predictable path. Think of these seven steps as your roadmap from an empty lot to a finished home. Knowing what’s coming next helps you prepare, ask the right questions, and feel more in control as you move from one phase to the next.
At Realm, we guide homeowners through this entire journey, but having a clear picture of the process yourself is incredibly empowering. This step-by-step guide will walk you through the major phases, so you know exactly what to expect as your new house comes to life. It’s important to remember that construction isn’t always linear; some steps might overlap, and weather or supply chain issues can cause delays. But by understanding the core order of operations, you can work more effectively with your contractor and make informed decisions along the way. Let's walk through the journey from groundbreaking to move-in day.
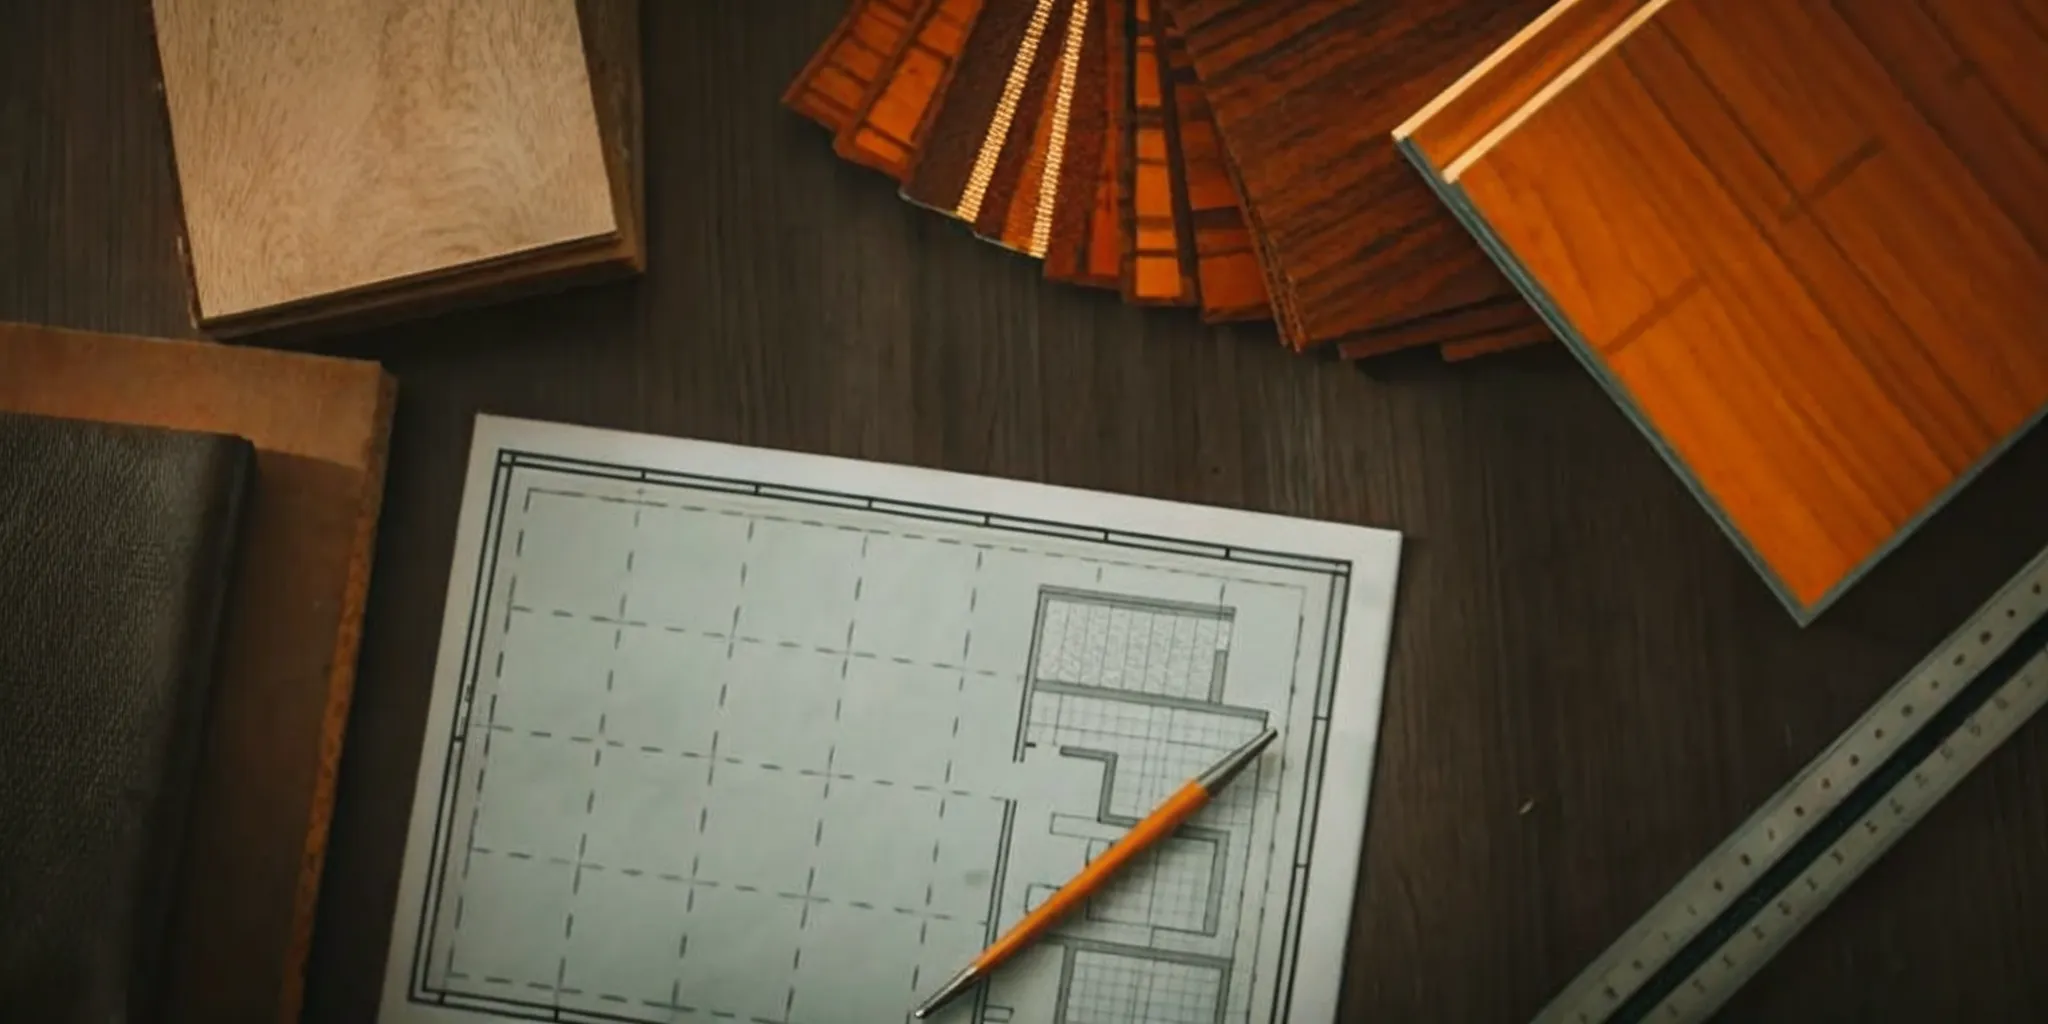
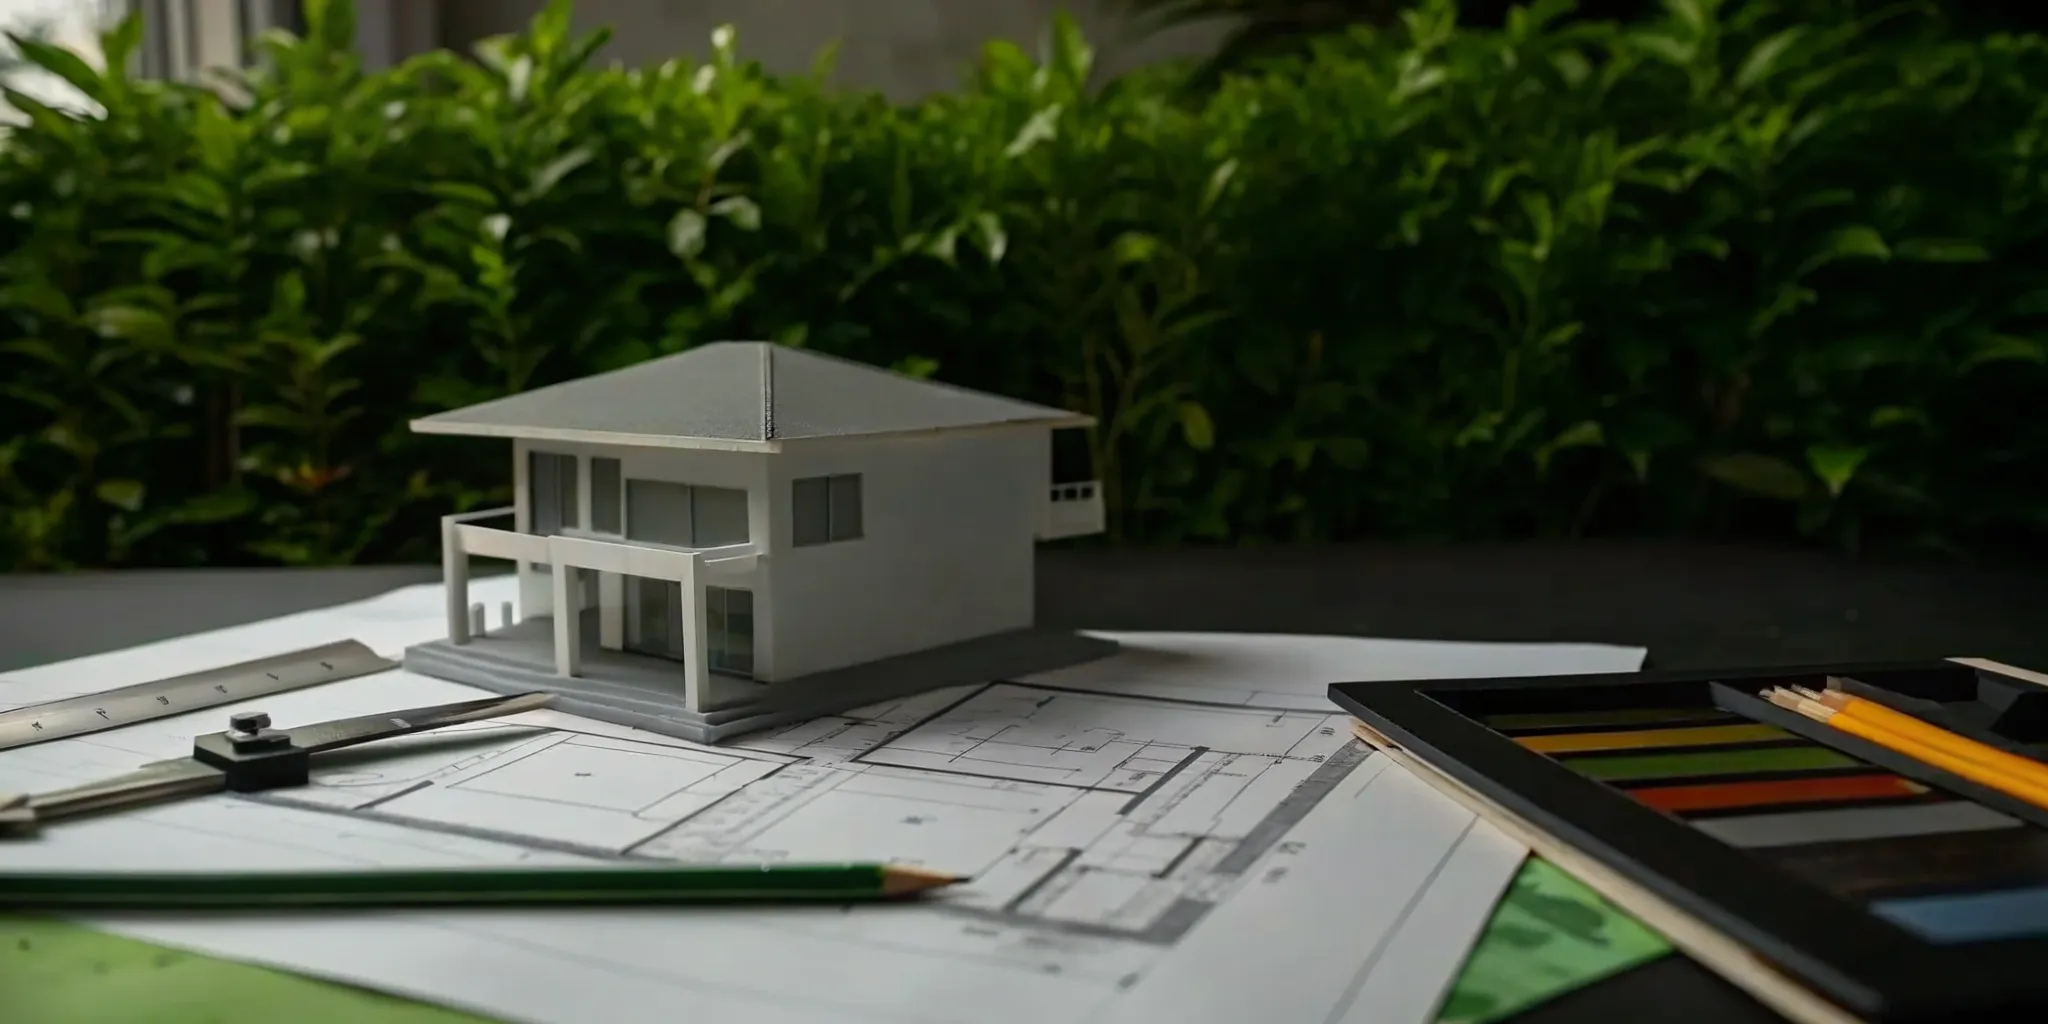
Step 1: Plan and Design
This is where your dream home begins to take shape on paper. Before any dirt is moved, you’ll work with an architect or designer to create detailed blueprints. This plan is your project's bible, outlining everything from the floor plan and room dimensions to window placements and structural details. Take your time during this phase. Making changes now is as simple as erasing a line, but changing your mind after construction starts can lead to costly delays. A solid design plan is the foundation for a smooth and successful build, ensuring everyone from your contractor to your electrician is on the same page.
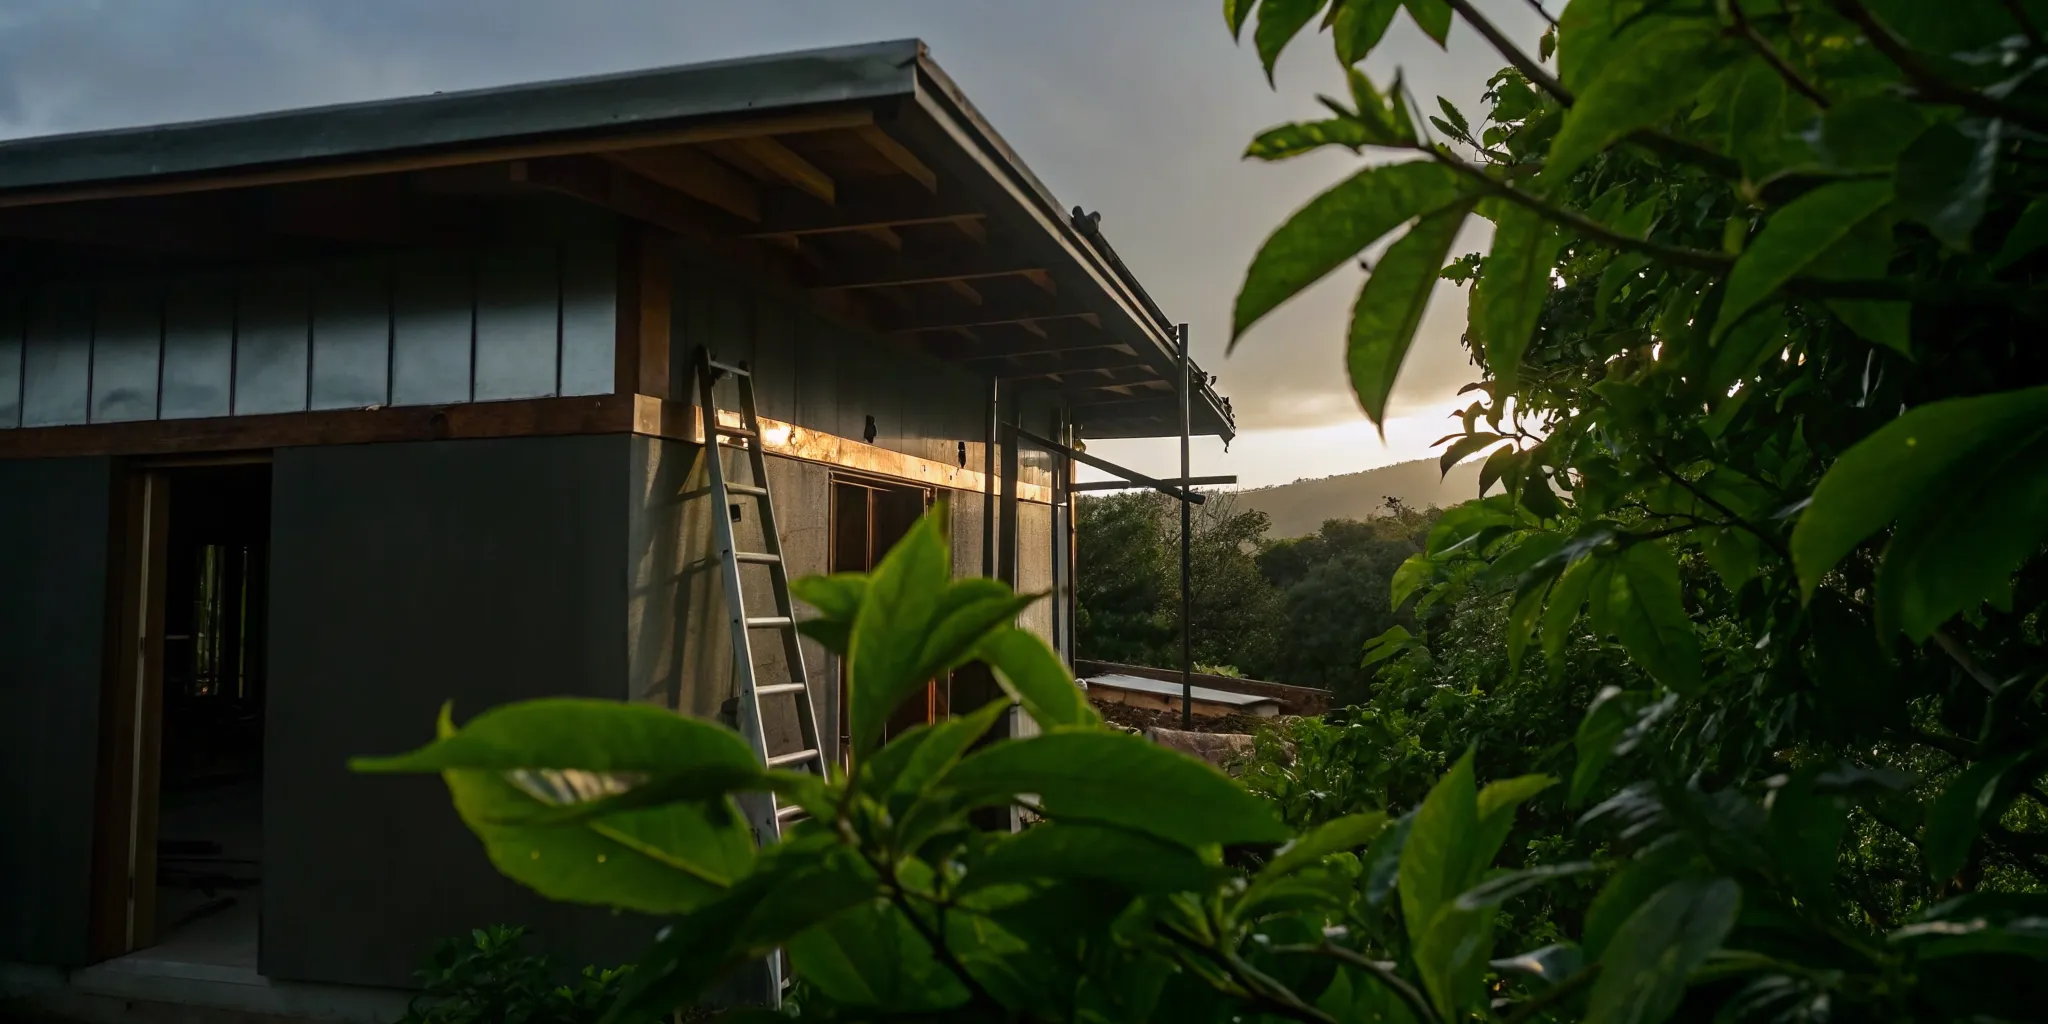
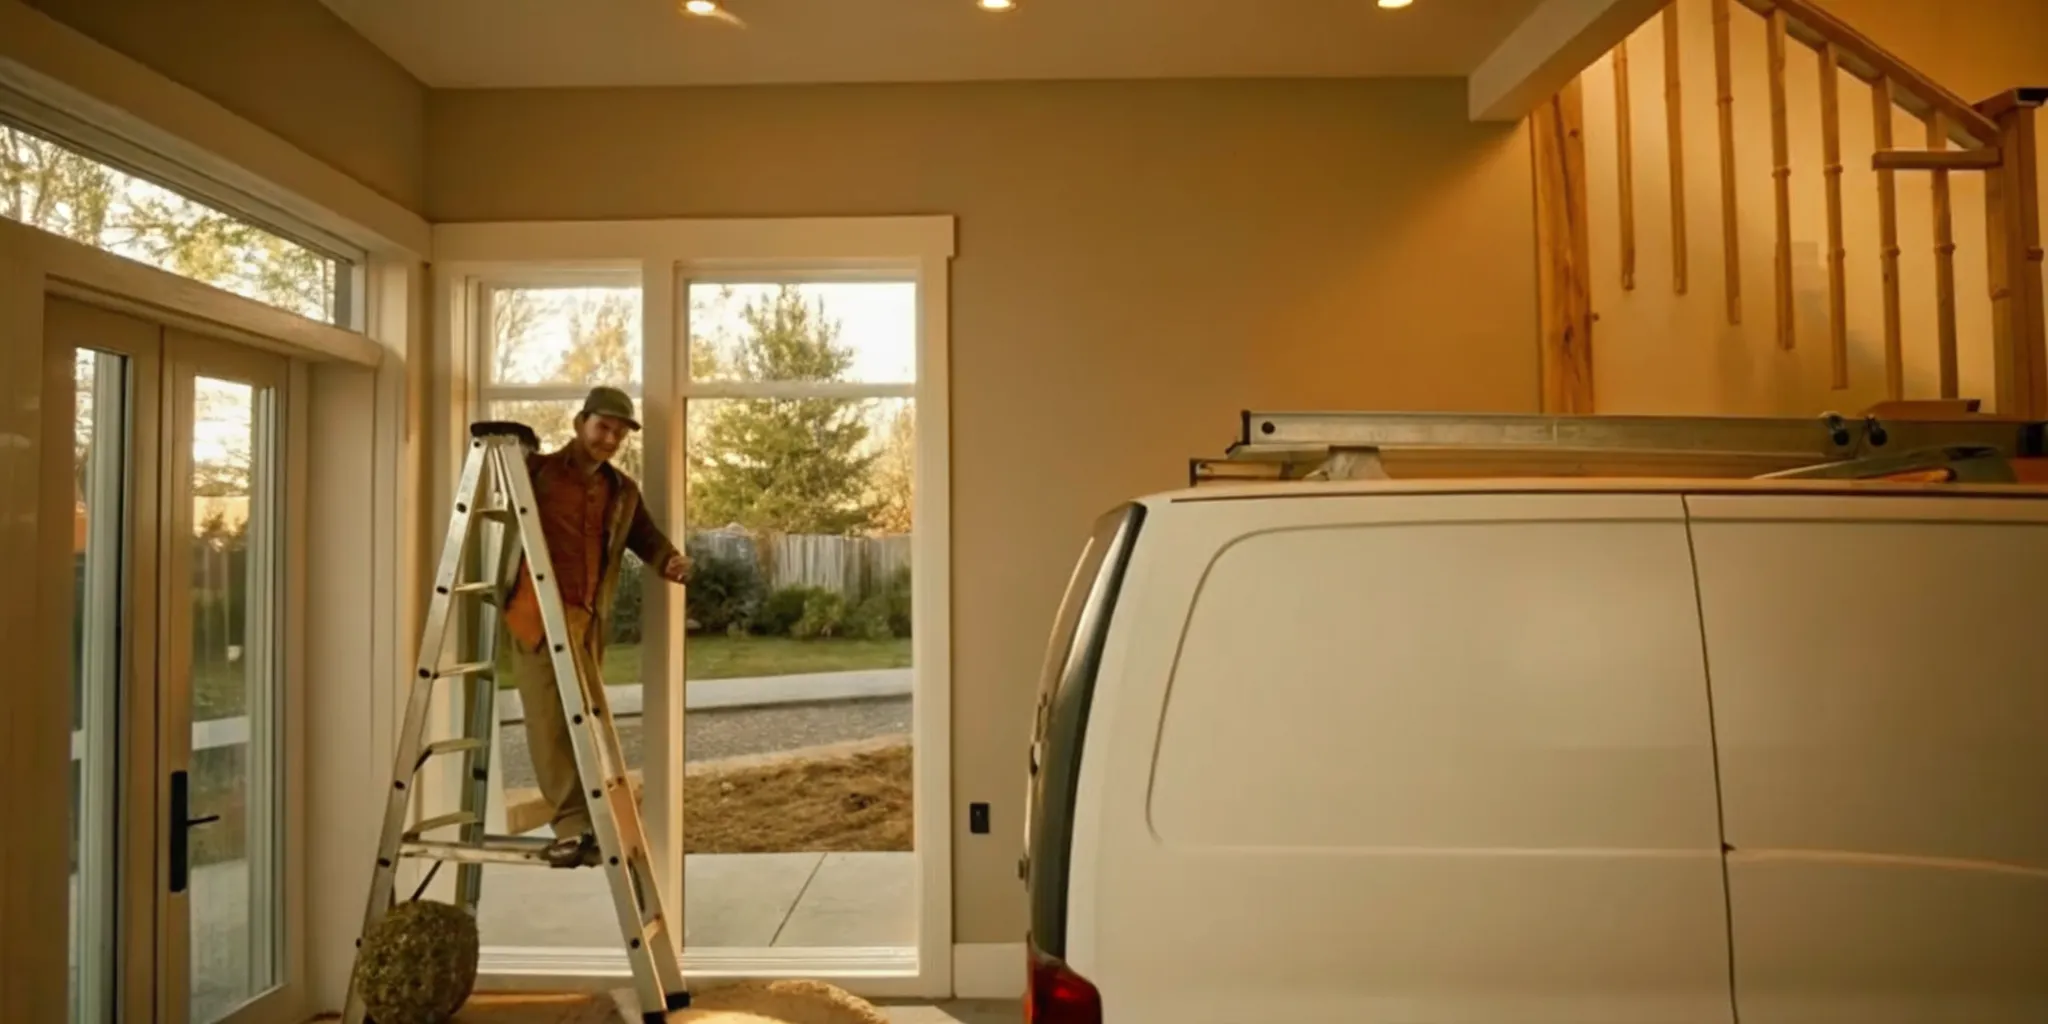
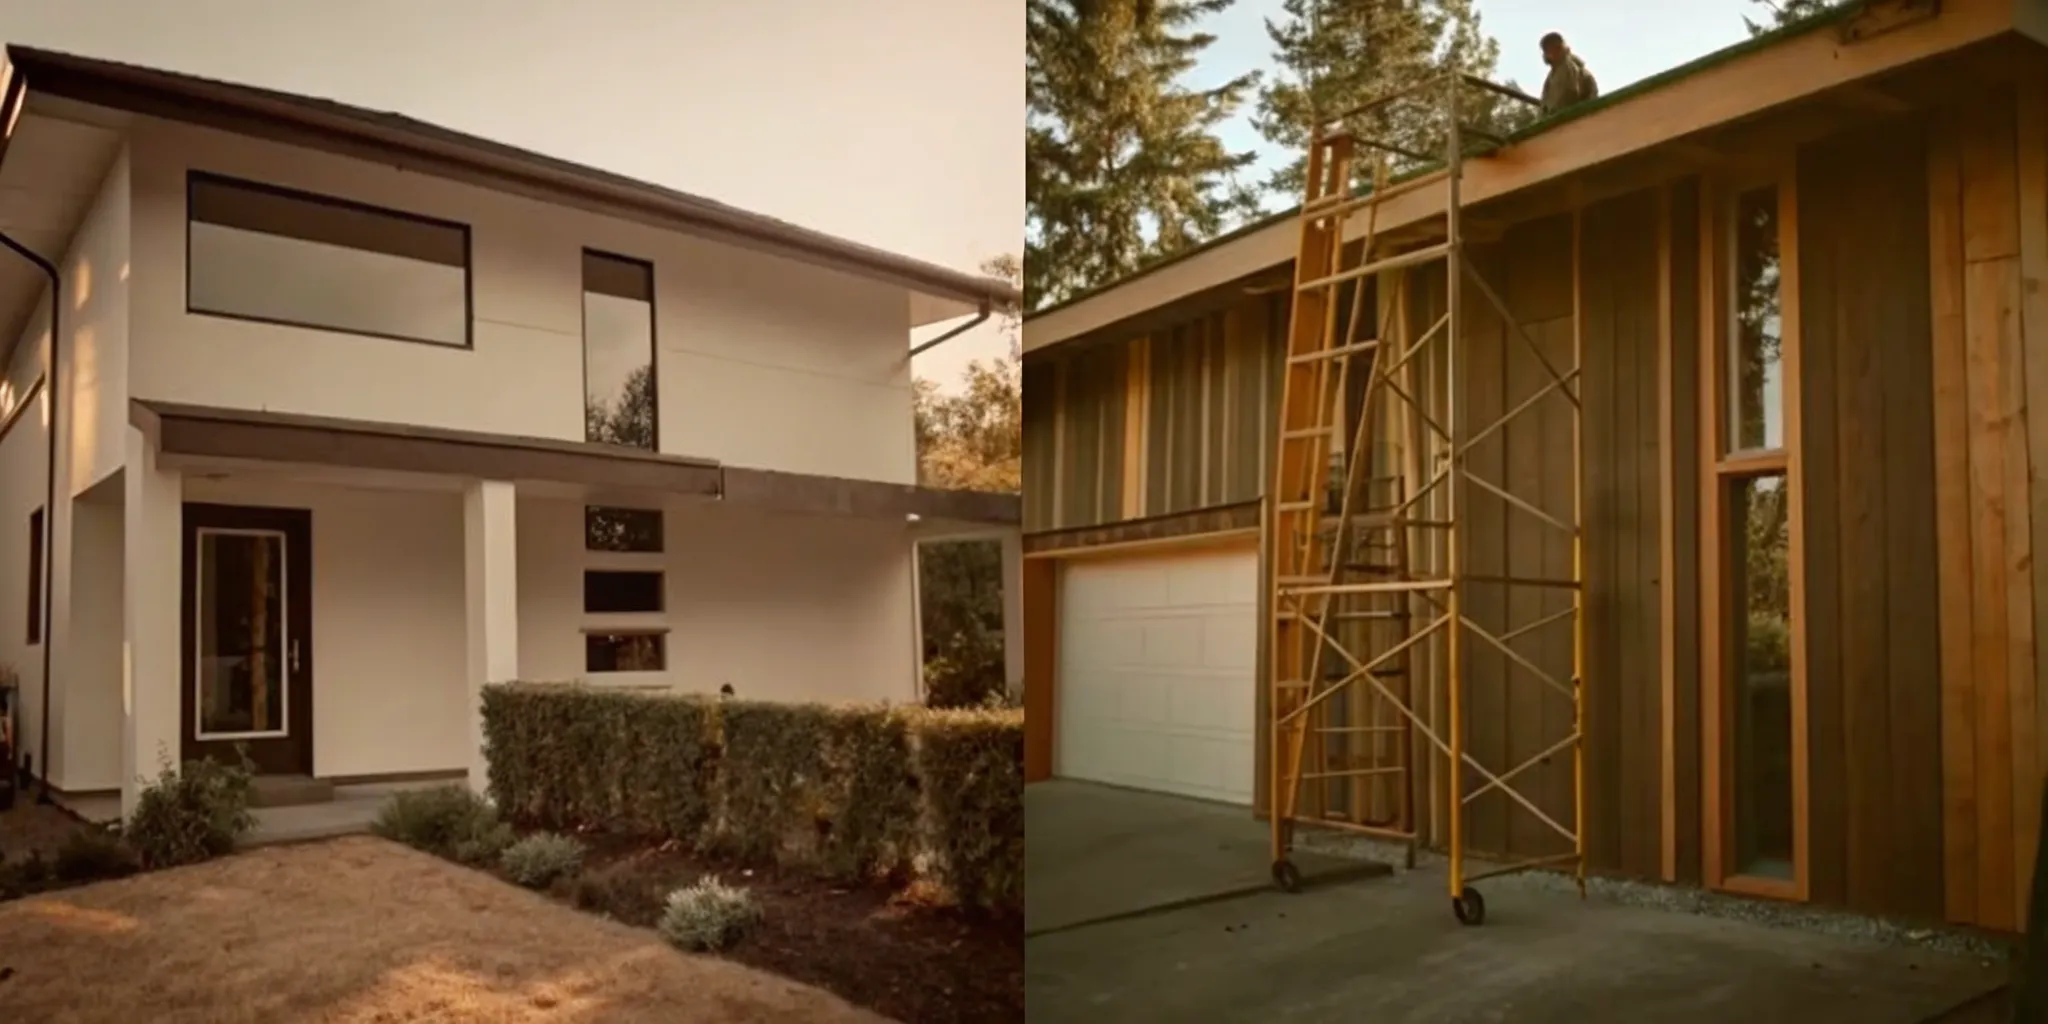
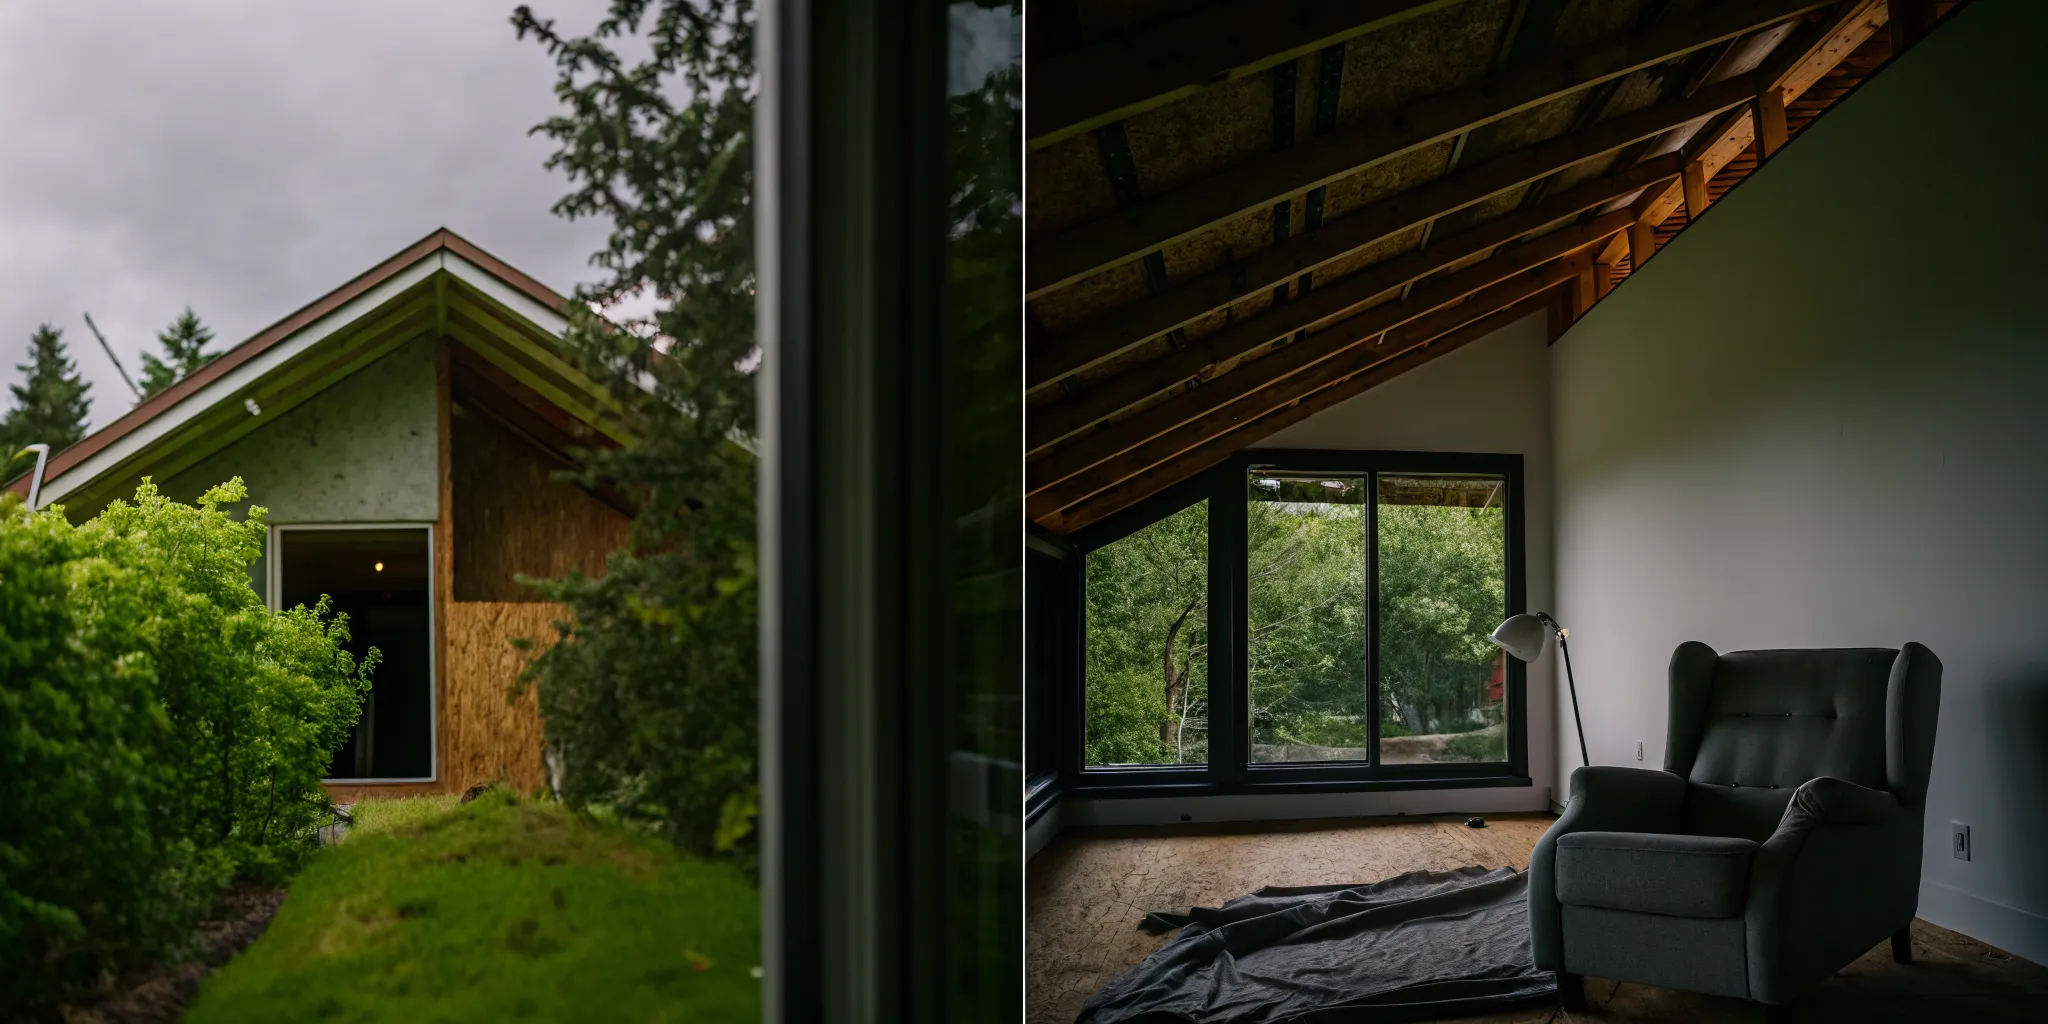
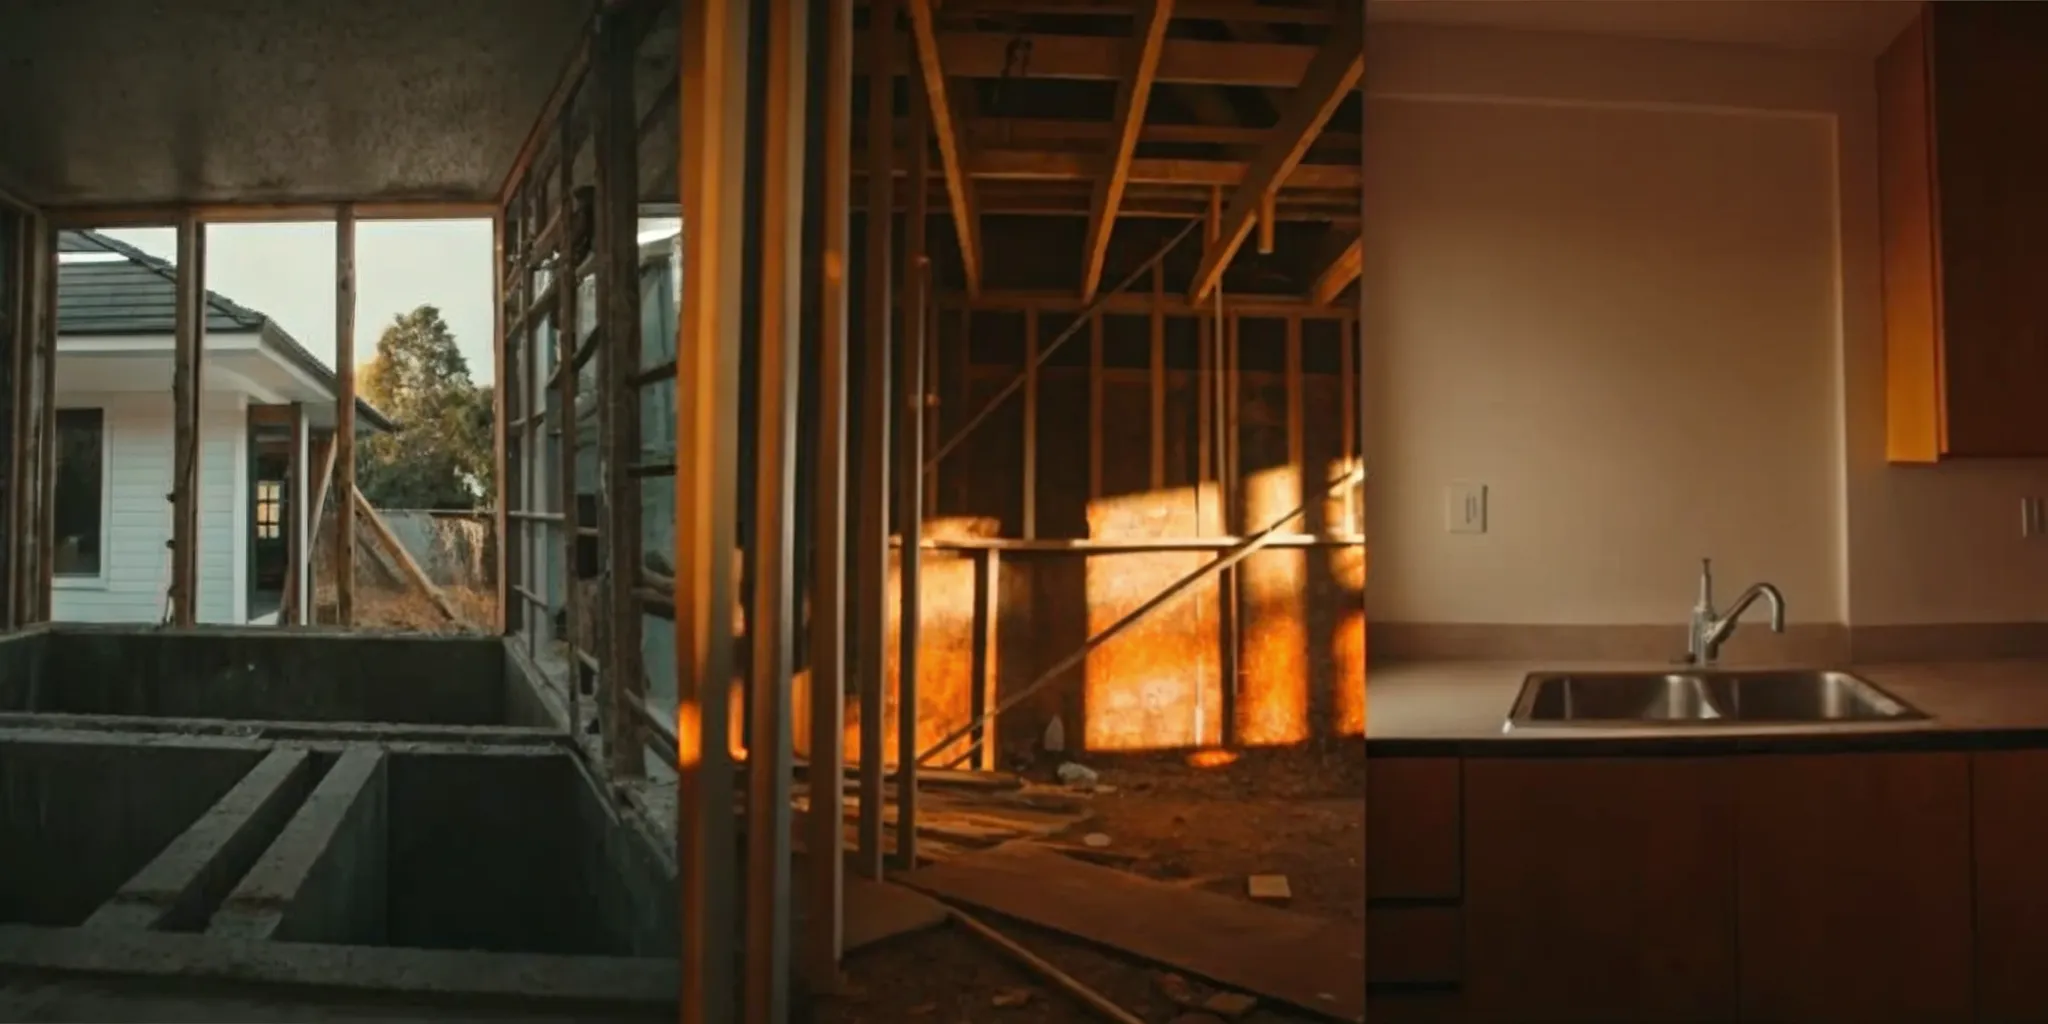
Step 2: Demolish the Old Structure
Once your plans are finalized and permits are in hand, it’s time to clear the way for your new home. The demolition phase involves safely tearing down and removing the old structure. This is definitely a job for the pros, who will handle everything from disconnecting utilities to hauling away debris. It’s a dramatic step that creates a clean slate for your build. This is also the point where you might uncover surprises, like issues with the soil or old utility lines. It’s a perfect example of why having a contingency fund is a non-negotiable part of your budget.
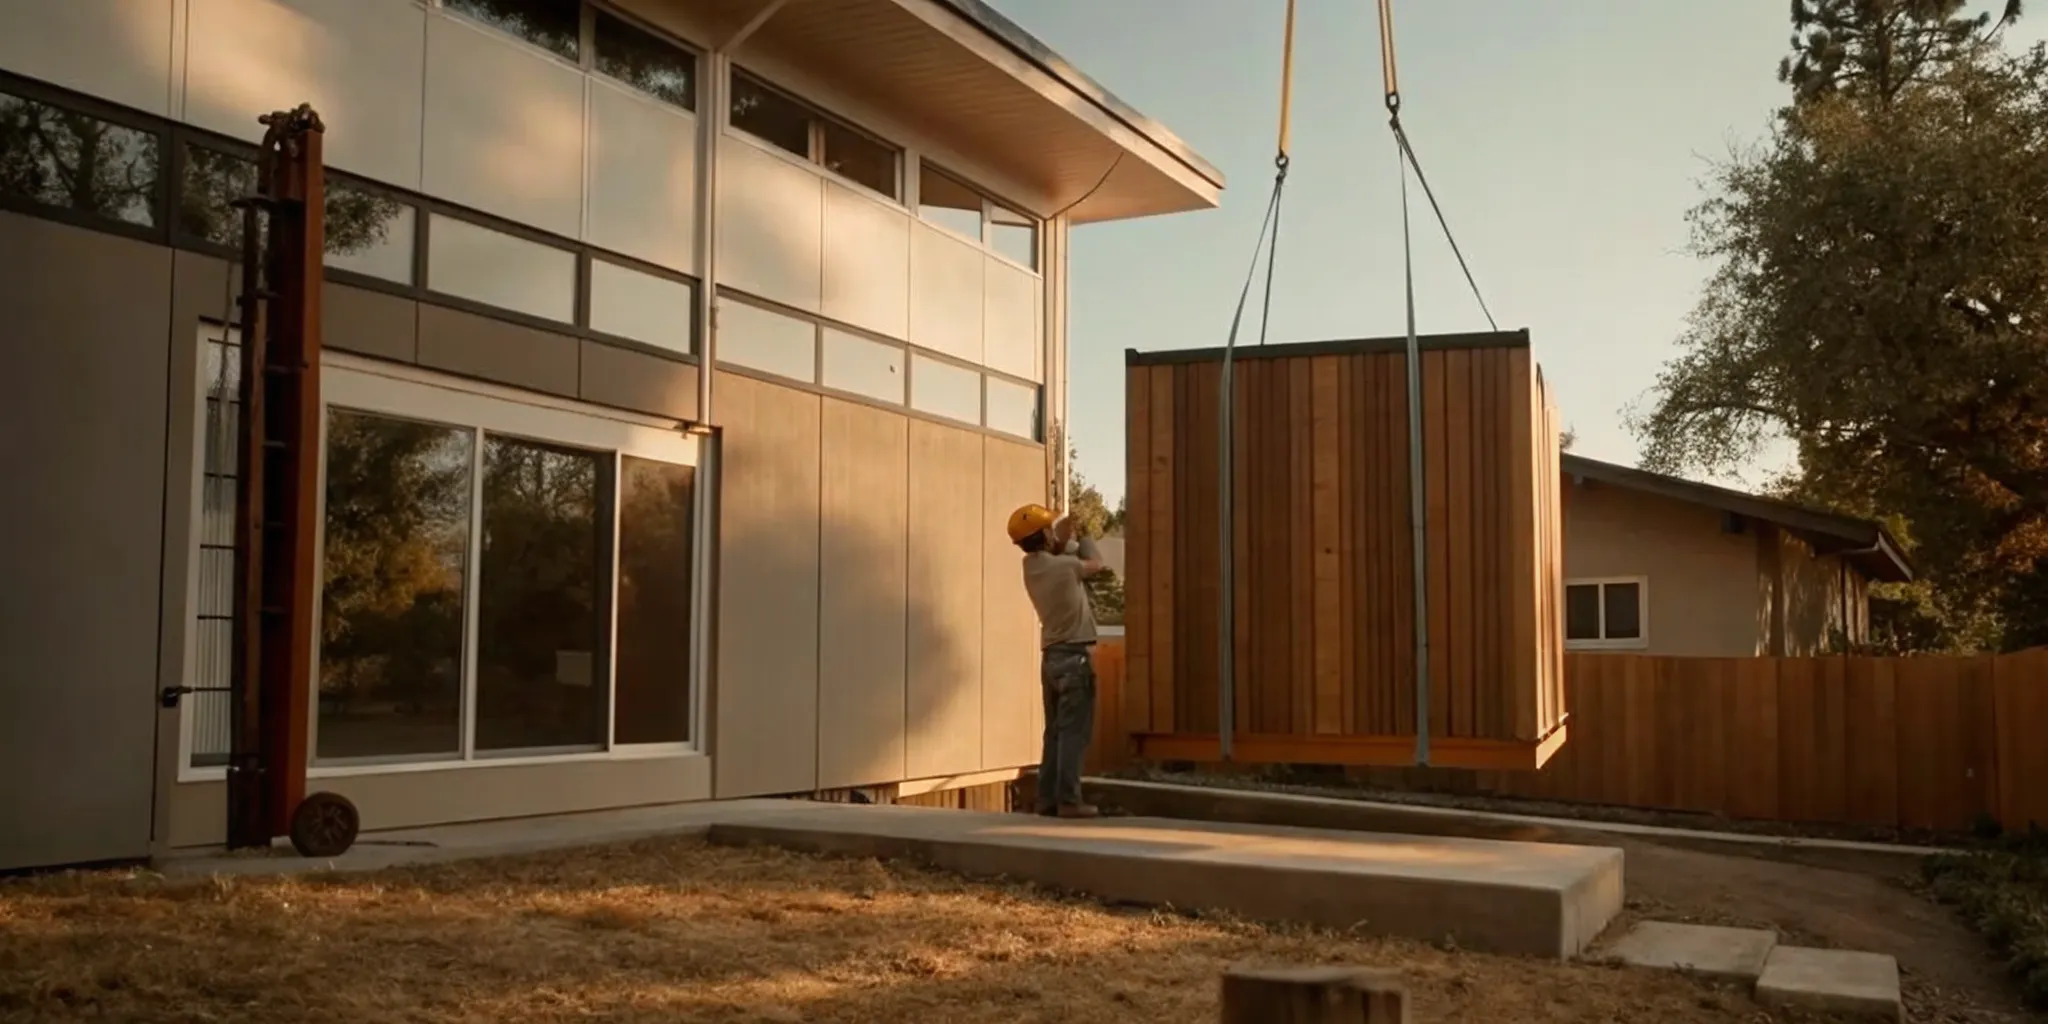
Step 3: Lay the Foundation and Frame the House
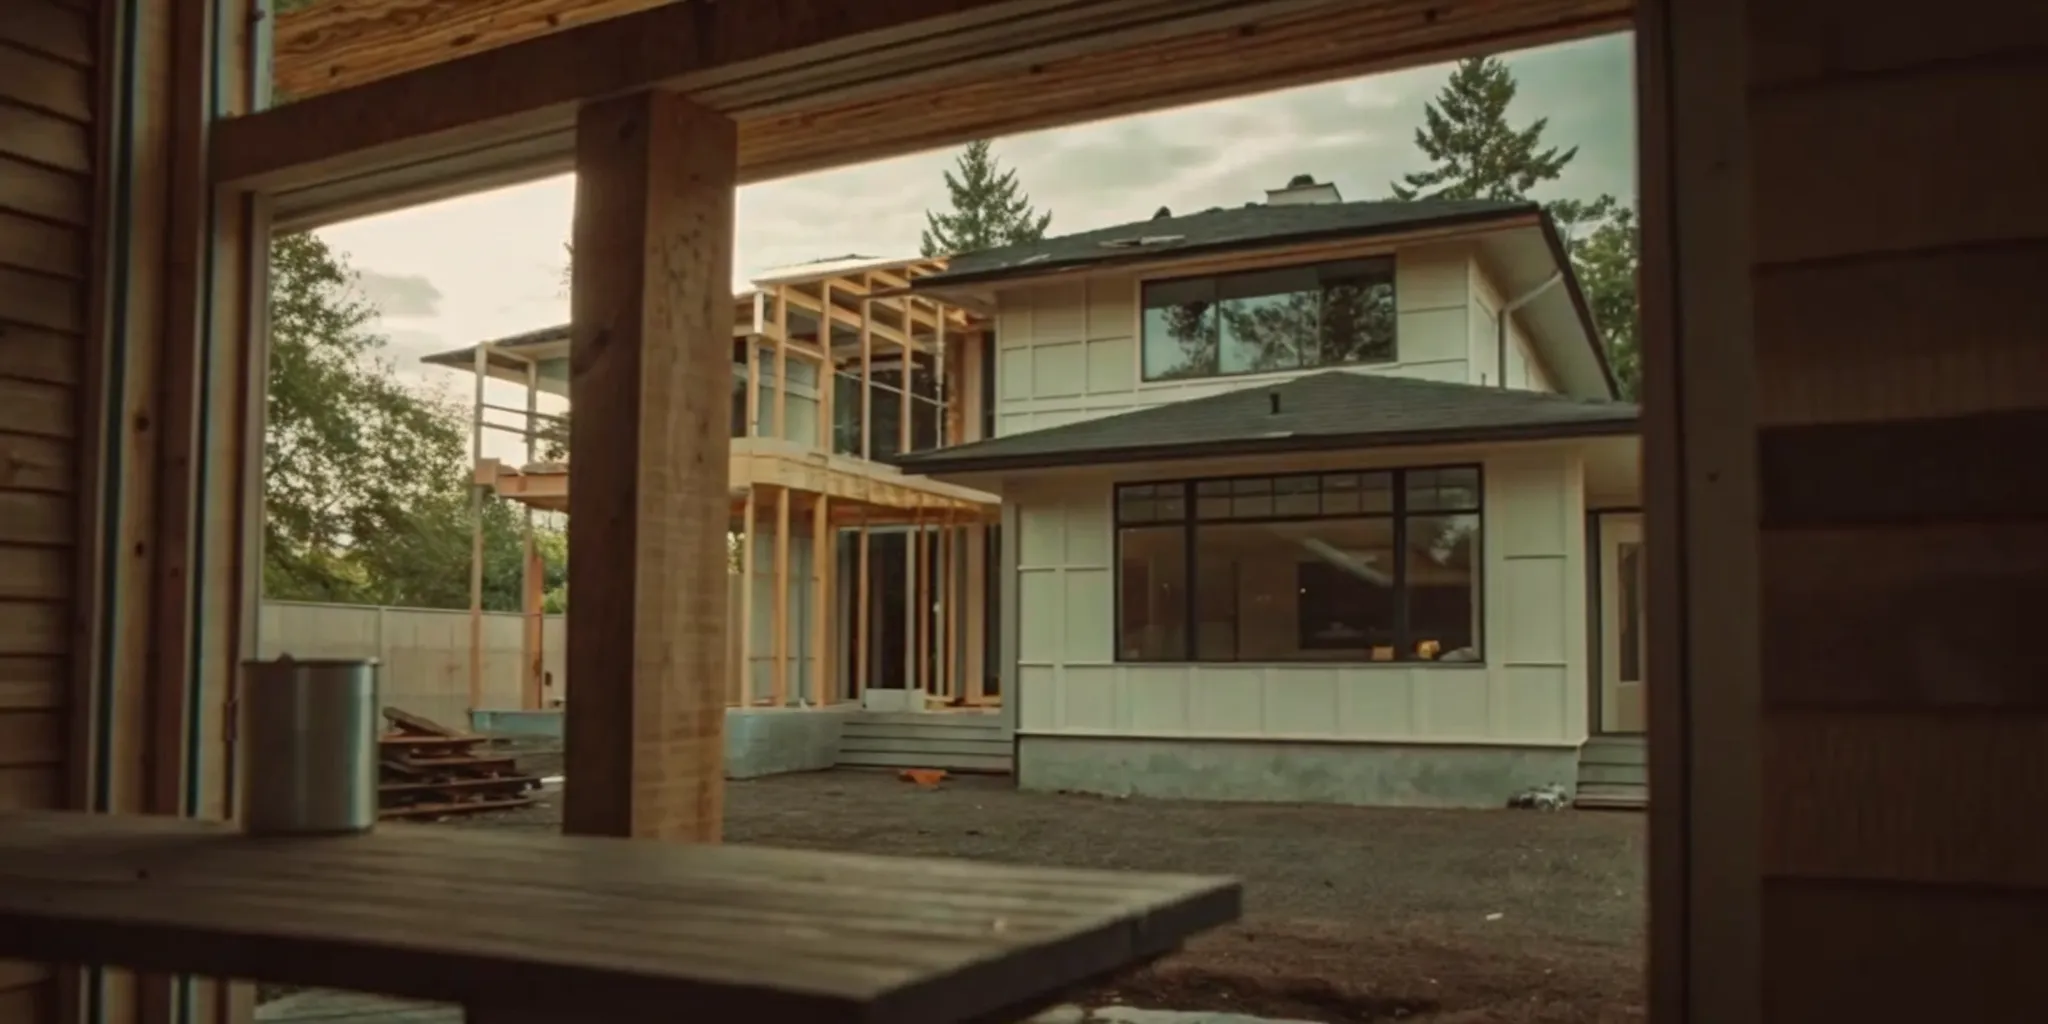
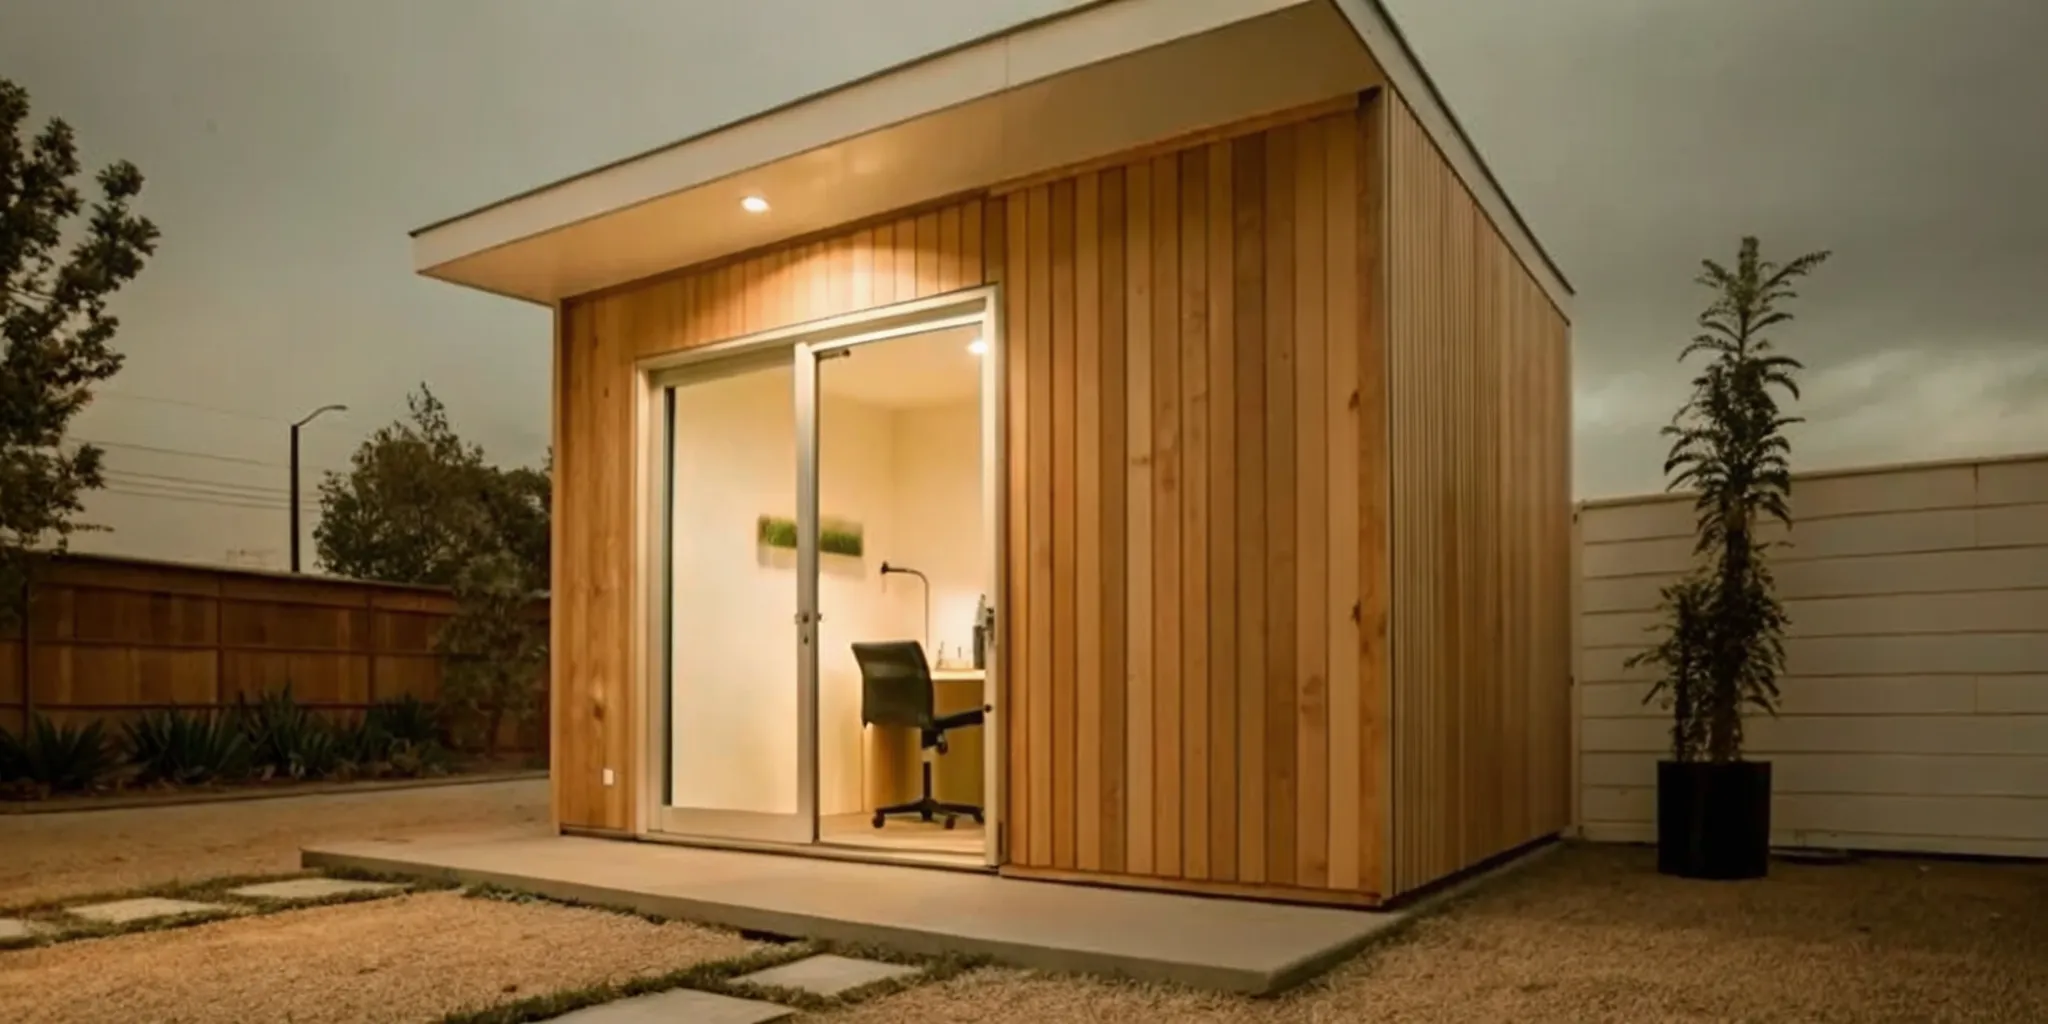
This is when your home starts to rise from the ground. First, your team will pour the concrete foundation, which is the solid base that will support your entire house. Whether it’s a slab, basement, or crawl space, a strong foundation is critical for structural integrity. Next comes framing, where the skeleton of your house is built with wood or steel. The walls, floor systems, and roof structure go up, and for the first time, you can walk through the rooms and get a real sense of the space. It’s a truly exciting milestone where your 2D plans become a 3D reality.
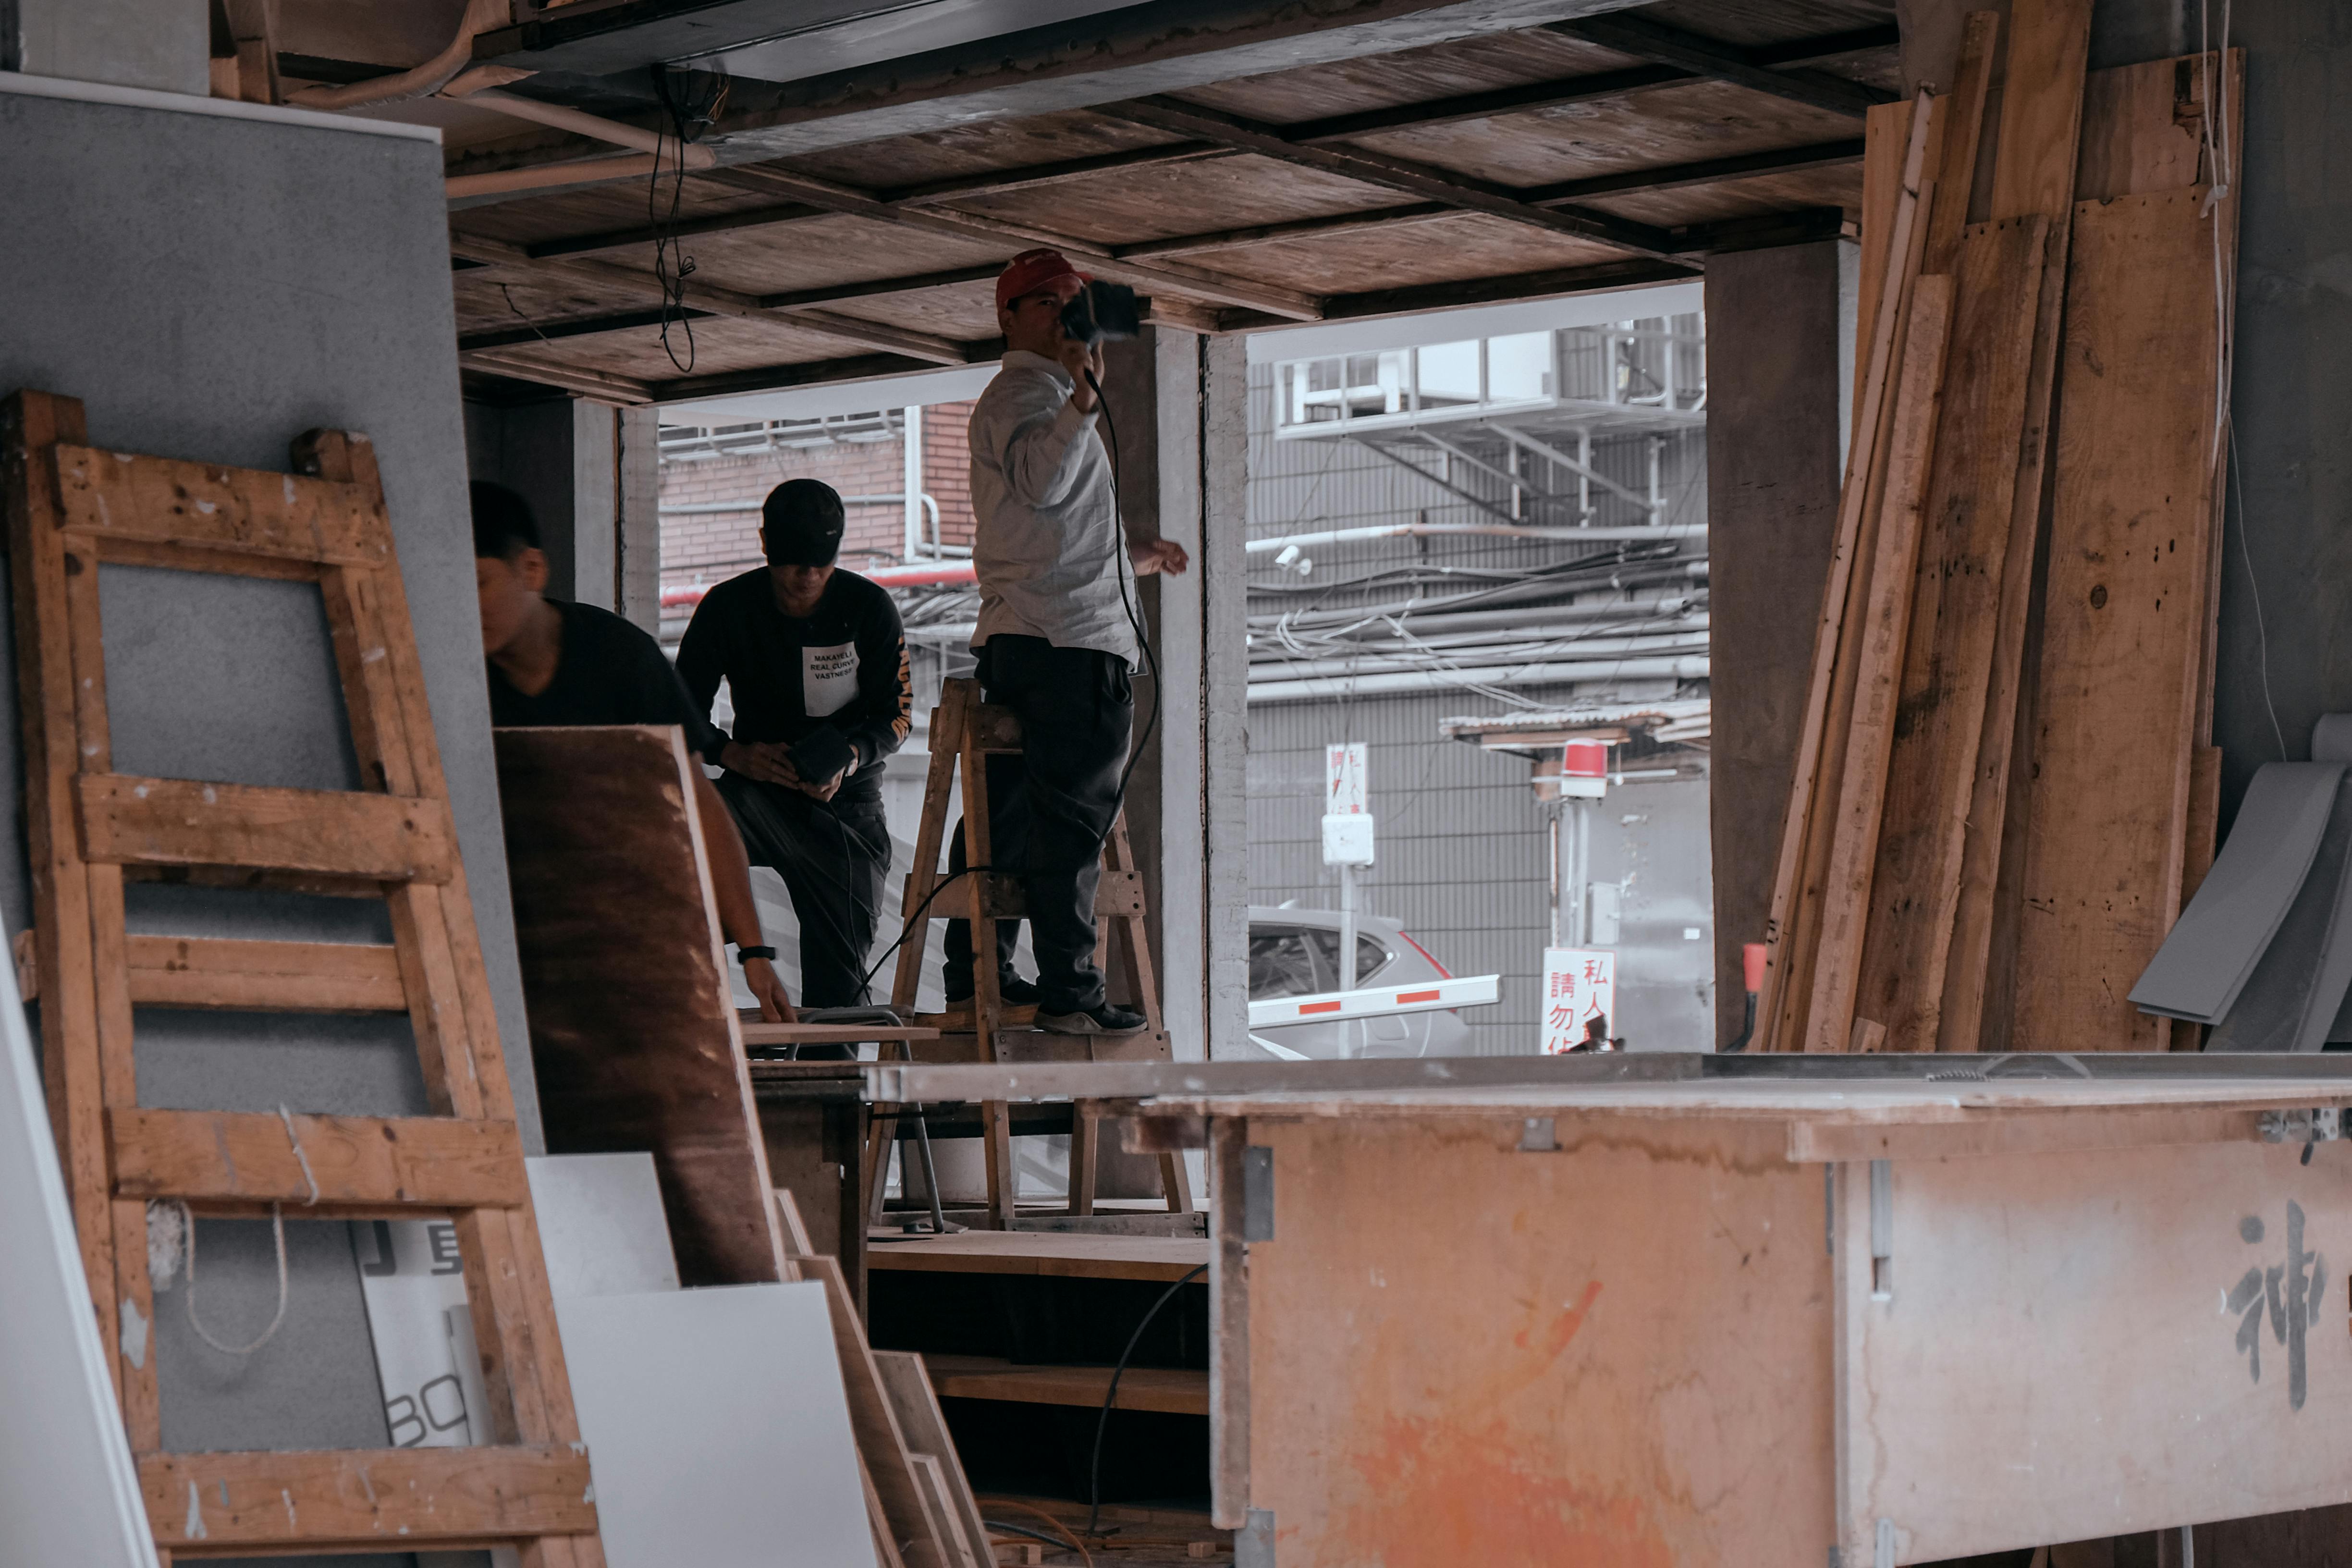
Step 4: Install Mechanical Systems (Plumbing, Electrical, HVAC)
With the frame in place, it’s time to install the systems that make a house functional. This is often called the "rough-in" phase. Plumbers will run pipes for water and sewer lines, electricians will install wiring for outlets and fixtures, and HVAC technicians will set up the ductwork for your heating and cooling systems. All of this happens inside the walls before they’re closed up. This work requires licensed professionals and must pass inspections to ensure it’s all up to code. It’s the hidden network that powers your home’s comfort and convenience.
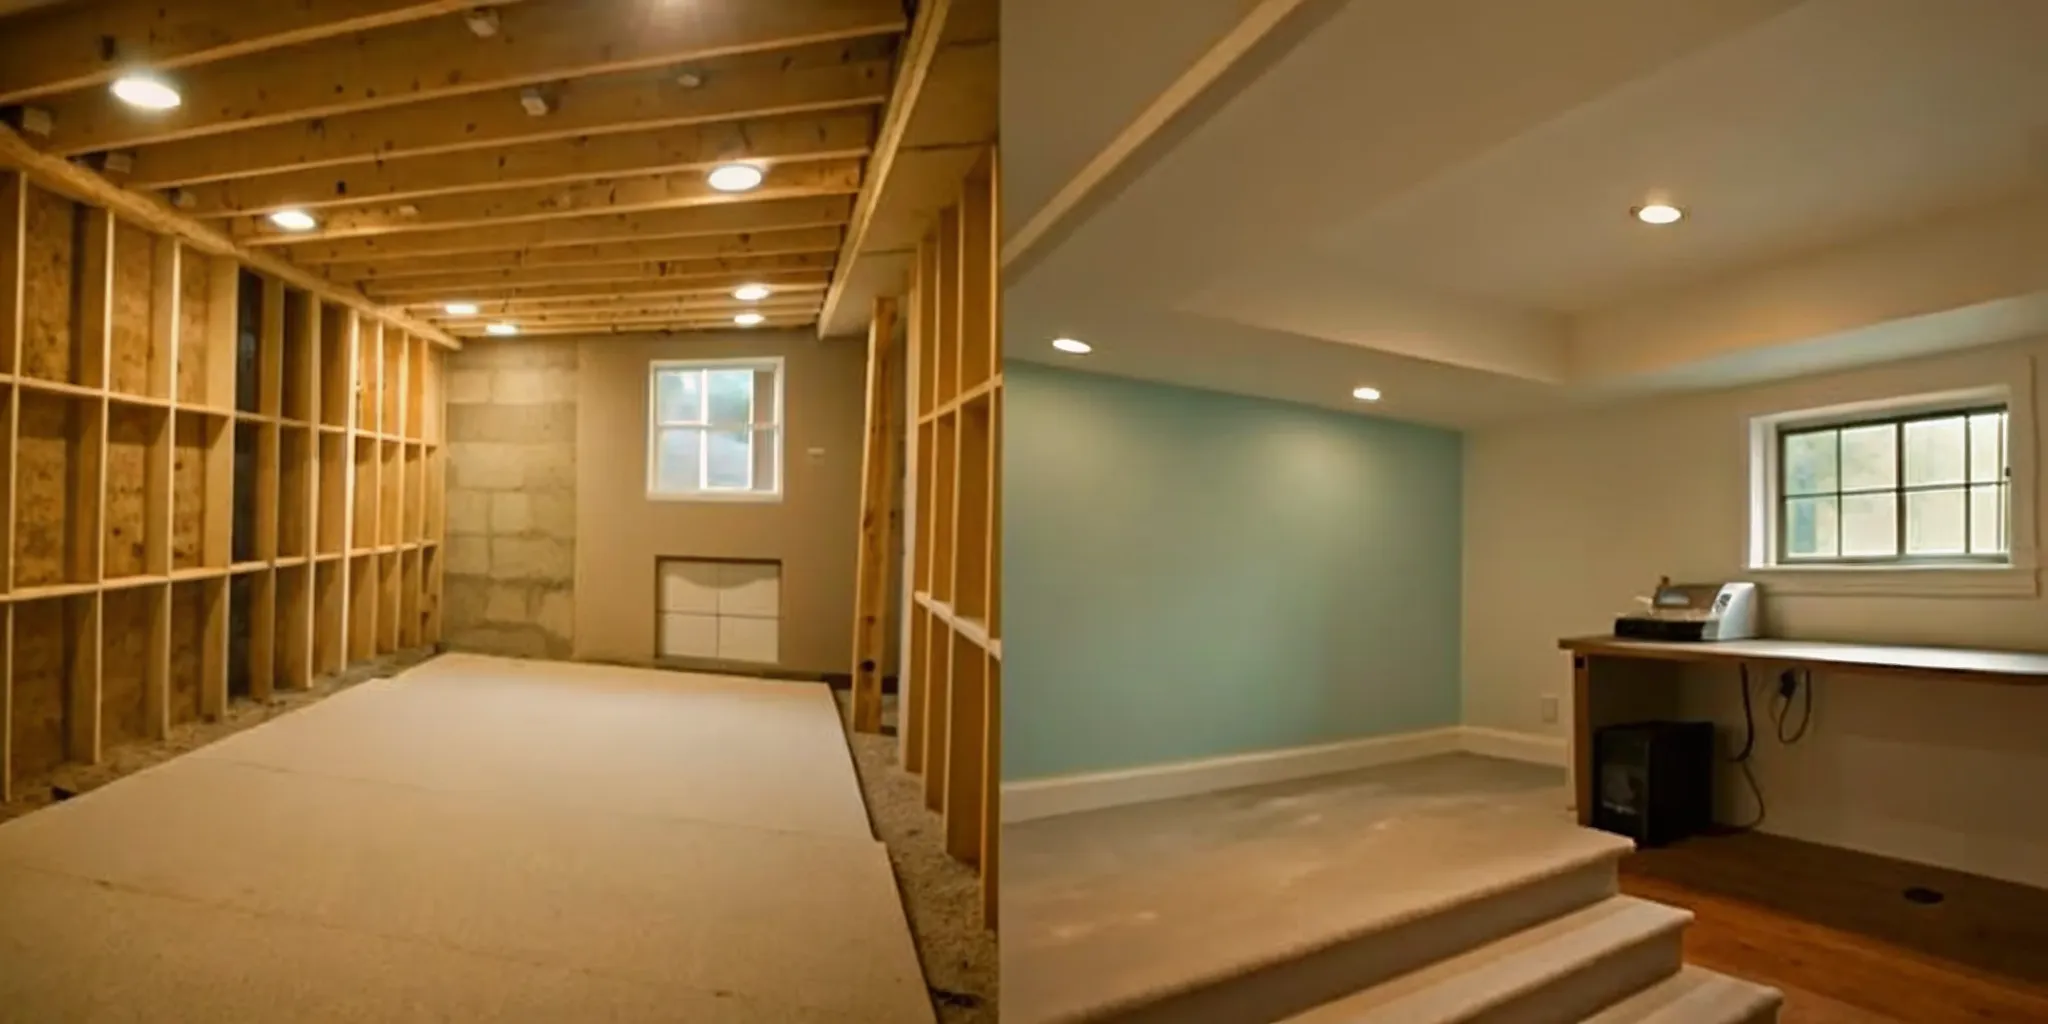
Step 5: Add Insulation, Drywall, and Interior Finishes
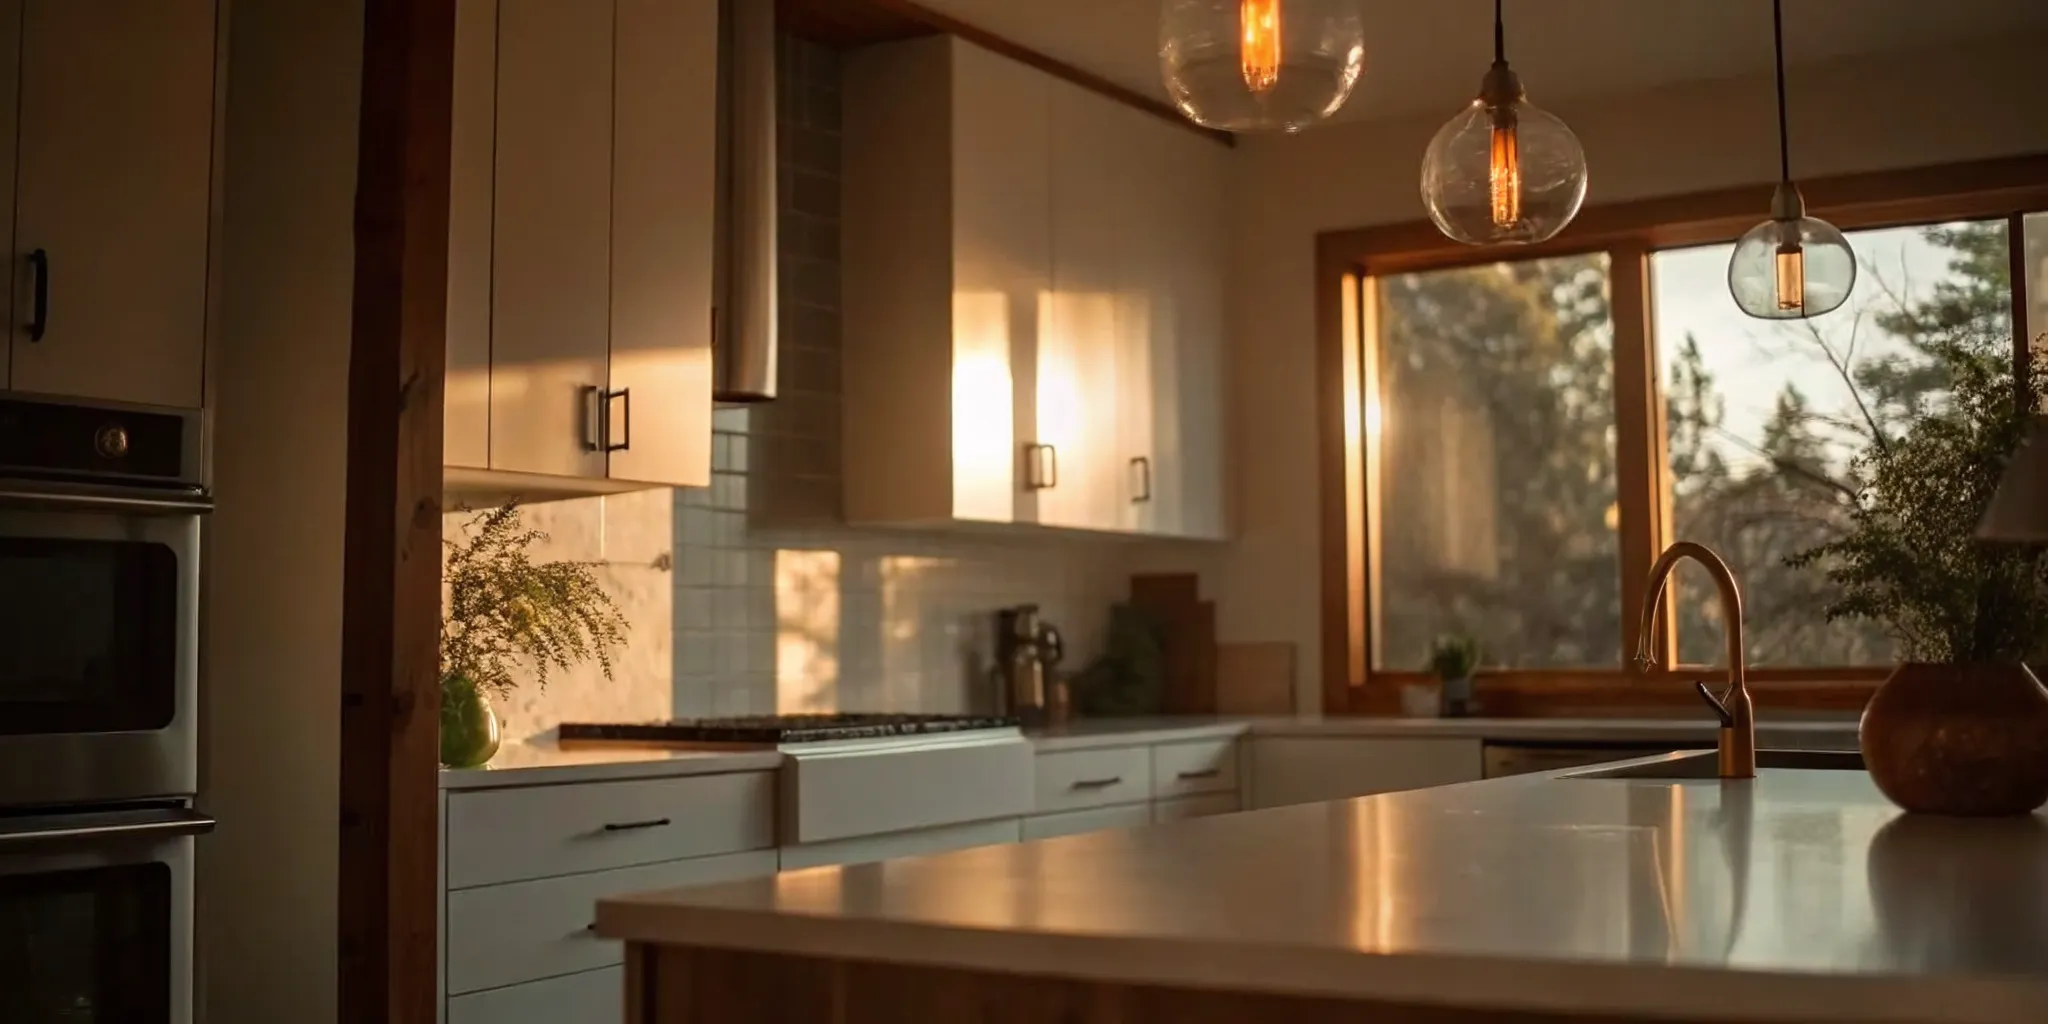
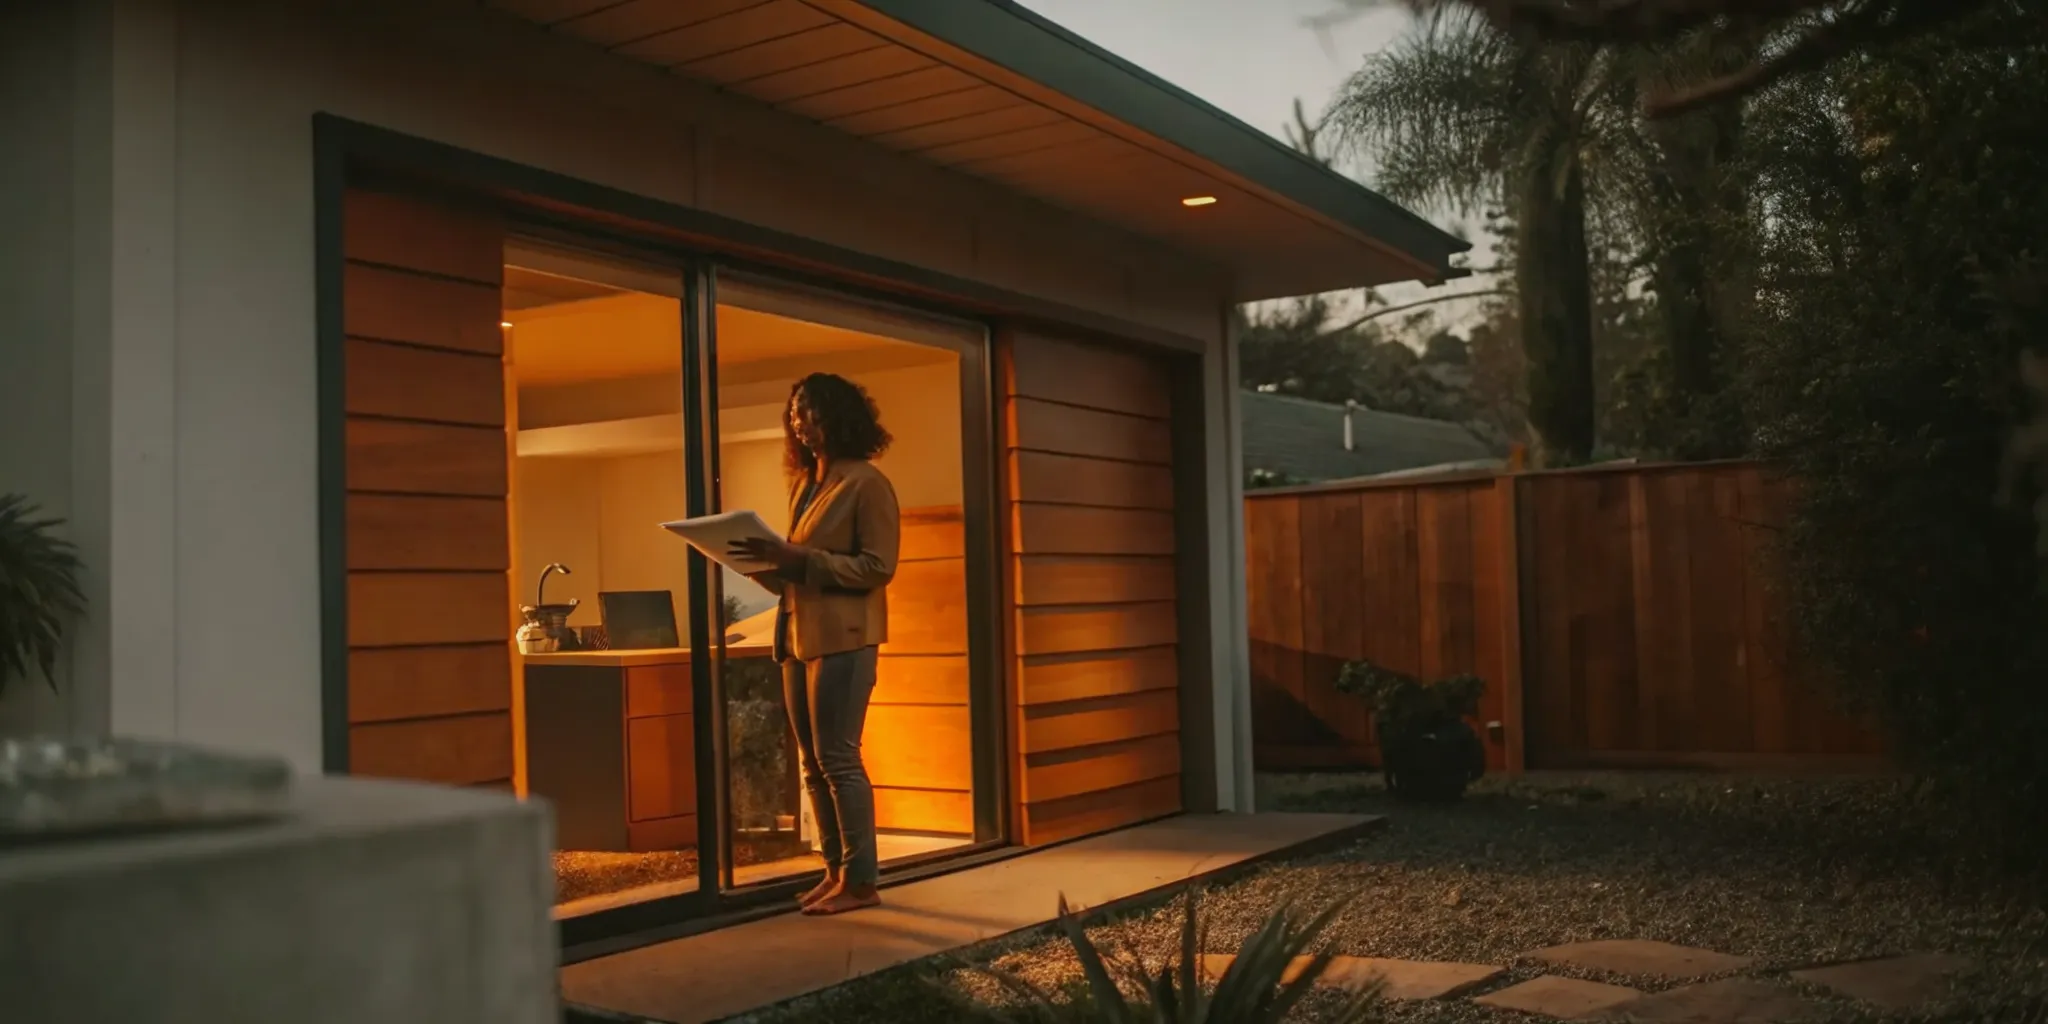
Now the house really starts to look and feel like a home. First, insulation is installed in the walls and ceiling to control temperature and muffle sound. Next, drywall is hung, taped, and textured, creating the smooth interior walls you’ll soon be painting. This is when the personality of your home begins to shine through. Your team will install flooring, cabinetry, countertops, and trim. They’ll also paint the walls, hang doors, and install light fixtures and plumbing fixtures like sinks and faucets. It’s a busy phase where many of your design selections finally come to life.
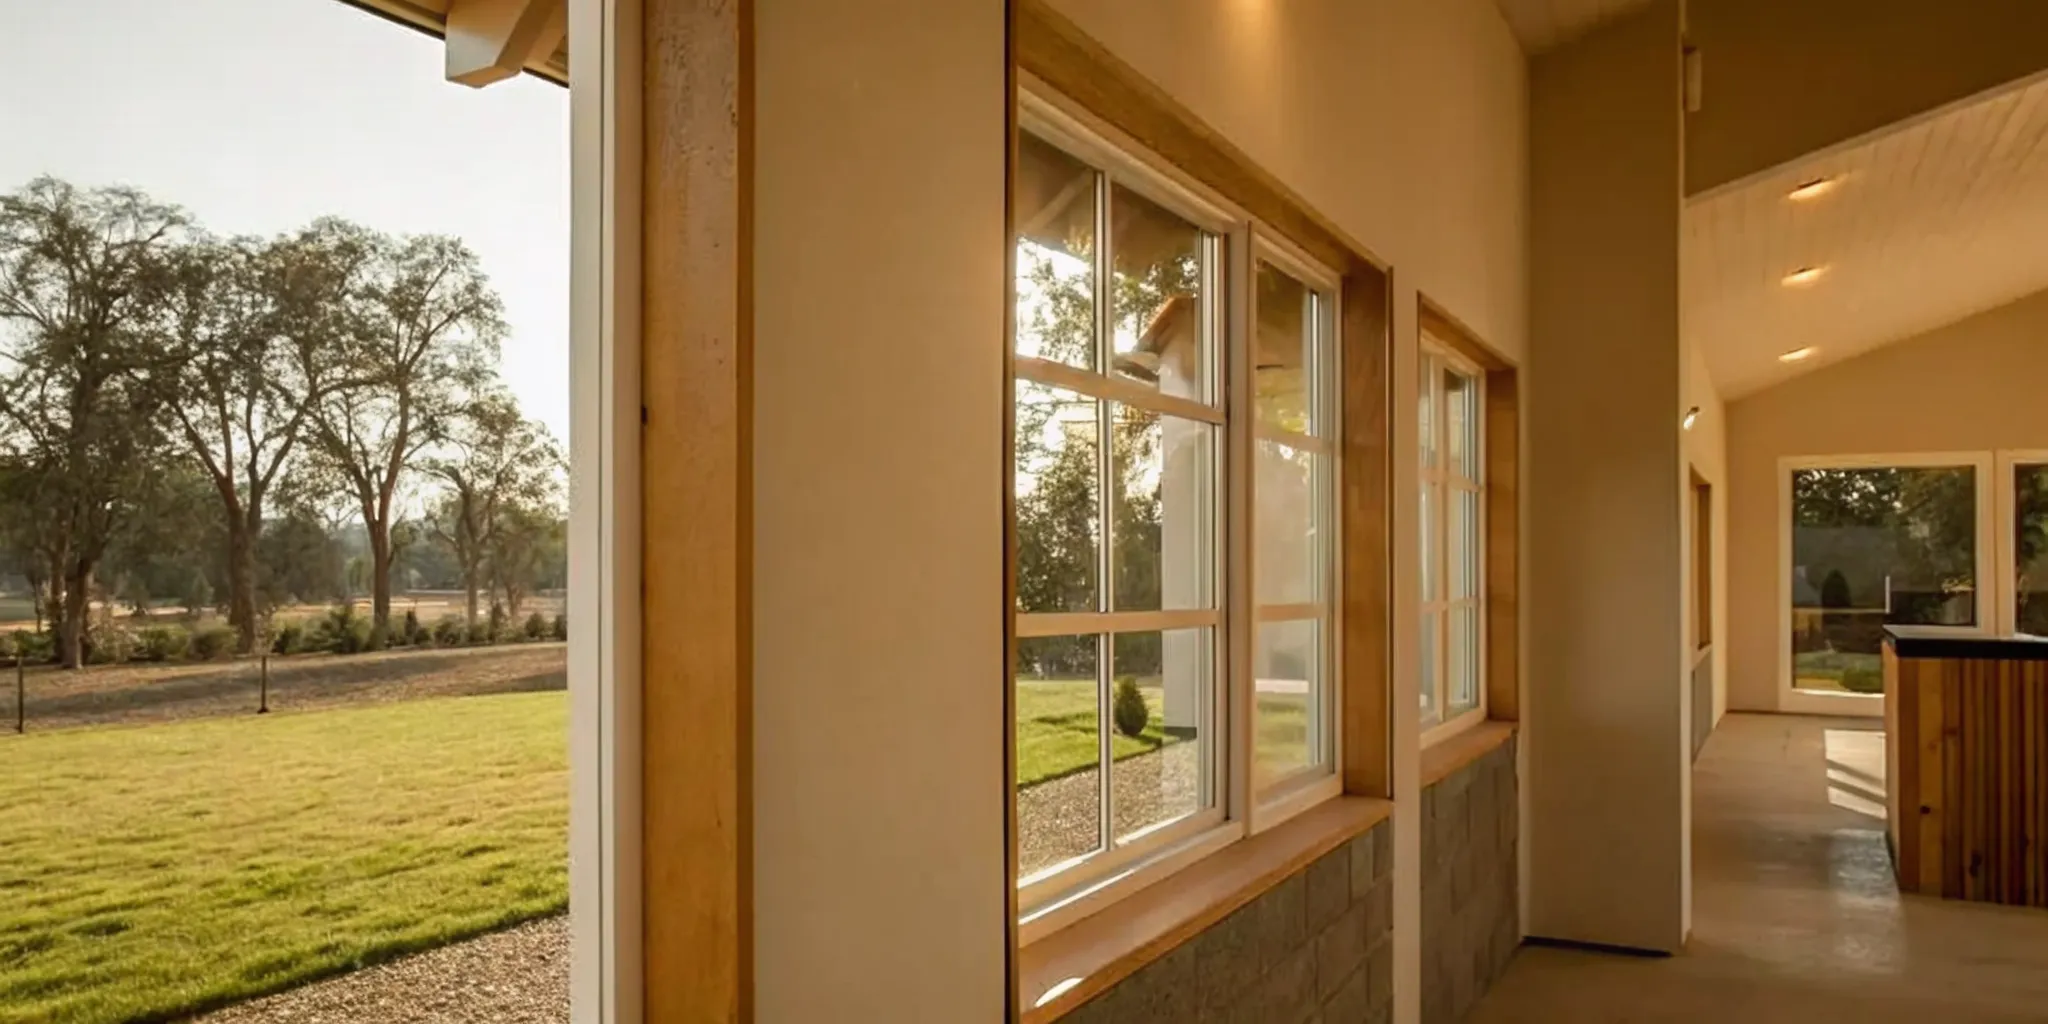
Step 6: Incorporate Energy-Efficient Features
Building a new home is the perfect opportunity to make smart choices that will save you money and reduce your environmental footprint for years to come. This is the time to install high-performance windows, energy-efficient appliances, and a well-sealed building envelope. You might also consider features like a high-efficiency HVAC system or a smart thermostat. These elements not only lower your monthly utility bills but also create a more comfortable and healthier living environment. Think of it as a long-term investment in your home's value and your family's well-being.
Step 7: Pass Final Inspections and Get Your Certificate of Occupancy
You’re on the home stretch! Before you can officially move in, your home must pass a series of final inspections from your local building department. An inspector will visit the site to verify that every aspect of the construction, from the electrical wiring to the plumbing fixtures, complies with safety regulations and building codes. Once you’ve passed all inspections, you’ll be issued a Certificate of Occupancy (CO). This is the official document that declares your home safe and ready for habitation. It’s the final green light you need before you can pop the champagne, unpack your boxes, and start living in your beautiful new home.
How Long Does It Take to Rebuild a House?
So, how long does this whole process actually take? Generally, you can expect a full house rebuild to take between six months and one year. Of course, this is just an estimate. A more complex architectural design will naturally take longer than a simple one, and factors like bad weather or supply chain issues can cause delays. While you can’t control every variable, having a solid, well-structured plan is the best way to keep your project moving forward on schedule and within your budget. Understanding the key factors and phases will give you a much clearer picture of your specific timeline.
What Affects Your Project Timeline?
Several key factors will influence how quickly your rebuild comes together. Effective planning and seamless collaboration between your architect, contractor, and other team members are absolutely critical. A clear, detailed plan from the start helps everyone stay on the same page, which is the best way to avoid costly delays. Beyond the paperwork and people, proper site preparation is vital. This means making sure the land has good drainage and getting all the necessary surveys done before a single shovel hits the ground. Taking these steps early on helps prevent major issues like flooding or structural problems down the road, keeping your project on track.
A Realistic Timeline, Phase by Phase
While every project is unique, the rebuilding process follows a predictable sequence of events. Breaking it down phase by phase makes the entire timeline feel much more manageable. Here’s a look at the typical order of operations:
- Planning and Design: This is where you finalize your vision. It involves designing the house layout, choosing materials, and working with your team to secure all the necessary permits from your local municipality.
- Site Preparation: Your lot is cleared, leveled, and prepared for construction. This includes establishing proper drainage to protect your new home.
- Laying the Foundation: A crucial step where the concrete for your foundation, whether it’s a slab or basement walls, is poured.
- Framing and Structure: The skeleton of your house goes up. You’ll see walls, floors, and the roof structure take shape.
- Roofing and Exterior Work: The roof is installed, and exterior finishes are added to make the home weatherproof.
- Interior Work: All the internal systems are installed, including plumbing, electrical, and HVAC, followed by insulation, drywall, and other finishes.
- Final Touches and Inspections: The home is painted, light fixtures and appliances are installed, and the property gets a final cleaning before undergoing final inspections.
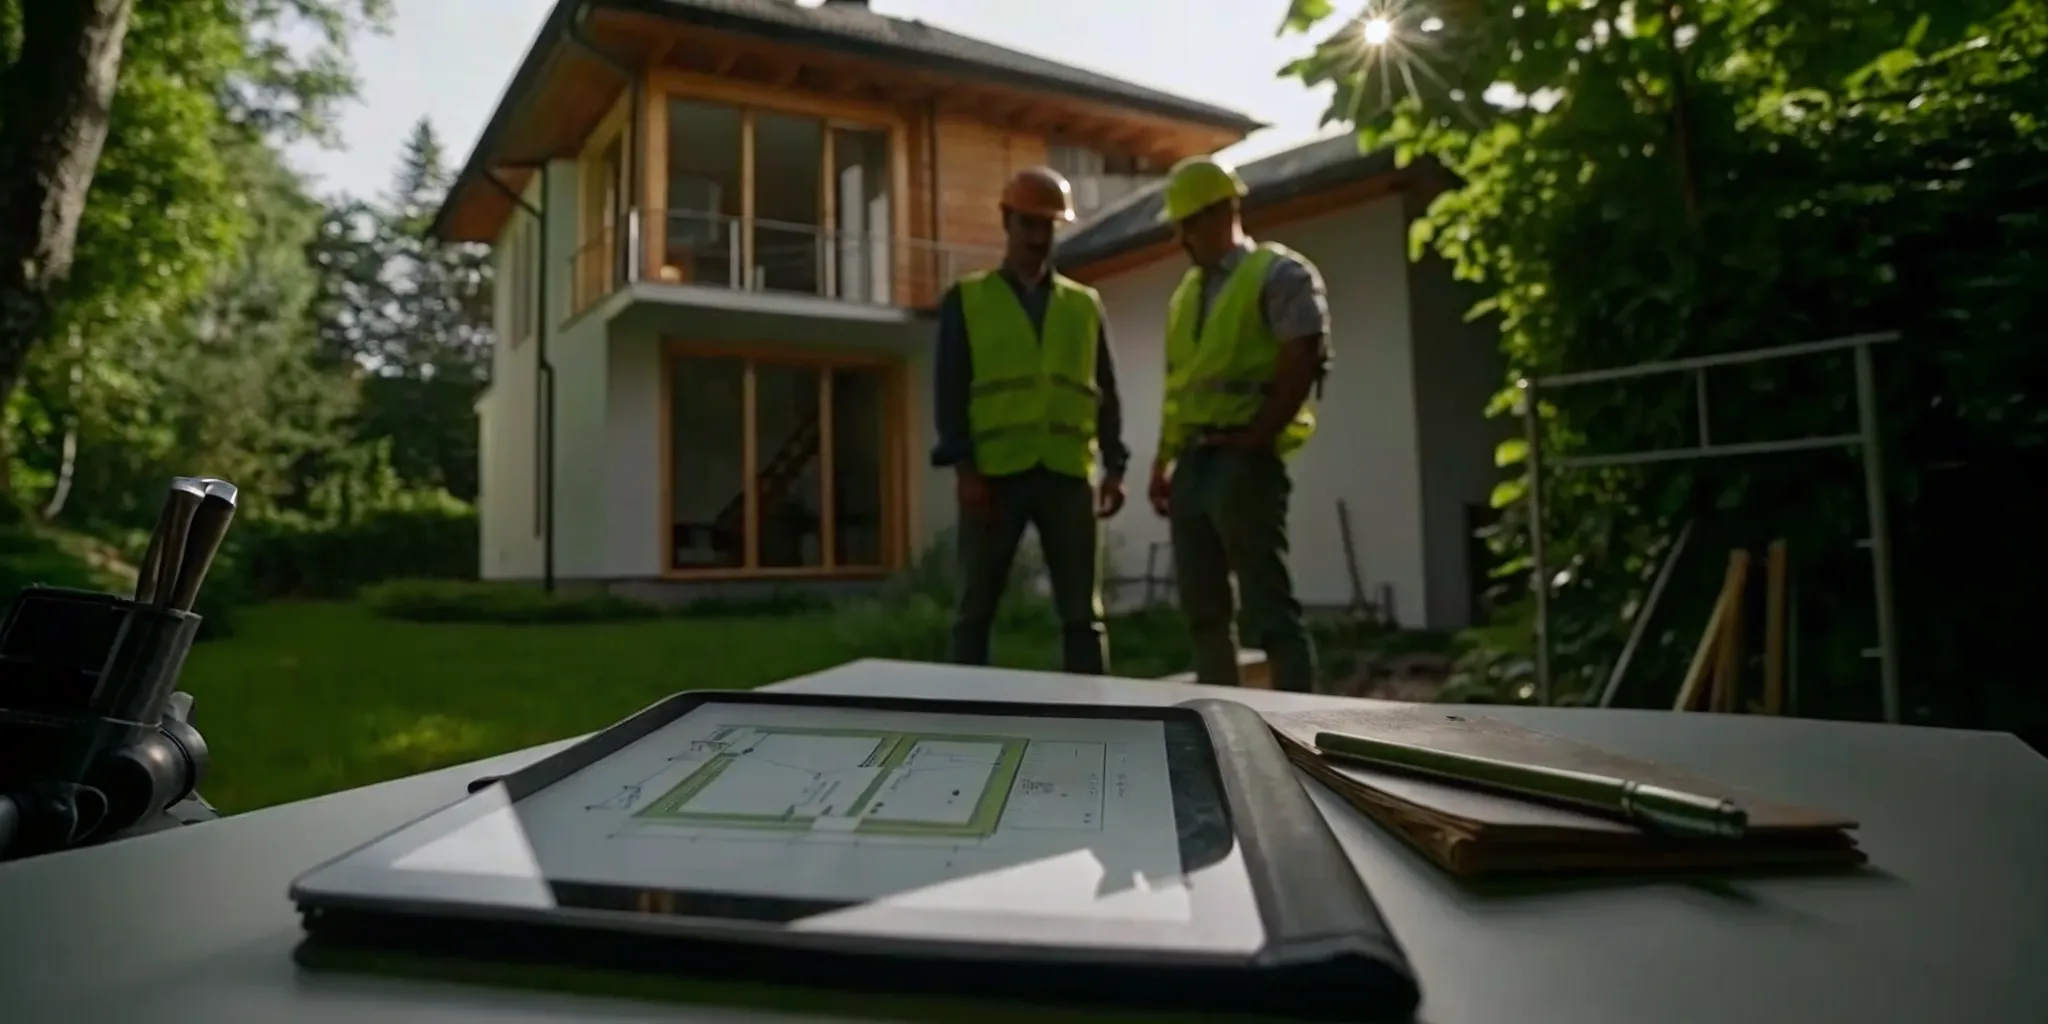
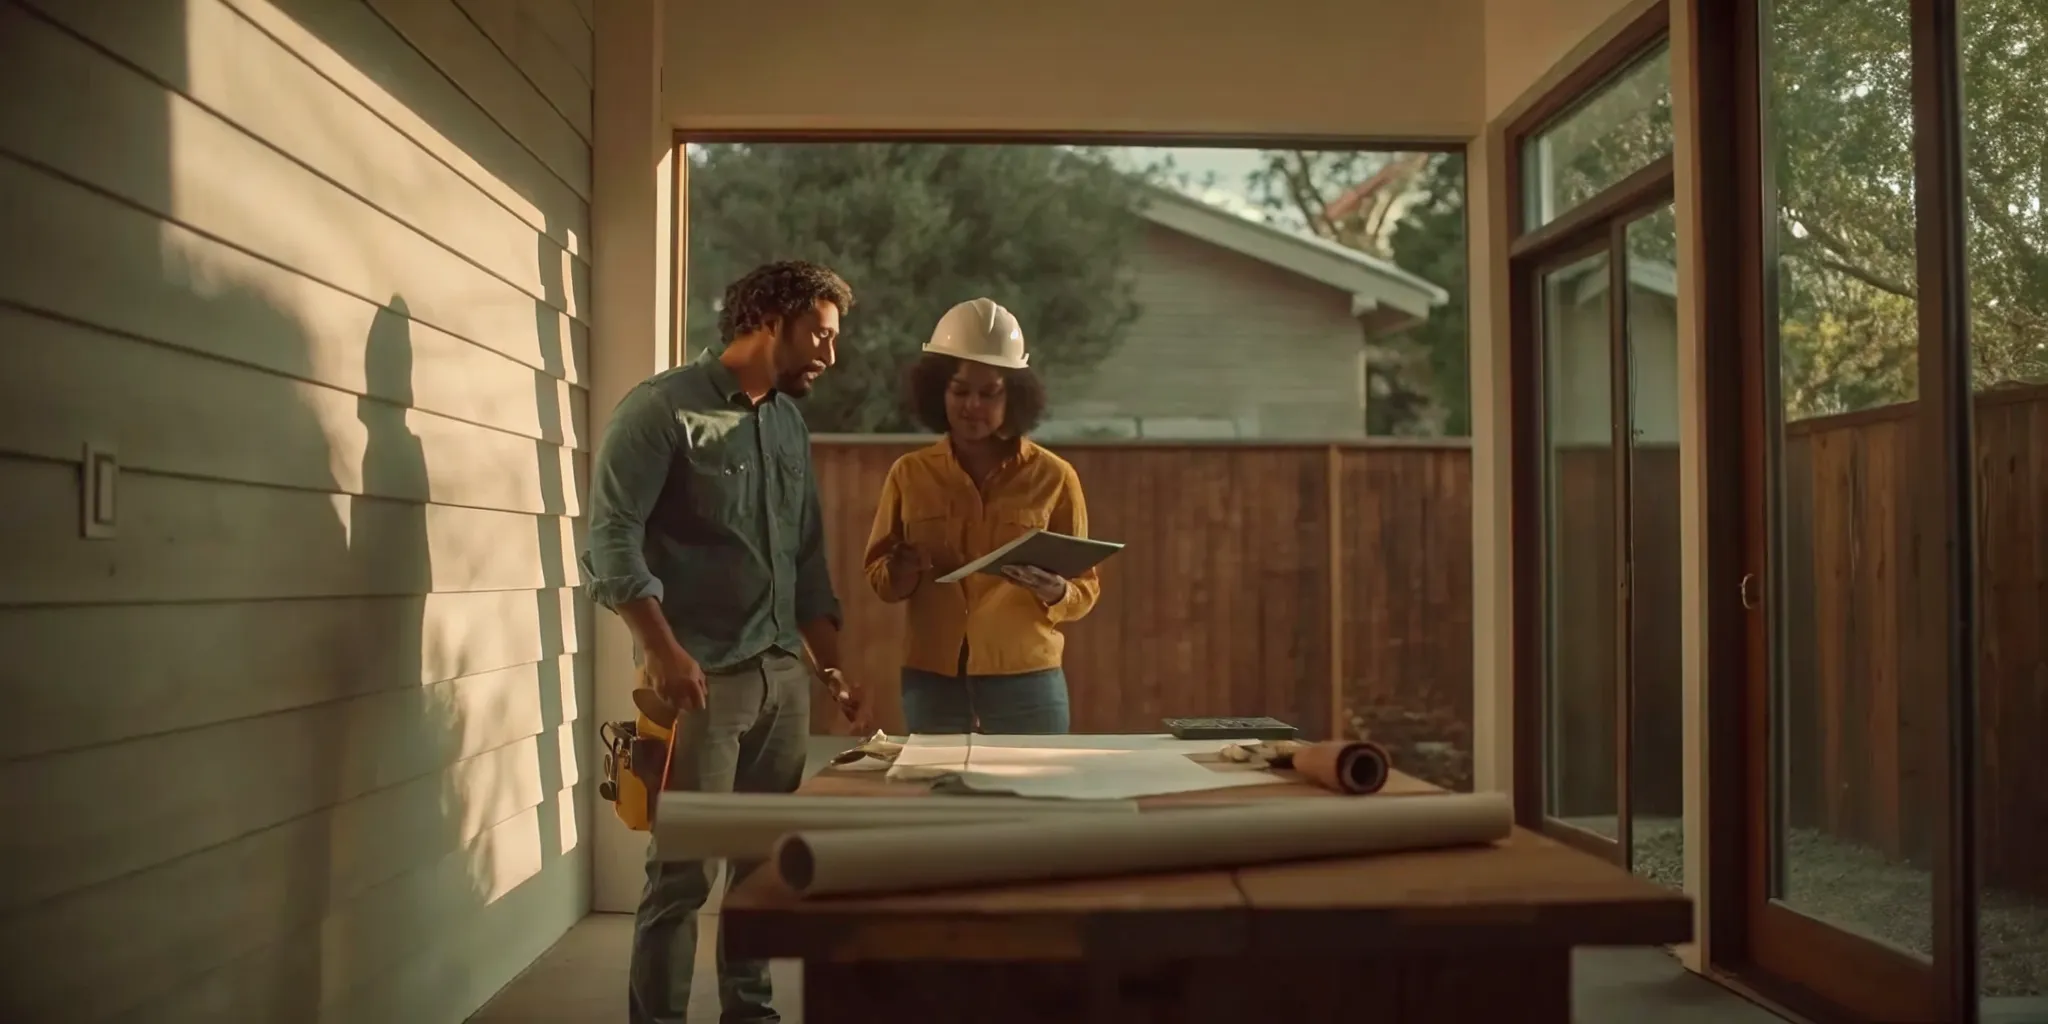
How to Hire the Right Team for Your Rebuild
Your rebuilding project is only as good as the team you hire. This is the most important decision you’ll make, as it can be the difference between a smooth process and a stressful one. You're building a partnership, so you need people with the right skills, experience, and communication style to make your rebuild a success. Finding the right professionals is about more than just getting a good price; it’s about finding a team you can trust to bring your vision to life, on time and on budget.
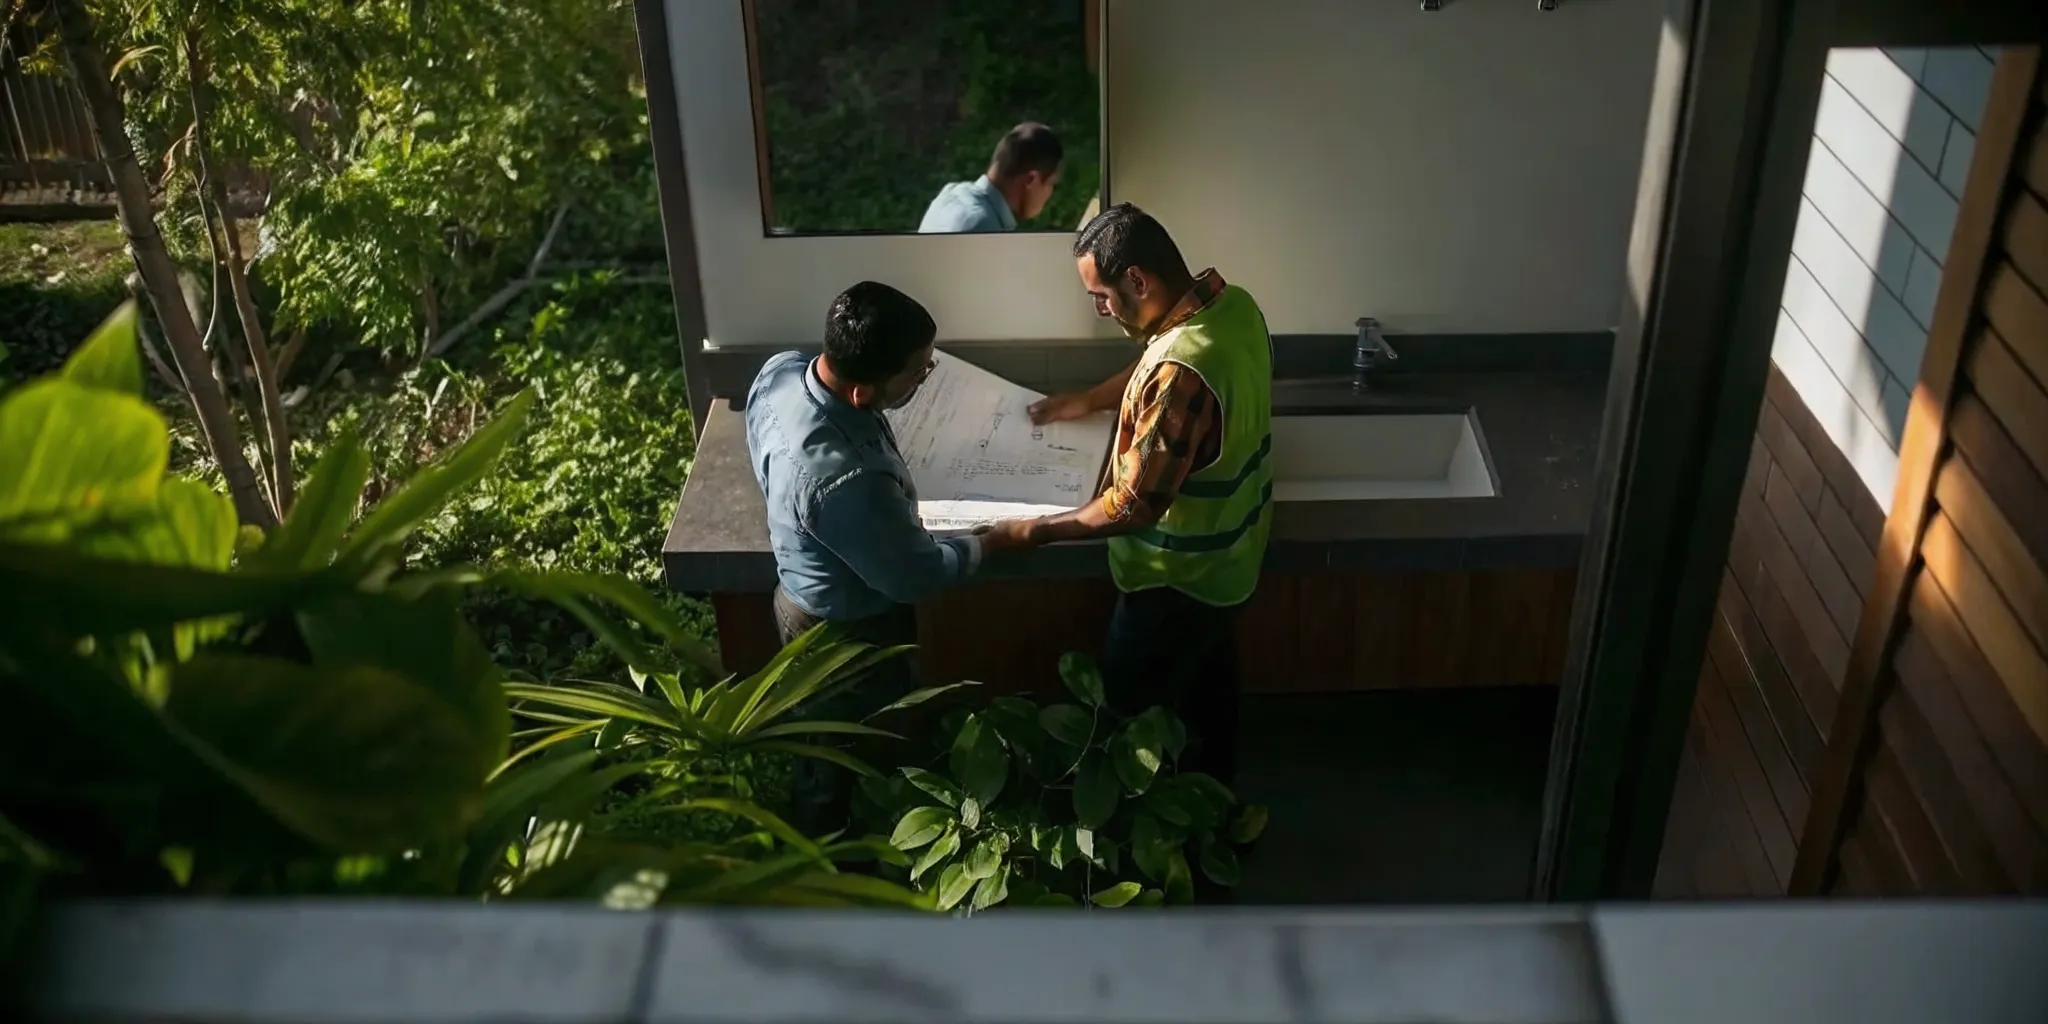
The key player for a house rebuild is the general contractor, who will act as your project manager from start to finish. But your team might also include an architect or a designer, depending on the scope of your plans. The process of assembling this team involves several stages: initial research to find potential candidates, in-depth interviews to discuss your project, and thorough vetting to confirm their qualifications and reputation. It’s a significant investment of your time upfront, but it pays off immensely. Rushing this step is a common mistake that can lead to costly delays and headaches down the road. This is where having a trusted partner can be invaluable. At Realm, we simplify this entire process by connecting you with our network of vetted professionals who have a proven track record of success in your area, ensuring you start your project with a top-tier team.
General Contractor vs. Specialized Trades: Who to Hire
For a full house rebuild, you’ll need a general contractor (GC). A GC is the project's manager, overseeing the entire operation. They hire and coordinate all the specialized tradespeople (like plumbers and electricians), manage schedules, and ensure the work meets quality standards. While you could hire individual trades for smaller jobs, a rebuild has too many moving parts to manage alone. A great GC is essential for keeping everything organized. Realm can help you find a vetted general contractor who is the right fit for your specific project, taking the guesswork out of the search.
How to Vet Contractors Before You Sign
Once you have a shortlist, it’s time to do your homework. Start by verifying their credentials; they must have a valid license and be fully insured. Next, look into their reputation. Check their business on the Better Business Bureau and read online reviews. Most importantly, ask each contractor for at least three references from recent, similar projects and actually call them. Ask past clients about their experience with communication, timeliness, and whether the project stayed on budget. This firsthand feedback is the best indicator of what your own experience will be like.
Key Questions to Ask Potential Contractors
Treat your meetings with potential contractors like job interviews. Being prepared with the right questions helps you compare candidates and assess their professionalism. Beyond asking for a detailed bid, here are a few essential questions to ask:
- Can you provide a detailed project timeline with key milestones?
- What is your experience with house rebuilds of this size and style?
- How do you manage unexpected issues or client change orders?
- Can I visit a current job site to see your team in action?
Their answers will reveal a lot about their experience and communication style. Pay attention to how clearly they respond. You can find more great questions to ask your contractor to make sure you cover all your bases.
Common Rebuilding Mistakes to Avoid
Rebuilding your home is a huge undertaking, and while it’s exciting, it’s also filled with potential pitfalls. Knowing the common mistakes homeowners make can help you sidestep them entirely. A little foresight goes a long way in keeping your project on schedule, within budget, and as stress-free as possible. Let’s walk through some of the biggest hurdles to watch out for so you can approach your rebuild with confidence.
Don't Rush the Planning Phase
It’s tempting to jump straight to demolition, but the most successful projects are built on a solid foundation of planning. Having a clear plan from the start makes the entire process smoother, especially for a project as complex as a full rebuild. This initial phase is where you’ll make crucial decisions about layout, materials, and your overall budget that will impact every subsequent step. Rushing this stage often leads to regret, expensive changes, and frustrating delays down the line. Taking the time to thoroughly map everything out with your team ensures everyone is on the same page before the first wall comes down, saving you headaches later.
Don't Underestimate the Total Cost
It’s easy to focus on the big-ticket items, but the total cost of rebuilding a house can range from $150,000 to over $500,000, depending on the location, size, and finishes. Many homeowners get caught off guard by the "soft costs," like permits, design fees, and inspections, which can add up quickly. It’s also essential to build a contingency fund of at least 10-20% into your budget for unexpected issues that inevitably arise. Working with an expert can help you create a customized plan that accounts for all potential expenses, so there are no major surprises when the bills start coming in.
Don't Complete Tasks Out of Order
When it comes to construction, the sequence of events matters immensely. Doing things out of order can cause damage and force you to redo work, wasting both time and money. For example, you wouldn’t want to install and paint new drywall before your plumbing and electrical systems are fully inspected and signed off. A skilled general contractor is responsible for managing this complex workflow, ensuring that every task is completed in the correct, most efficient sequence. This careful coordination is what separates a smooth, well-run project from a chaotic one filled with costly setbacks and unnecessary stress.
Don't Choose the Wrong Professionals
Your rebuilding team is the most critical factor in your project’s success. The right experts will not only ensure your home is safe and built to last but will also make the process feel manageable. Don’t just hire the first or cheapest contractor you find. Take the time to check references, review past projects, and make sure they are properly licensed and insured. Having a team of vetted professionals you can trust gives you peace of mind and is the best way to protect your significant financial investment. This is your home, and you deserve to have the best people building it.
How to Keep Your Rebuild on Track
A successful rebuild isn't just about the final product; it's about how you get there. Keeping your project on schedule and within budget requires a proactive approach from the very beginning. With so many moving parts, from coordinating contractors to tracking expenses, it’s easy to feel overwhelmed. The key is to establish clear systems for communication, decision-making, and documentation before the first wall ever comes down. By staying organized and engaged, you can steer your project smoothly from start to finish and avoid common pitfalls that lead to stress and extra costs.
Set Milestones and Schedule Regular Check-ins
Think of your rebuild as a series of smaller projects instead of one giant, intimidating task. Work with your contractor to establish clear project milestones. These are specific goals that mark the completion of a major phase, like finishing the foundation, completing the framing, or installing the plumbing. Tying your payment schedule to these milestones is a great way to ensure work is completed to your satisfaction before you release funds.
Just as important is setting up a communication rhythm. Schedule weekly or bi-weekly check-ins with your general contractor to walk through the site, review progress against the timeline, and discuss any challenges. This consistent contact ensures everyone is on the same page and helps you address small issues before they become big problems. A good building process always prioritizes clear communication and accountability.
Manage Scope Creep and Change Orders
"Scope creep" is a term for when small, unplanned changes and additions start to pile up, slowly pushing your project over budget and behind schedule. It often starts innocently with a thought like, "While you're at it, could you also...?" To prevent this, it’s essential to have a detailed plan from the start and stick to it as much as possible.
Of course, changes are sometimes necessary. When they are, make sure your contractor uses a formal change order. This document officially details the new work, the additional cost, and any impact on the project timeline. Requiring a change order forces you to consciously approve any deviation from the original plan, helping you avoid delays and extra costs that can come from informal agreements.
Document Everything from Day One
From the moment you start planning, get into the habit of documenting everything. Create a central folder, either digital or physical, to store all your project-related paperwork. This includes your contract, permits, architectural plans, receipts, change orders, and any correspondence with your team. It’s also a great idea to take photos and videos of the progress at regular intervals.
This detailed record is your single source of truth. It helps you track your budget, remember key decisions, and provides a clear reference if any disagreements arise. Having a detailed plan and organized documentation gives you the information you need to manage your project effectively and make informed decisions every step of the way.
How a Dedicated Advisor Can Simplify the Process
Managing a rebuild is practically a full-time job. If you’re juggling this on top of your career and family life, having an expert in your corner can make all the difference. A dedicated project advisor acts as your advocate and guide, helping you navigate the complexities of the construction process. They can help you review bids, understand technical jargon, and mediate conversations with your contractor.
This kind of support is invaluable for keeping your project on track. Instead of you having to become an expert overnight, your advisor provides the insights needed to make sound decisions and handle challenges with confidence. At Realm, we provide every homeowner with a dedicated advisor to ensure your experience is as seamless and stress-free as possible, from initial planning to final inspection.
Related Articles
- How to Hire a General Contractor for House Renovation
- How to Rebuild a Burnt House: A Homeowner's Guide
- Residential Construction Renovation: A Simple Guide
- Rebuild with Realm
Frequently Asked Questions
Is it really cheaper to tear down and rebuild than to do a massive remodel? Sometimes, yes. It often comes down to the condition of your home's core structure. If the foundation is failing, the framing is compromised, or all the major systems like plumbing and electrical need a complete overhaul, the cost of fixing everything can exceed the cost of starting new. A rebuild allows you to work with modern, efficient materials from the ground up, which can be a more predictable and sound financial investment than trying to patch up a home with widespread issues.
Where am I supposed to live while my house is being rebuilt? This is a huge and important question. For safety and practical reasons, you cannot live on the property during a full rebuild. Most homeowners need to arrange for temporary housing, which is typically a long-term rental. It's essential to factor the cost of renting, moving, and storage into your overall project budget from the very beginning, as it can be a significant expense.
How do people typically pay for a house rebuild? Is it different from a regular mortgage? Yes, financing a rebuild is different from buying an existing home. Most people use a construction loan. This is a short-term loan designed specifically to cover the costs of building, and funds are typically released in stages as construction milestones are met. Once the house is complete and you have your Certificate of Occupancy, the construction loan is then usually converted or refinanced into a standard, long-term mortgage.
How much freedom do I really have with the new design? Can I build something completely different from what was there before? You have a tremendous amount of freedom, which is one of the biggest appeals of rebuilding. You are not tied to the original home's footprint, layout, or architectural style. You can add a second story, move the kitchen to the other side of the house, or go from a ranch to a modern farmhouse design. Your main limitations will be your local zoning laws, which dictate things like height and property line setbacks, and of course, your budget.
What happens if I don't use my entire contingency fund? That's a great problem to have. The contingency fund is your money set aside for unexpected issues, so if you don't need it, it's still yours. You have a couple of options. You can simply put the remaining funds back into your savings, or you could decide to use the surplus to upgrade some of your "nice-to-have" items. This could be an opportunity to splurge on higher-end appliances, invest in professional landscaping, or add a feature you initially cut to stay on budget.